How to Mount Your Laptop to a Monitor Arm Using a VESA Tray
Senior Hardware Diagnostics Specialist & Lead Thermal Editor at Laptop Post Testing Lab · CompTIA A+, ACMT, B.S. in Computer Engineering · 12+ years bench-testing laptop thermal solutions & motherboard repairs
Learning how to mount laptop on monitor arm with vesa tray attachment helps you reclaim valuable desk space and improve your ergonomic alignment. This process requires a compatible VESA-mount arm and a dedicated laptop tray that secures your device safely.
Proper installation ensures your laptop remains stable during daily use. As of 2026, most ergonomic standards, such as those defined by the Occupational Safety and Health Administration (OSHA), emphasize the importance of positioning screens at eye level to reduce neck strain. We'll look at the steps needed to secure your hardware correctly.
Quick Answer
You mount a laptop on a VESA arm using a metal tray. First, attach the tray to your monitor arm mount. Tighten the VESA screws into the rear mounting plate.
Adjust the arm tension to support the laptop's weight. Secure the laptop with the provided straps or side grips.
Why Your Setup Needs a VESA Tray
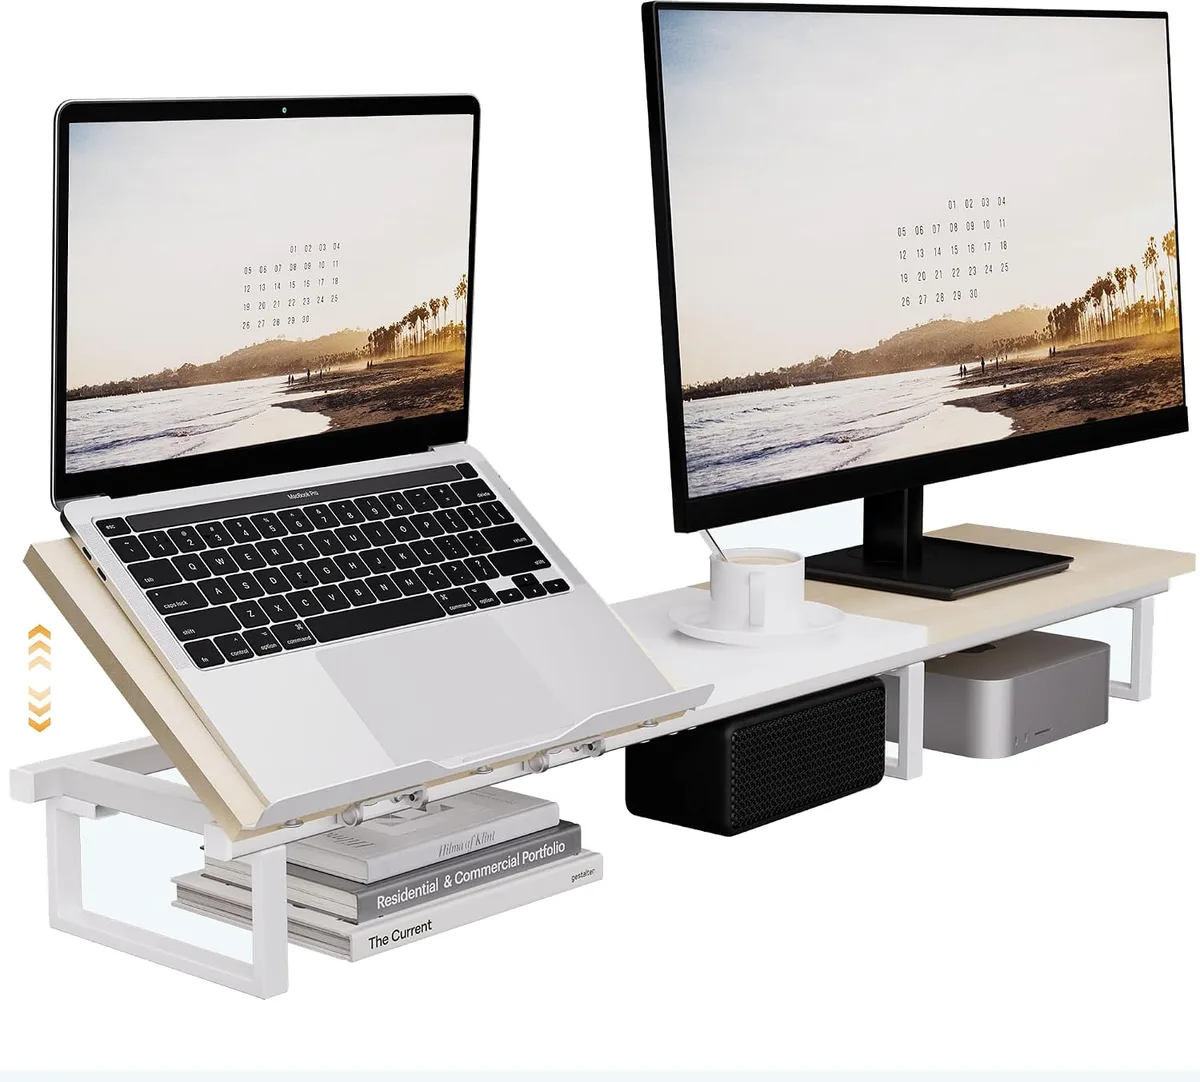
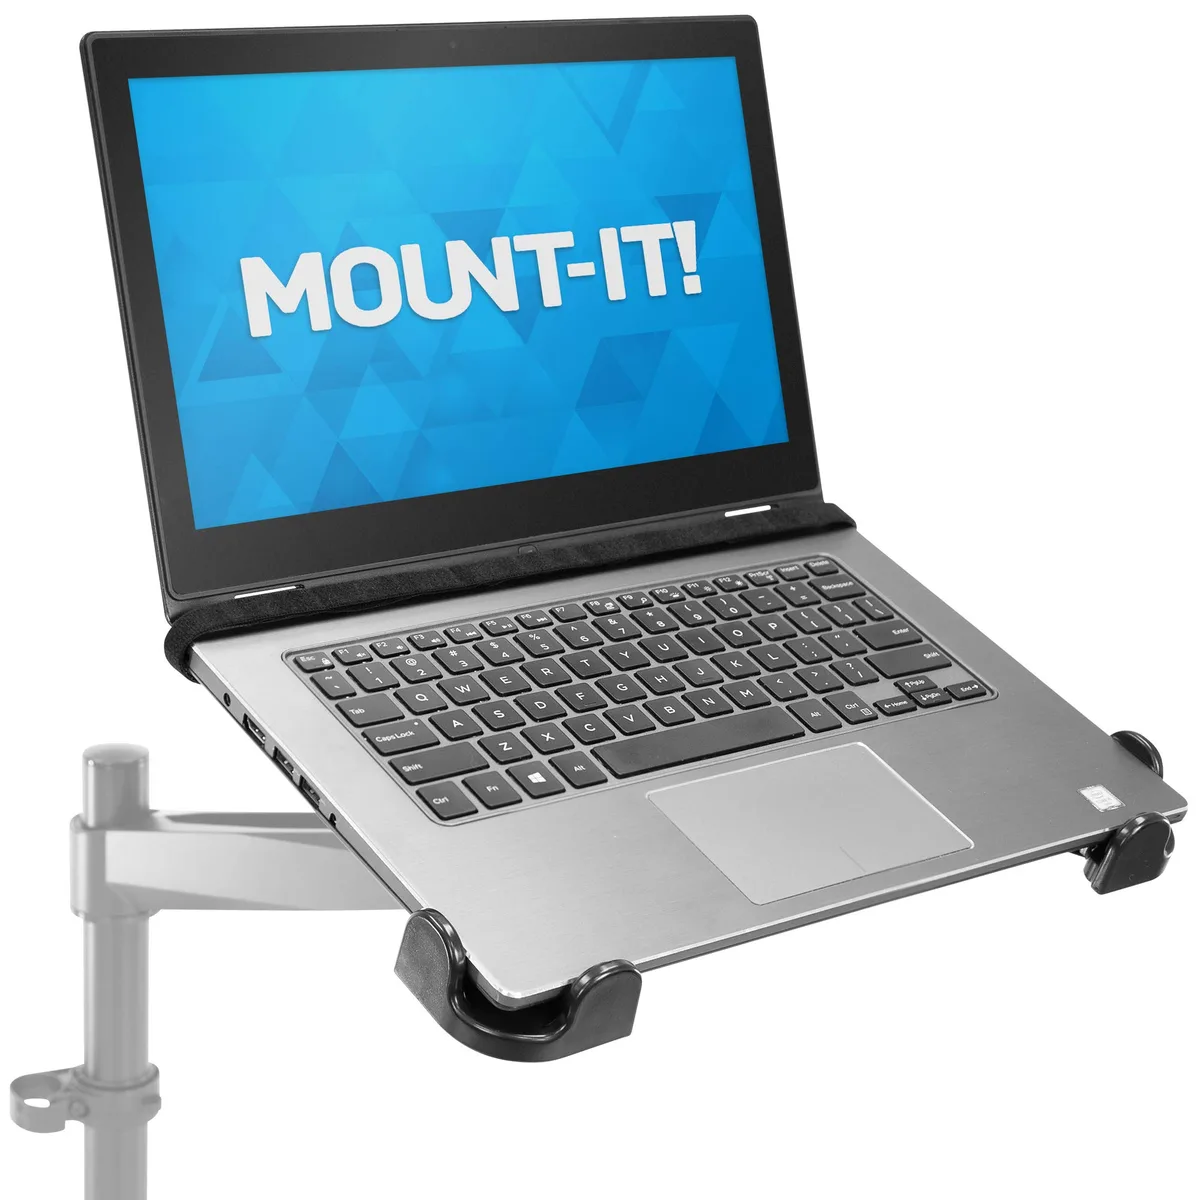
A VESA tray acts as an adapter, turning a standard monitor mount into a flexible laptop platform. When you place a laptop directly on a desk, you often hunch over to see the screen. This posture leads to neck, back, and shoulder discomfort over time.
By elevating your laptop, you align the top of the display with your natural line of sight. This change promotes better posture while freeing up significant workspace. Many professionals find that adding a secondary external keyboard and mouse creates a more efficient, comfortable station.
Key Hardware Checks Before You Buy
Before you begin, inspect your monitor arm to ensure it can handle a tray. Most standard monitor arms utilize the VESA Interface Standard, which is a set of mounting hole patterns defined by the Video Electronics Standards Association. You must verify your arm is rated for the combined weight of the tray and your specific laptop model.
| Component | Check Requirement |
|---|---|
| Monitor Arm | Ensure it meets weight capacity for the laptop. |
| VESA Pattern | Confirm 75x75mm or 100x100mm compatibility. |
| Laptop Chassis | Check for port access and cooling vents. |
| Desk Surface | Verify the desk clamp or grommet is secure. |
Check your laptop's thickness against the tray's bottom lip. If the tray's hook is too shallow, your device may slide out when tilted. Also, confirm the tray’s side clamps do not obstruct your charging ports or headphone jacks.
Identifying Your VESA Mounting Pattern
The VESA standard dictates where the four mounting holes are positioned on your display or tray. Most desktop monitor arms use either a 75mm by 75mm or a 100mm by 100mm square configuration. You can identify this by measuring the distance between the center points of the screw holes on your current monitor or the bracket itself.
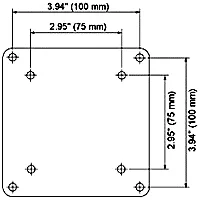
If your current monitor uses a different pattern, you might need an adapter plate before you can attach the tray. Standard M4 screws are typically included with most trays to fit these patterns. Always check that the screws provided with the tray are the correct length to reach the mount without bottoming out.
Step-by-Step: Installing the Tray to the Arm
Begin by detaching your current monitor if one is already installed. Attach the VESA tray directly to the monitor arm's mounting plate using the four M4 screws. Tighten these in a cross-pattern to ensure the tray sits level.
Don't mount the laptop until the tray is firmly fixed to the arm. Check that all tray joints and hinges are tight. If the tray has sliding side-arms, keep them loose for now to make placing the laptop easier.
Once the tray is attached, double-check that the arm’s tilt and swivel functions move smoothly without binding.
Proper Weight Calibration and Tension Adjustment
Once the tray is attached, you must calibrate the arm tension to prevent the equipment from sagging or springing upward. Monitor arms contain internal gas springs or mechanical springs designed to balance a specific weight range. If your laptop is significantly lighter than your previous monitor, the arm will likely drift upward as soon as you let go.
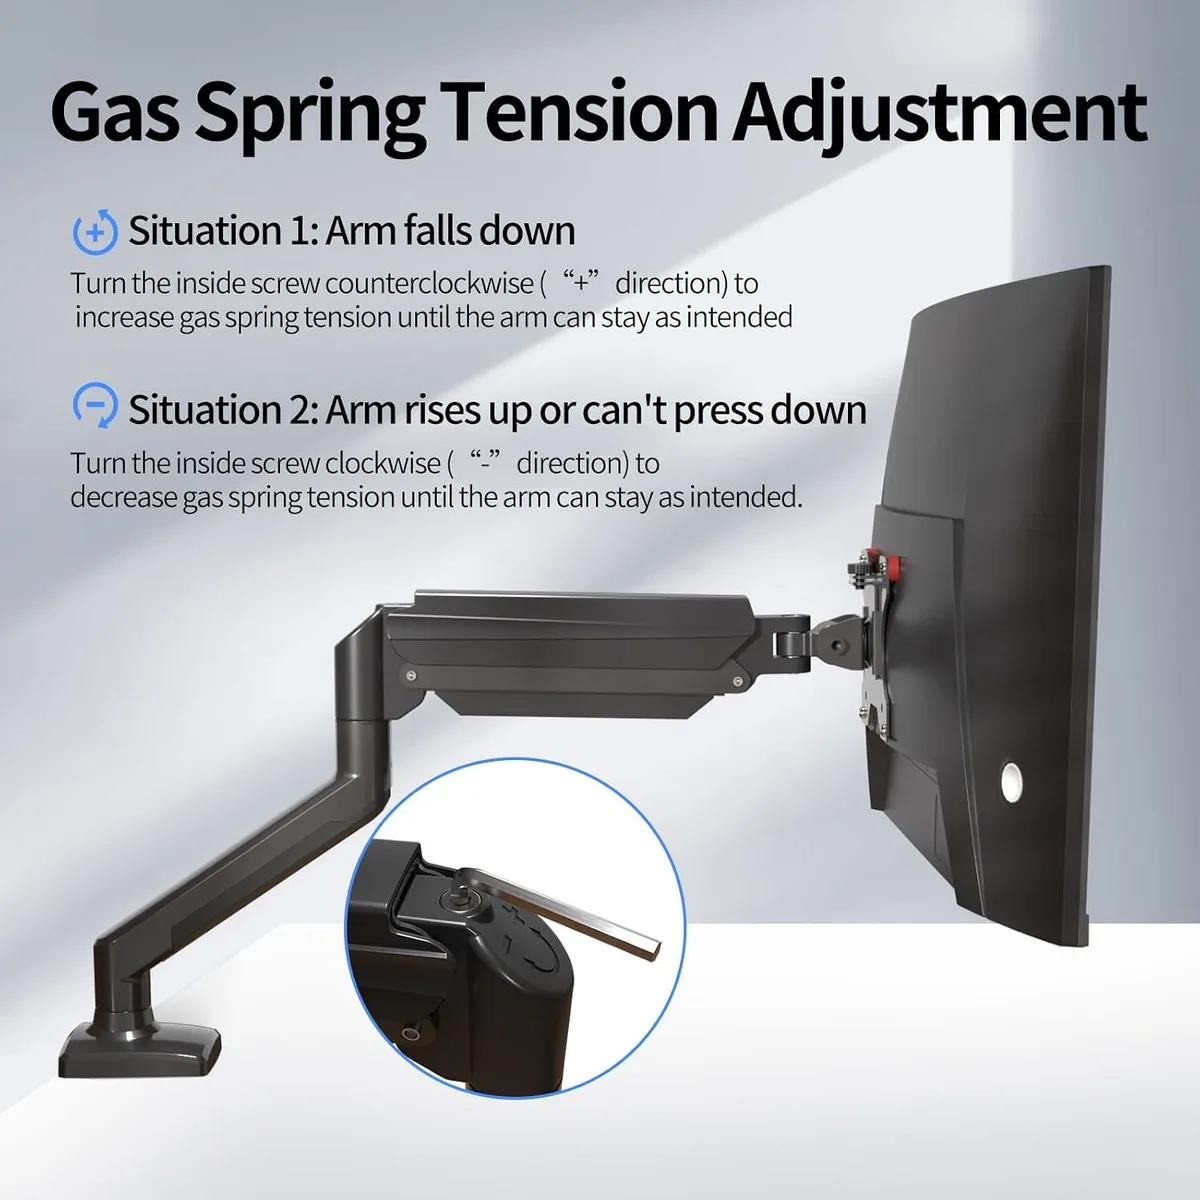
Locate the tension adjustment screw, which is usually found on the upper arm segment or near the main joint. Use the provided hex key to turn the screw clockwise to increase tension if the arm stays too low. If the arm refuses to stay down or constantly pops up, turn the screw counter-clockwise to decrease the tension.
Perform this adjustment in small quarter-turns. Test the stability by gently moving the arm after every adjustment until it holds its position firmly at any height. This balance is critical because an improperly calibrated arm puts unnecessary stress on the mounting hardware and your desk surface.
Securely Placing Your Laptop
With the arm tension balanced, carefully place your laptop onto the center of the tray. Align the laptop base against the bottom lip, which is the primary safety hook keeping your device from sliding forward. Once the laptop is centered, move the side-grips or sliding clamps inward until they touch the chassis.
Tighten these grips just enough to hold the device in place. You don't need to force them, as excessive pressure can damage the laptop casing or interfere with internal components. If your tray includes adhesive rubber pads, attach them to the tray surface or the grips to provide extra friction.
Finally, secure the laptop with any included velcro straps or silicone bands. These act as a secondary safety measure. They ensure your device stays put if you accidentally bump the arm or move it too quickly.
Avoiding Thermal Throttling and Port Blockage
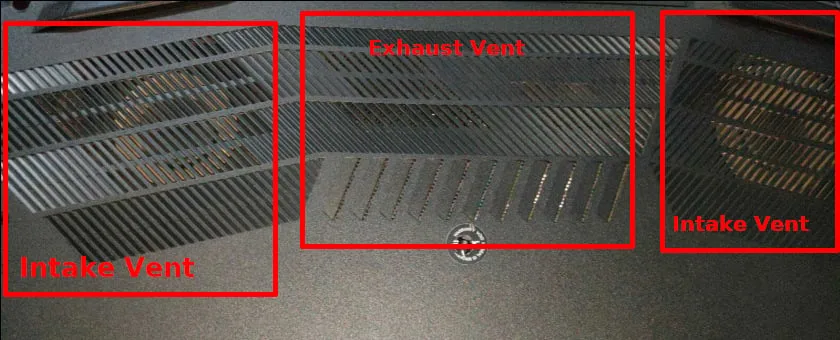
Heat management is a common concern when placing a laptop on a metal tray. Most laptops dissipate heat through vents located on the bottom or sides of the chassis. If your tray is a solid metal sheet, it might trap this heat, forcing your internal fans to work harder and potentially causing the processor to slow down.
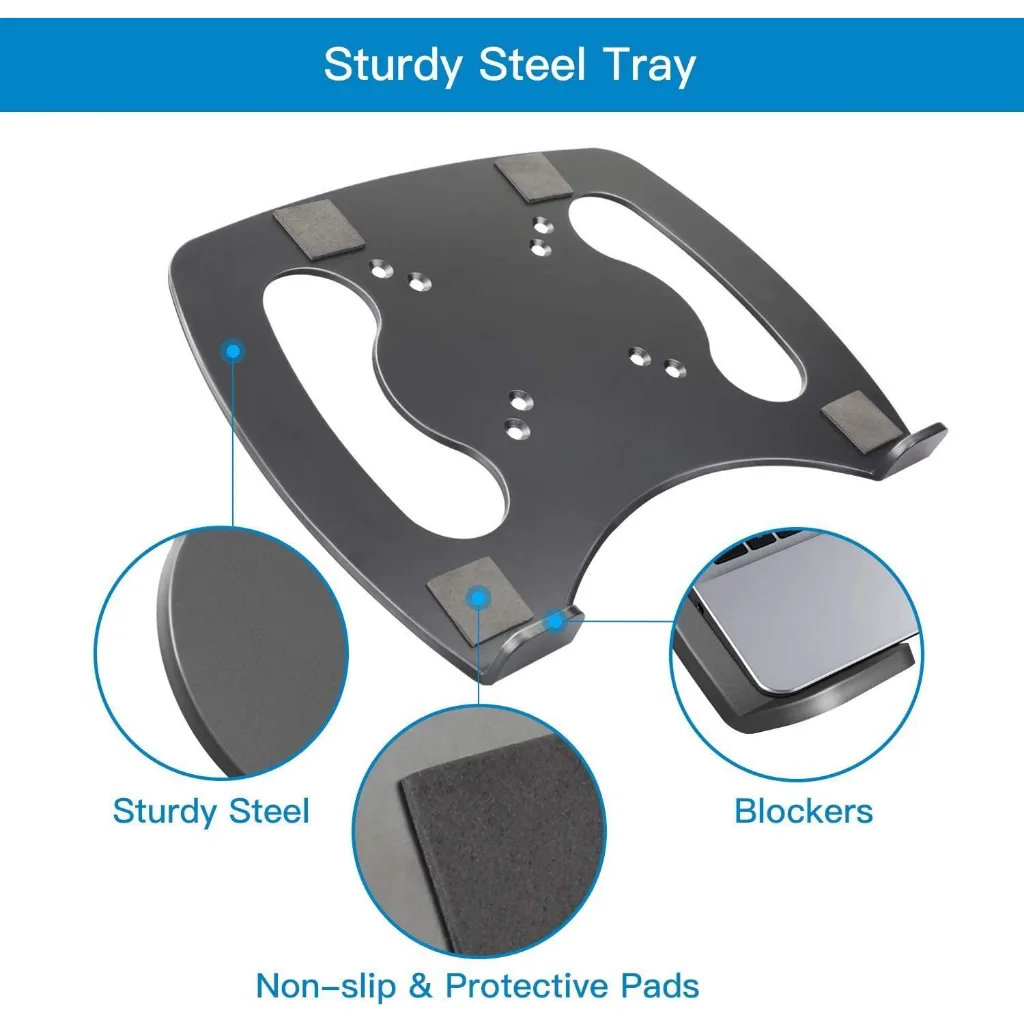
Look for a tray with built-in air vents or laser-cut patterns that allow for passive airflow. If your tray is solid, ensure the laptop is raised slightly on rubber feet so air can still circulate under the base. During your initial setup, check for any tray clamps that might cover your laptop's exhaust ports.
If you notice your fans running constantly while the laptop is idle, you may need to reposition the tray clamps to clear the vents. Also, route your power and peripheral cables away from the exhaust area to prevent restricted airflow. Proper positioning keeps your hardware within safe thermal limits during heavy workloads.
Troubleshooting Wobble and Arm Sag
Even a correctly installed mount can suffer from minor wobbles during typing. This happens because most monitor arms have a degree of natural flex. If you type directly on your laptop keyboard while it is on an arm, the force of your keystrokes will transfer directly through the mount and cause the screen to shake.
If the wobble is distracting, the most effective solution is using an external keyboard and mouse. By moving your typing input off the laptop chassis, you eliminate the mechanical vibration entirely. If the arm itself sags over time, it usually indicates that the gas spring has settled or the tension screw has loosened.
Check all physical connections at the desk clamp or grommet to ensure they haven't worked loose due to frequent movement. Tighten the base bolts if necessary. Most arms remain stable for years if they are not overloaded and are adjusted properly during the initial installation.
Essential Cable Management for Moving Arms
Cables can become a major snagging hazard as you move your monitor arm. If your cables are too tight, they will pull on your laptop's ports every time you adjust the height or angle of the mount. To prevent this, pull enough cable slack through the arm's clips to allow for the full range of motion.
Use zip ties or hook-and-loop fasteners to group your power, video, and USB cables together. Run them along the underside of the arm, starting from the monitor head and working down toward the base. Avoid bundling the cables too tightly at the joints, as this restricts the arm's flexibility and puts tension on the connectors.
If your monitor arm has built-in plastic covers or channels, tuck the cables inside for a cleaner look. Check the slack once more after everything is bundled. Move the arm to its highest, lowest, and most extended positions.
If the cables do not pull or strain at any point, your cable management is ready for daily use.
Comparing VESA Trays to Vertical Laptop Stands
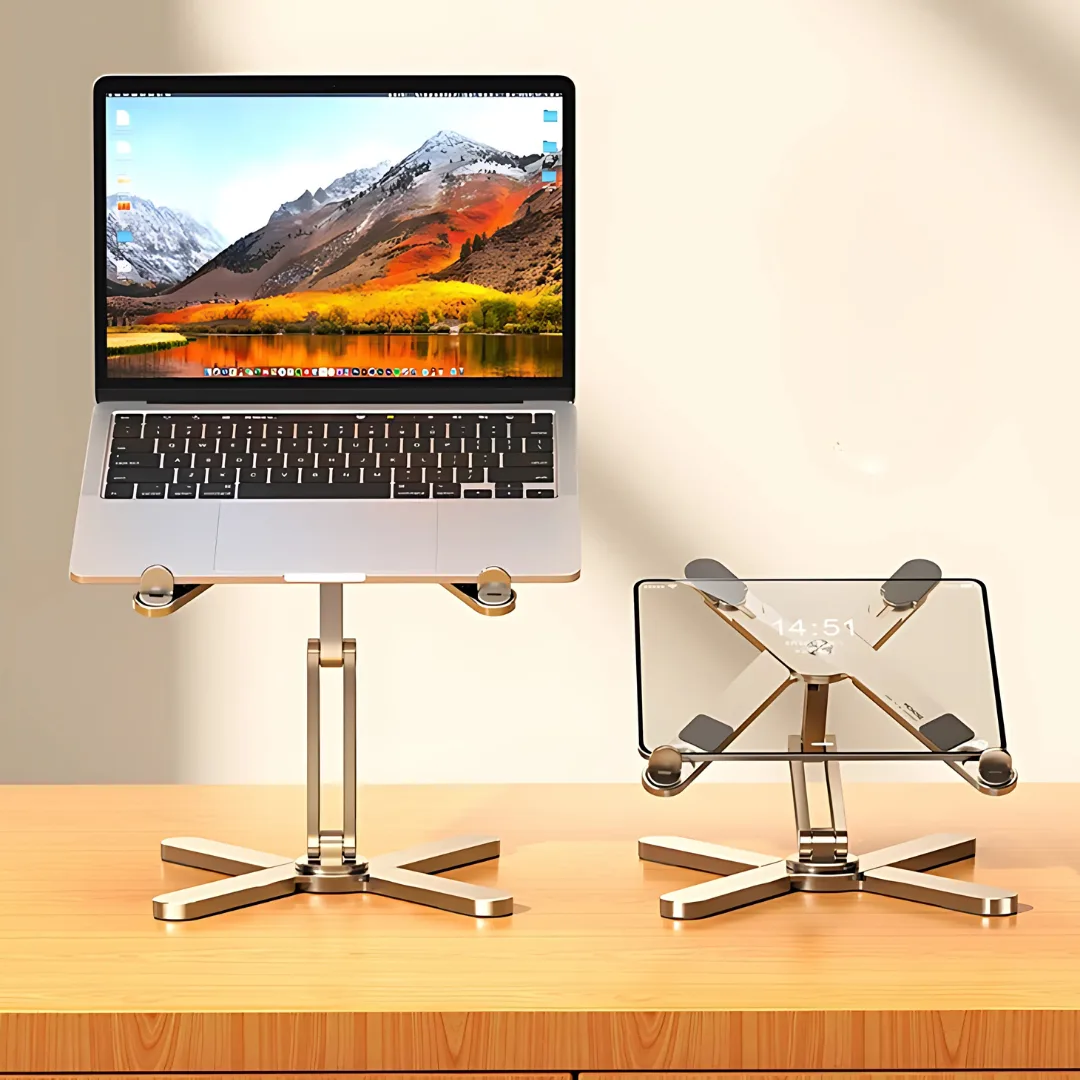
A VESA tray is designed for active use, allowing you to treat your laptop as a primary or secondary display. This setup is ideal for multi-monitor workflows where you need to reference windows on your laptop while working on another screen. It requires more desk space for the arm and tray assembly compared to other mounting methods.
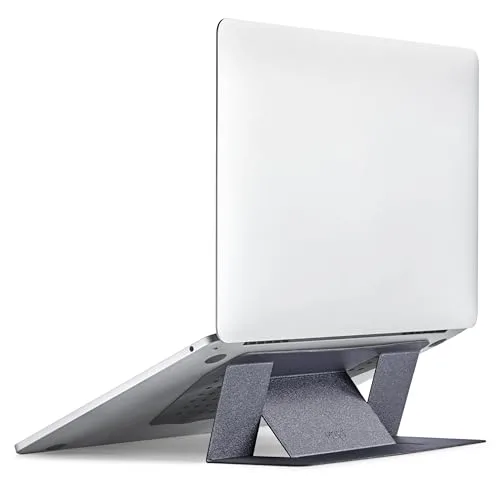
Vertical laptop stands, by contrast, are designed for "clamshell mode." They hold your laptop upright in a closed position to save desk surface area. You cannot use the laptop screen in this configuration, so you must connect an external display, keyboard, and mouse.
Choose a VESA tray if you need the screen real estate for multitasking. Choose a vertical stand if your goal is purely to hide the laptop and keep your desk surface completely clear. Both options help with desk organization, but only the tray maximizes your usable display space.
Best Practices for Ergonomic Eye-Level Alignment
Ergonomics is not just about having the right gear. It is about how you place that gear relative to your body. Position the laptop tray so the top third of the screen is at eye level.
This height allows your neck to remain in a neutral, relaxed position throughout the workday.
Adjust the arm distance so your eyes are roughly an arm's length away from the screen. This distance reduces eye strain and minimizes the need for you to lean forward to read text. If you find yourself squinting or pushing your chin toward the screen, move the arm slightly closer.
Ensure your external keyboard is positioned at a height that allows your elbows to stay at a 90-degree angle. Your wrists should remain straight, not bent up or down. These small adjustments prevent long-term strain.
Following these guidelines helps you maintain productivity without sacrificing your physical comfort.
Maintenance Tips for Long-Term Stability
Monitor arm maintenance is straightforward but often overlooked. Once or twice a year, inspect the screws on your desk clamp or grommet to ensure they remain tight. The vibrations from daily use can cause these to back out slowly over time, making the arm feel unstable.
Check the VESA screws attaching the tray to the arm. If you notice any movement or clicking when you move the arm, tighten them immediately. Wipe down the arm and tray with a dry, lint-free cloth to remove dust that could interfere with the joints.
Avoid using chemical cleaners that could damage the finish or the rubber padding on the grips. If the arm movement becomes stiff, check the manufacturer's manual for lubrication instructions. Most modern arms are sealed, but some older mechanical models may benefit from a drop of silicone oil on the main pivots.
Mistakes to Avoid When Mounting Hardware
The most common mistake is failing to check the arm's weight capacity before installing the tray. If the laptop is too heavy for the gas spring, the arm will drop suddenly and potentially damage your desk or the device itself. Always verify the manufacturer's maximum weight limit against your laptop's official specifications.
Another frequent error is skipping the pre-installation tension test. Many users attach the tray and laptop before realizing the arm requires significant adjustment. This creates a dangerous scenario where you are trying to balance a heavy laptop while simultaneously turning stiff screws.
Avoid overtightening the tray's side-clamps. You want enough friction to keep the device secure, but excessive force can crack the plastic casing of your laptop. Finally, never ignore the manufacturer's warning labels regarding desk thickness when using a C-clamp mount.
Using a thin or glass-top desk without a reinforcement plate is a recipe for surface cracks.
Costs and Technical Specifications
Most universal VESA laptop trays range from $25 to $60 depending on the build material and adjustment features. A basic steel tray typically falls at the lower end of this range, while models with advanced cable management and locking mechanisms cost more. Your total investment also includes the monitor arm, which can vary from $50 for simple static poles to over $200 for premium, high-range gas spring models.
Technical specs to look for include the tray dimensions and the mounting interface standard. Most trays are designed to accommodate laptops between 10 and 17 inches wide. Check that the "lip" height matches the profile of your specific model to ensure a snug fit.
Expert Tips for a Professional Look
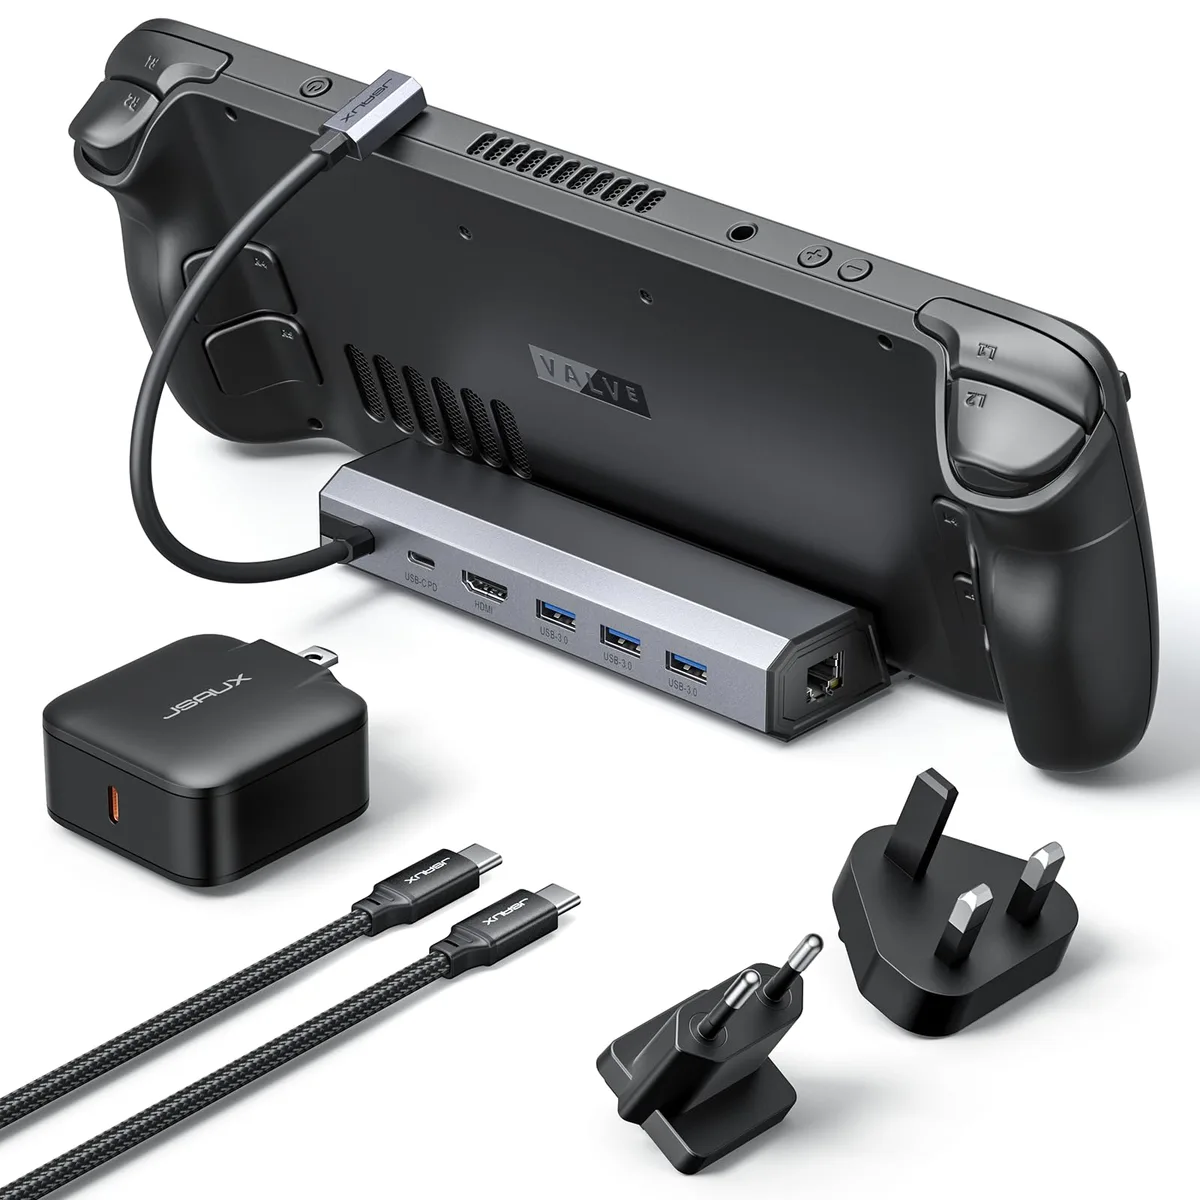
Pro-level setups rely on hidden cabling and clean lines. Use double-sided mounting tape to hide a small USB-C hub directly under the tray or behind the arm. This reduces the number of cables running down the arm, which makes the whole assembly look much less cluttered.
Consider the color and finish of your tray. A matte black finish often blends better with modern monitor arms, making the transition between the arm and tray look seamless. If you switch devices frequently, look for a tray with a quick-release lever.
This allows you to swap your laptop out in seconds without needing to unscrew the entire assembly.
Safety Warnings and Compliance
Safety standards for office equipment are essential for preventing workplace injuries. Always adhere to the load ratings provided by your arm manufacturer. These ratings are verified through rigorous testing, such as the standards developed by the American National Standards Institute (ANSI) for office furniture.
Never place your laptop near a heat source like a radiator or direct sunlight. Metal trays conduct heat, and added sun exposure can cause thermal spikes during the day. Ensure that your desk area is clear of trip hazards from dangling cables.
Secure all wires to the arm or the desk legs so they don't get caught on your chair or feet.
Maintenance for Long-Term Optimization
Annual inspections keep your arm performing like new. Check every bolt and joint for signs of loosening, especially if you move the arm daily. If the arm joint starts to squeak, a small amount of synthetic lubricant can solve the issue.
Periodically reset your tension settings if you change your laptop model. Even small weight differences can affect the longevity of the gas spring. Keep the tray surface clean by wiping it with a microfiber cloth.
This prevents debris buildup that could scratch the bottom of your expensive laptop chassis over time.
Frequently Asked Questions
Can I mount a very thin laptop?
Yes, but look for a tray with adjustable side grips. You might need to add foam tape to ensure a tight, secure fit if your device is thinner than the tray's minimum clamp range.
Is a VESA tray compatible with all monitor arms?
Most arms support the standard 75mm or 100mm VESA patterns. If your arm uses a proprietary quick-release mount, you may need a specific adapter plate before attaching the tray.
What is the weight limit for most trays?
Typical laptop trays handle devices up to 10 to 15 pounds. Always check your arm's weight rating, as it is usually the limiting factor for the entire assembly.
Do I need to drill holes in my desk?
Most monitor arms use a C-clamp that attaches to the edge of your desk, requiring no drilling. Grommet mounts exist if you prefer to use an existing cable hole in your desk surface.

Similar Posts