Why Your Aluminum Laptop Stand Is Scratching Your MacBook
Senior Hardware Diagnostics Specialist & Lead Thermal Editor at Laptop Post Testing Lab · CompTIA A+, ACMT, B.S. in Computer Engineering · 12+ years bench-testing laptop thermal solutions & motherboard repairs
Finding unsightly marks on your device is a common frustration, and you might be wondering why is my aluminum laptop stand scratching my macbook finish. While both components are constructed from high-quality metals, the interaction between them is rarely as smooth as it appears.
Research indicates that even microscopic variances in material hardness can lead to physical surface degradation over time. As of 2026, industry standards for protective finishes, such as those maintained by NIST, emphasize that maintaining clear contact interfaces is vital to preventing premature wear on consumer electronics.
Quick Answer
Your aluminum stand likely scratches your MacBook due to trapped debris. Dust particles act as an abrasive between two metal surfaces. Rough manufacturing edges on the stand also cause damage.
Missing or hardened silicone pads leave your laptop exposed. Regular cleaning and padding repairs will stop this wear.
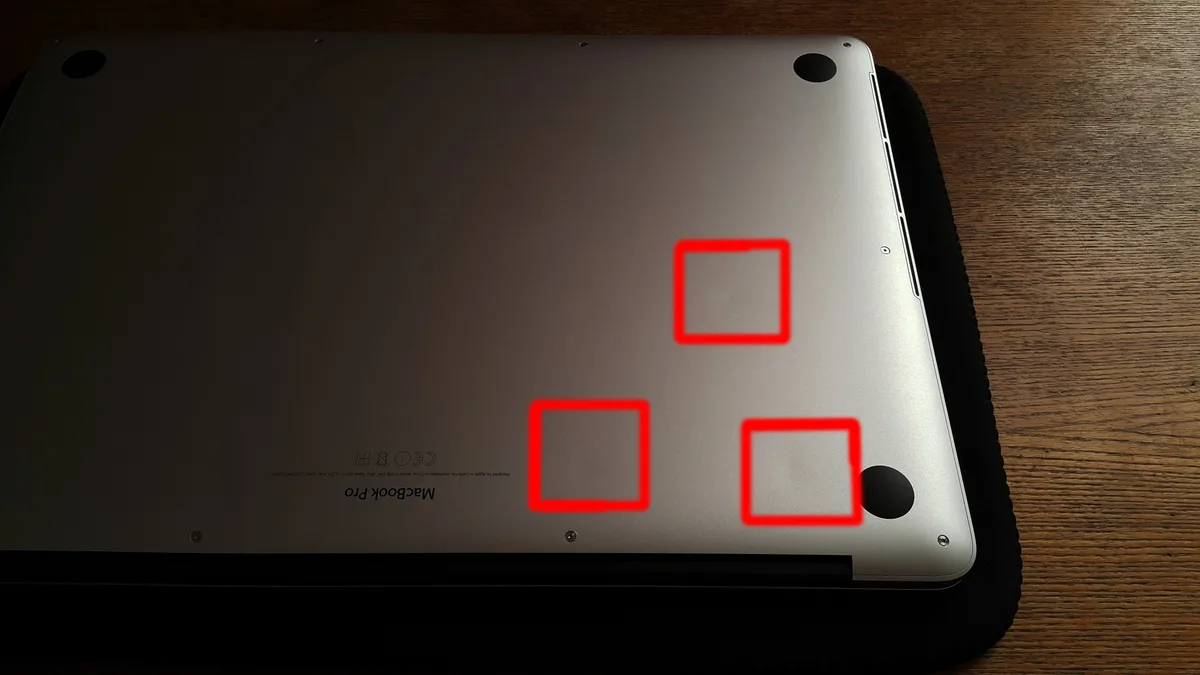
The Sandpaper Effect: Why Aluminum Stands Scratch MacBooks
It feels like a contradiction that a metal stand could damage a metal laptop. However, the anodized finish on a MacBook is a thin, protective layer. When you place it on a hard stand, you create a direct point of contact.
Small particles of grit, dust, or sand often settle on the surface of your desk. These particles become trapped between the laptop base and the stand. When you shift your laptop, the grit slides across the surface under the weight of the device.
This turns the particles into fine-grit sandpaper that slowly eats through the anodized layer.
Identifying the Culprit: How to Inspect Your Stand for Damage
You can usually find the exact spot causing the damage by performing a quick physical inspection. Start by running your fingers along the contact areas of the stand. You are feeling for sharp points or uneven transitions in the metal.
Check the rubber strips specifically. If they feel brittle, cracked, or are peeling away from the metal, they no longer serve as a barrier. A stand that wobbles when you type also creates rhythmic friction.
This vibration causes the laptop casing to rub against the stand repeatedly.
Why Debris is Your Laptop’s Worst Enemy
Debris is the most frequent cause of visible wear on laptop enclosures. Your environment plays a larger role than the quality of the metal itself. Hard particles are often made of minerals like silica, which are significantly harder than the aluminum used in laptop chassis.

If you live in a high-traffic or dusty area, these particles accumulate rapidly on horizontal surfaces. Once they settle on your stand, they embed themselves into the finish of the stand or the padding. This effectively turns your stand into an abrasive tool that marks the bottom of your MacBook every time you dock it.
Step-by-Step: How to Test Your Stand for Sharp Edges
Testing for mechanical issues on your stand requires only a simple cotton ball or a soft cloth. This method helps you identify "burrs" or jagged manufacturing points without risking further scratches to your device.
- Unplug your laptop and remove it from the stand entirely.
- Gently rub the cotton ball along every edge and corner where the laptop typically rests.
- Observe if the cotton snags or leaves behind white fibers.
- Any snagging indicates a rough metal edge that needs to be filed down or covered.
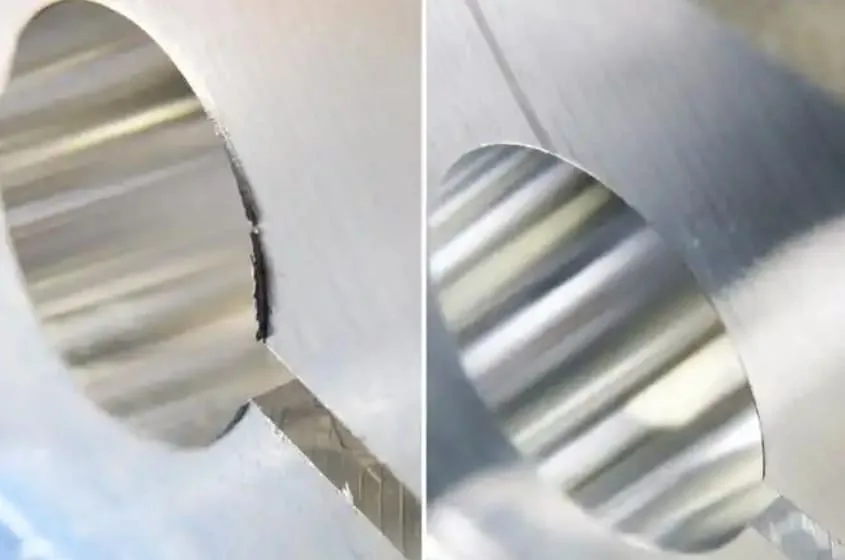
If you find a jagged edge, you have a few options to remediate it. You can use a fine-grit sandpaper to smooth out the aluminum burr. Always wipe away any resulting metal dust completely before placing your laptop back on the stand.
Essential Maintenance to Prevent Future Scratches
Consistency is the only way to ensure your hardware stays pristine. Treating your laptop stand with the same care as your desk surface is a good habit. You should perform a quick inspection once a week.
| Maintenance Task | Frequency | Purpose |
|---|---|---|
| Wipe Stand Surface | Daily | Removes abrasive dust particles. |
| Inspect Pads | Monthly | Checks for hardening or detachment. |
| Check for Stability | Bi-Weekly | Ensures even weight distribution. |
Cleaning the stand prevents the "sandpaper effect" before it begins. Use a dry microfiber cloth to pick up loose dust rather than pushing it around. If you notice the silicone pads are losing their grip, clean them with a small amount of isopropyl alcohol to restore their surface texture.
Choosing the Right Buffer: Silicone, Felt, and DIY Fixes
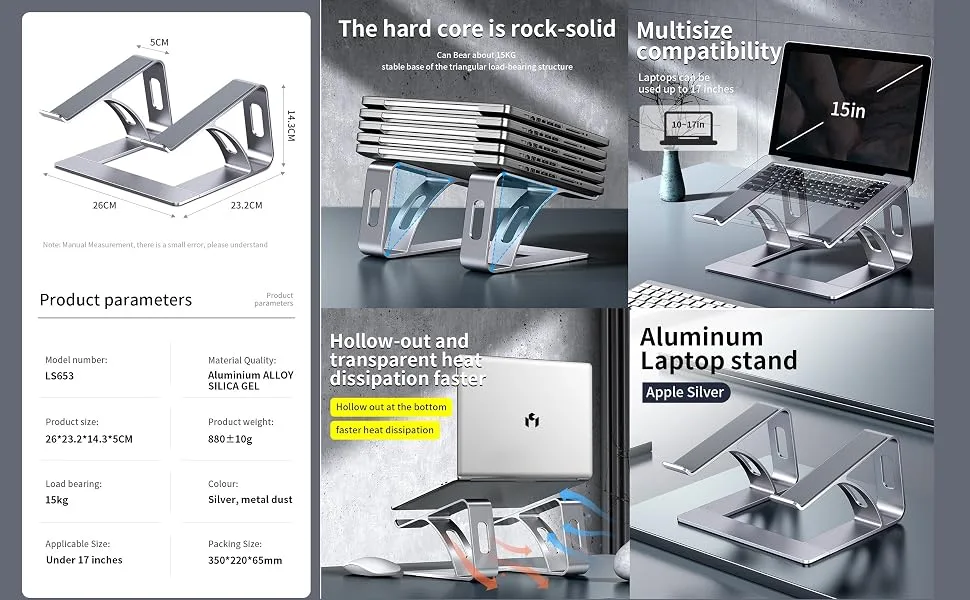
Adding a buffer layer is the most reliable way to create a permanent shield between your device and the stand. You don't need expensive equipment to achieve this. Simple adhesive-backed materials work perfectly to isolate the two surfaces.
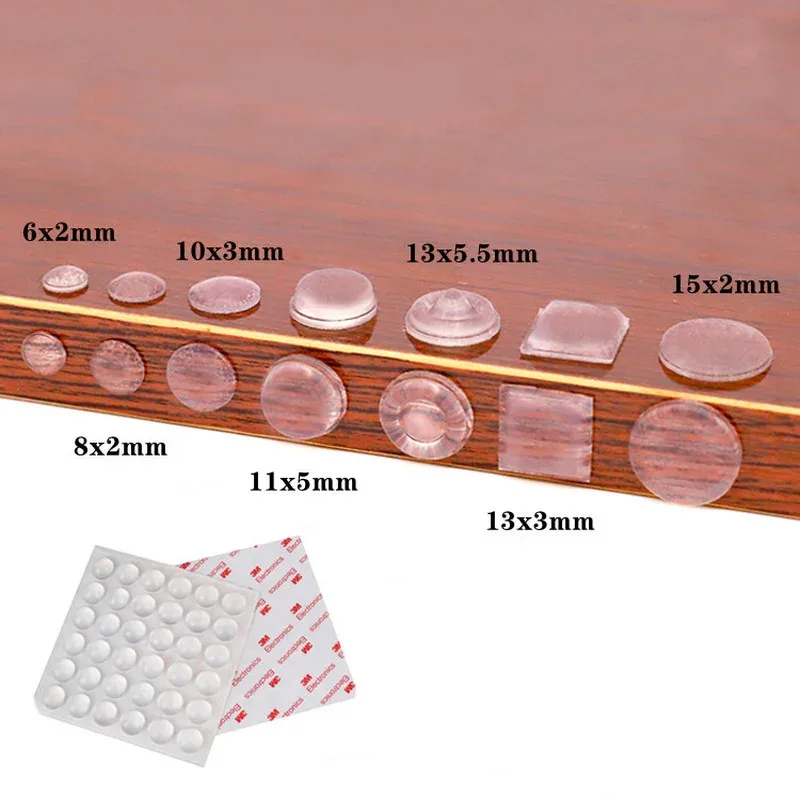
Silicone bumpers are the preferred choice because they offer high friction and durability. They prevent the laptop from sliding while providing enough cushion to absorb minor vibrations. Felt pads are another solid alternative, though they tend to collect dust more quickly than silicone.
When applying these, focus on the primary contact points where the laptop chassis bears the most weight. Ensure the surface of the stand is perfectly clean and dry before applying any adhesive. If you don't, the pads will peel off after a few days of use.
Mistakes to Avoid When Cleaning or Modifying Your Stand
Many users accidentally worsen the problem by using incorrect cleaning methods. Avoid using abrasive sponges, steel wool, or heavy-duty chemical solvents. These can strip the finish on both your stand and your laptop.
Another common error is applying pads in the wrong spots. If you place a pad on an area that doesn't actually support the weight, the laptop will teeter on the uneven points. This creates more pressure on the remaining contact zones, leading to deeper scratches over time.
Never use permanent glues or epoxies for these modifications. If the glue seeps out from under the pad, it becomes an abrasive crust that is much harder on your aluminum finish than the stand itself. Always stick to pre-cut adhesive pads designed for furniture or electronics.
When to Retire Your Stand and Invest in a Better Design
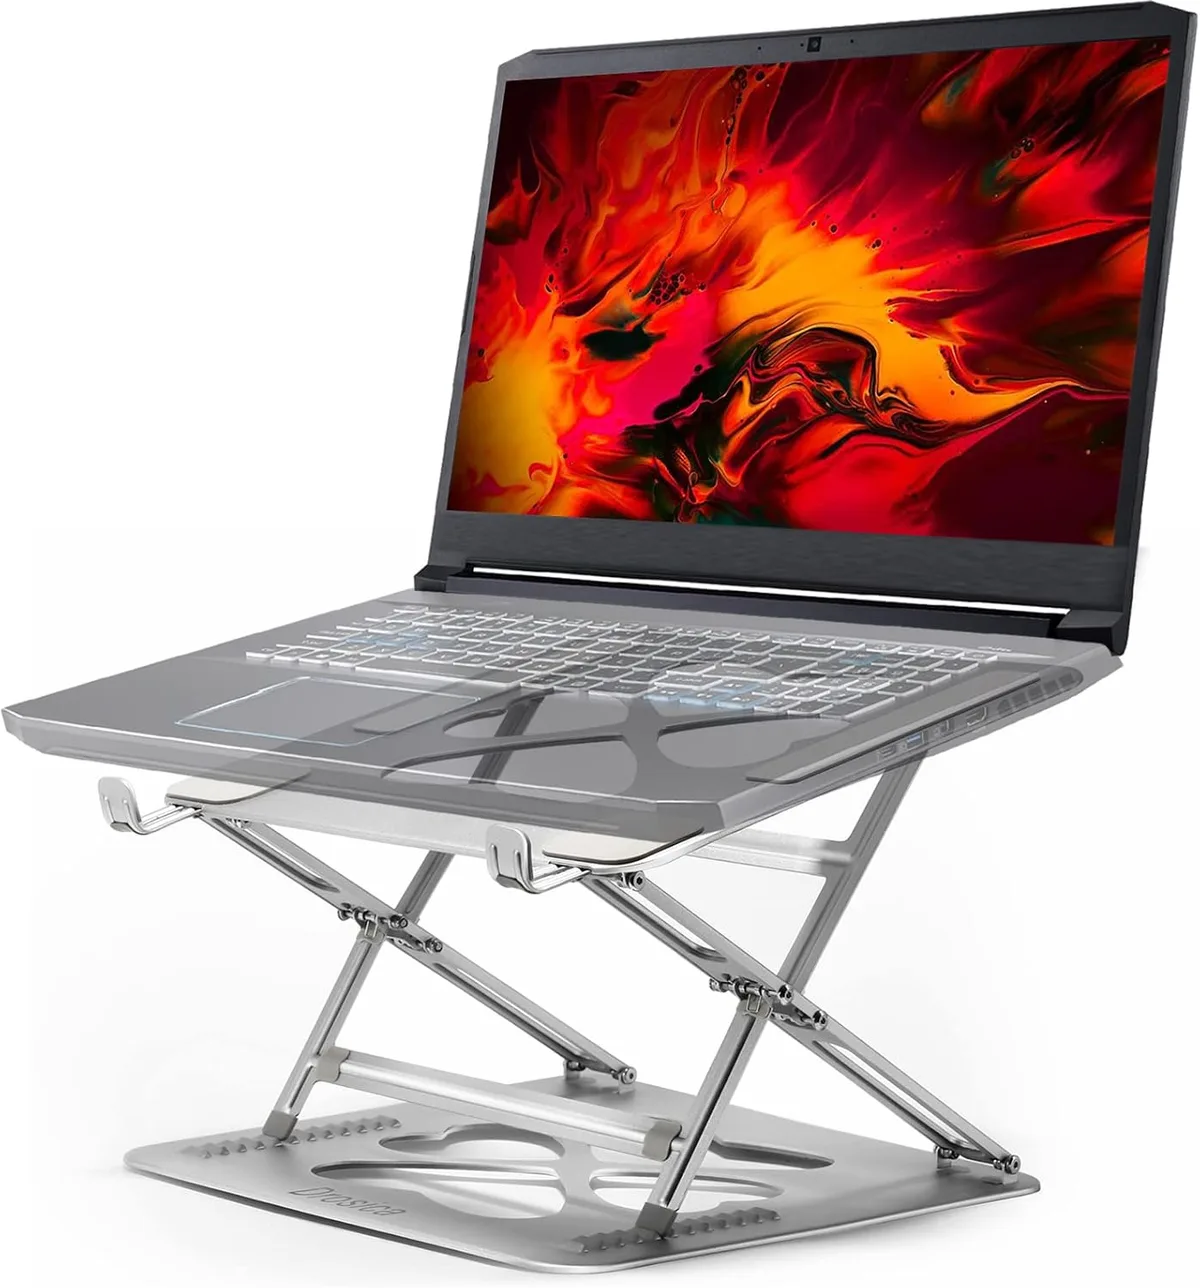
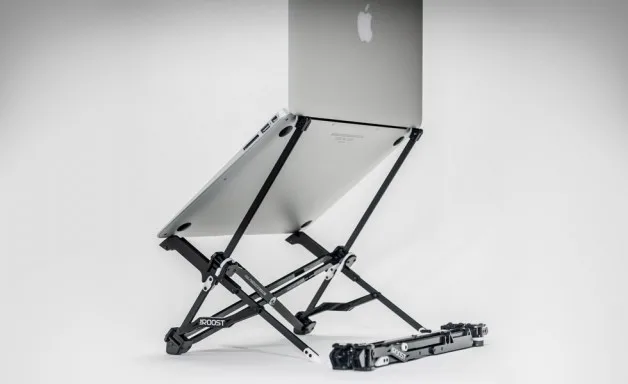
Sometimes, a design flaw is so fundamental that no amount of cushioning can save it. If your stand relies on thin, sharp metal edges as its primary support, the design is inherently mismatched for a MacBook.
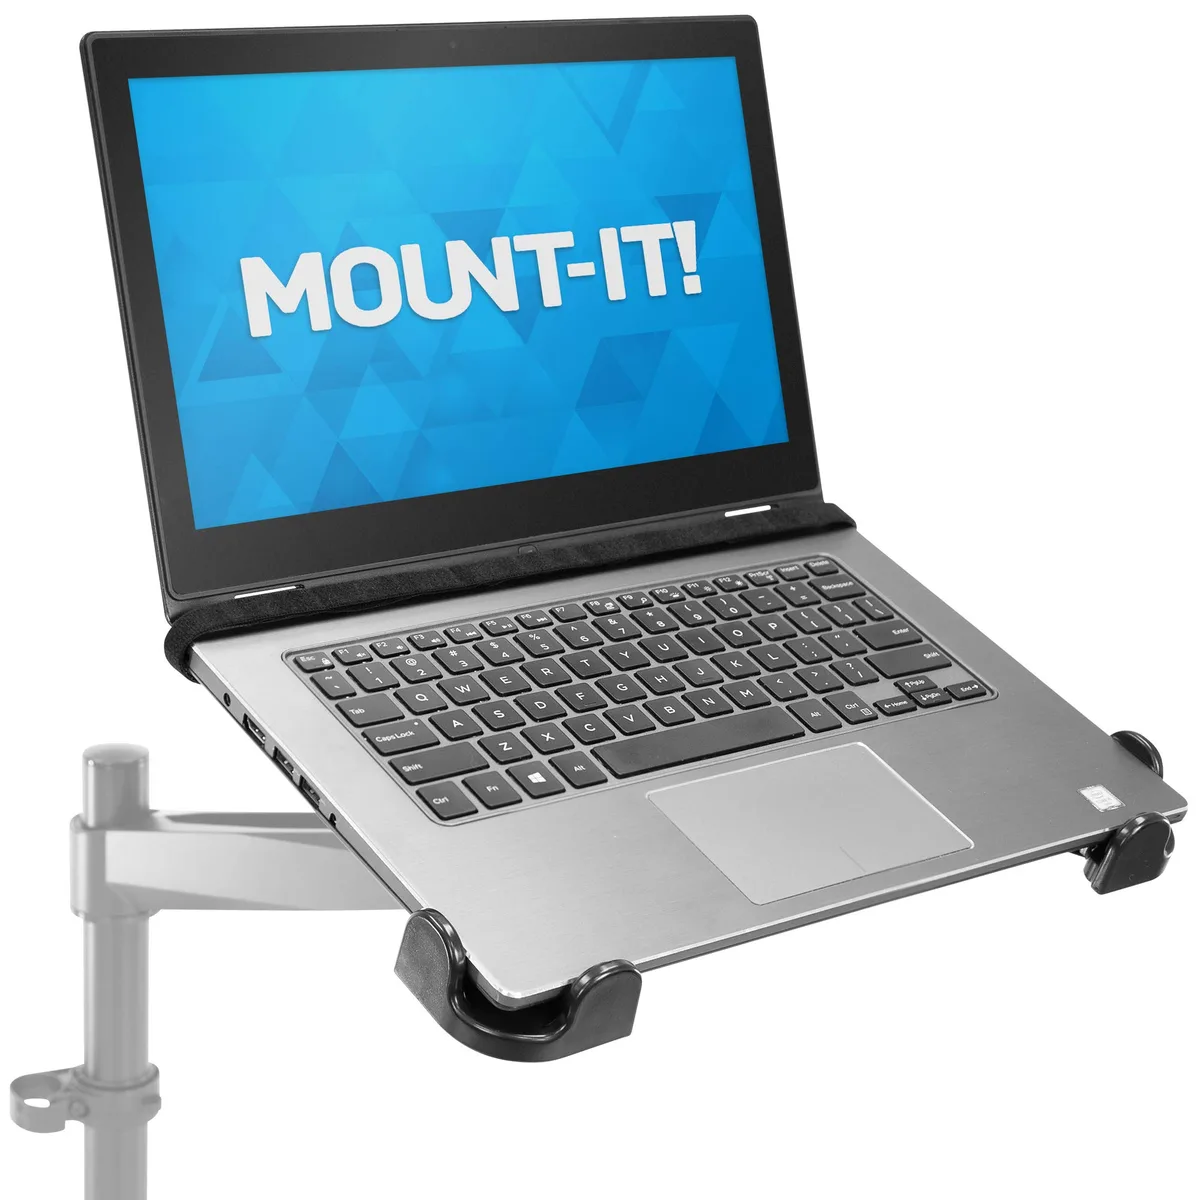
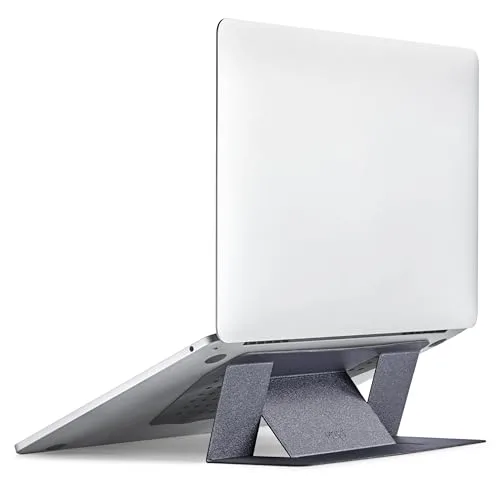
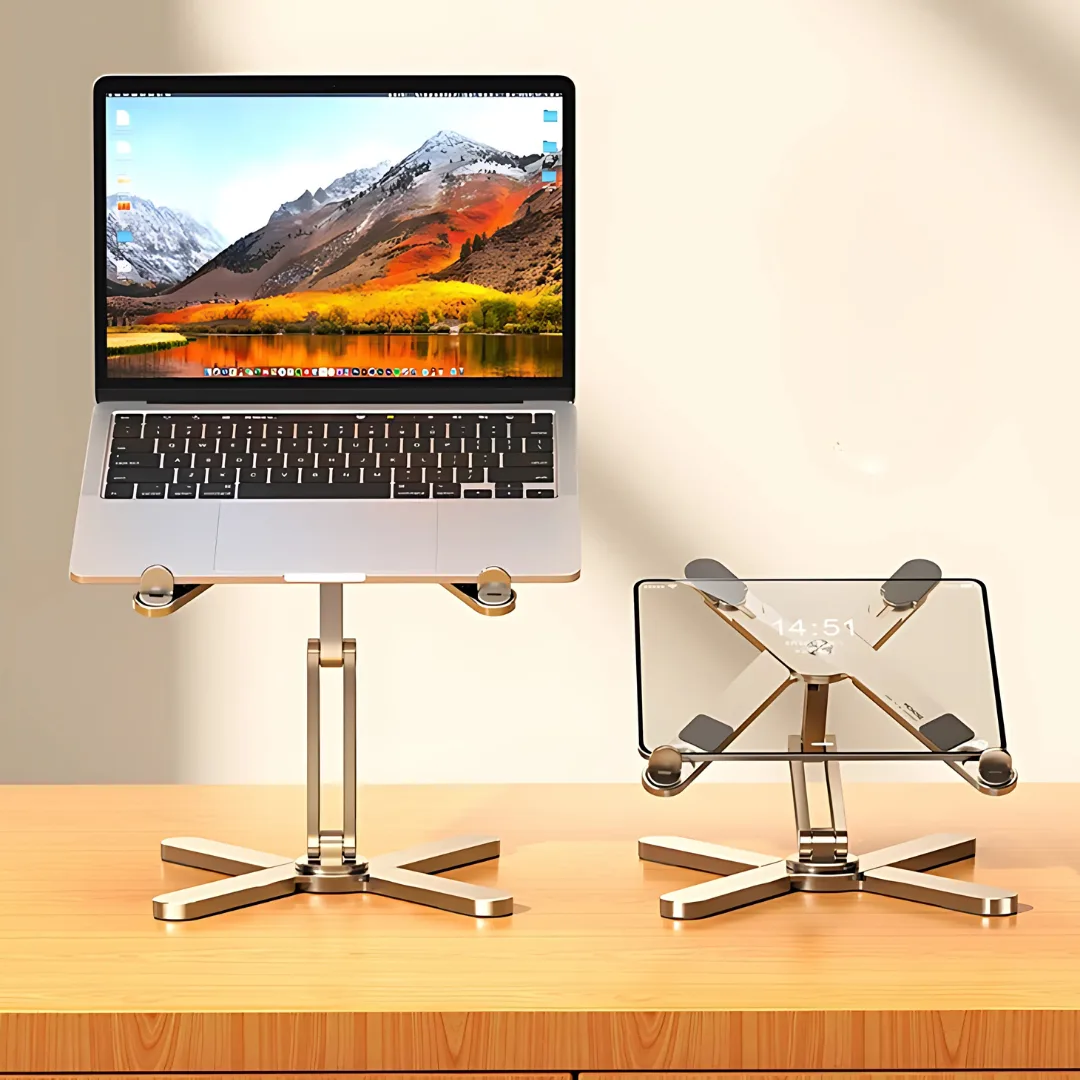
Compare your current unit to models that feature wide, rubberized cradles. A design that distributes weight across a large surface area is always safer than one that touches the laptop at four tiny corners. You should retire your current stand if it shows signs of structural warping or if the aluminum has become pitted from corrosion.
Consider the cost of replacing the stand against the potential impact on your MacBook resale value. A well-maintained MacBook retains a significantly higher value than one with a scarred bottom casing. Replacing a $20 stand is a smart financial move to protect your larger investment.
Pro-Tips for Keeping Your Desk Workspace Abrasive-Free
Your desk surface is a primary source of the debris that ends up on your stand. If you work near a window, you're likely collecting more dust than you realize. A small air purifier placed near your workstation can reduce the airborne particles that eventually settle on your stand.
Keep a dedicated microfiber cloth for your setup and use it daily. Avoid using paper towels or tissues, as these can actually contain wood fibers that leave fine scratches. A clean setup is a proactive defense against the microscopic grit that causes the sandpaper effect.
If you have a desk mat, keep it clean by vacuuming it or using a lint roller regularly. Many desk mats trap grit on their surface, which then transfers to your hands, and eventually to your laptop stand. A clean environment leads to a scratch-free device.
Protecting Your MacBook’s Resale Value
The bottom of a MacBook is often overlooked until the moment of resale. Potential buyers frequently inspect the condition of the casing to gauge how well the machine was handled. Scratches suggest neglect, even if the internal components are in perfect condition.
Consistent maintenance helps you document the history of your machine's care. If you have been using protective pads from the beginning, mention this to any future buyer. Providing a clean, unblemished device is a major advantage when you decide to upgrade.
Don't panic if you already have light surface marks. Most light scratches are purely aesthetic and don't affect the hardware performance at all. Focus your energy on preventing new damage moving forward by following the cleaning and padding steps outlined above.
Frequently Asked Questions
Can I remove scratches from my MacBook casing?
You cannot easily remove scratches from an anodized aluminum finish. Attempting to buff them out will likely remove the protective coating and change the texture of the metal. It is better to focus on preventing further wear than trying to repair existing aesthetic damage.
Should I use felt pads instead of silicone?
Felt pads work well if you move your laptop frequently because they have less grip. Silicone pads are superior for stability and vibration dampening during intense typing sessions. Choose silicone if you want the most secure, non-slip base for your machine.
Does my laptop stand warranty cover scratch damage?
Most stand manufacturers do not cover cosmetic damage to your laptop caused by their products. Warranties typically apply only to manufacturing defects within the stand itself. Always check the specific terms provided by the manufacturer before making any claims.
Why do some stands scratch more than others?
Stands with thin contact edges, poor deburring processes, or low-quality padding cause significantly more damage. Designs that place the entire weight of the laptop on four tiny points are more likely to dig into the finish. Look for stands that offer wide support cradles or full silicone coverage.
Is it safe to use a third-party stand with my MacBook?
Using third-party stands is safe if you ensure the surface is clean and the contact points are padded correctly. Apple does not explicitly restrict the use of third-party accessories, but you are responsible for the placement and maintenance of those items. Prioritize models that have smooth, finished contact surfaces.

Similar Posts