How to Replace a Laptop Charger Figure-8 Power Cord
Senior Hardware Diagnostics Specialist & Lead Thermal Editor at Laptop Post Testing Lab · CompTIA A+, ACMT, B.S. in Computer Engineering · 12+ years bench-testing laptop thermal solutions & motherboard repairs
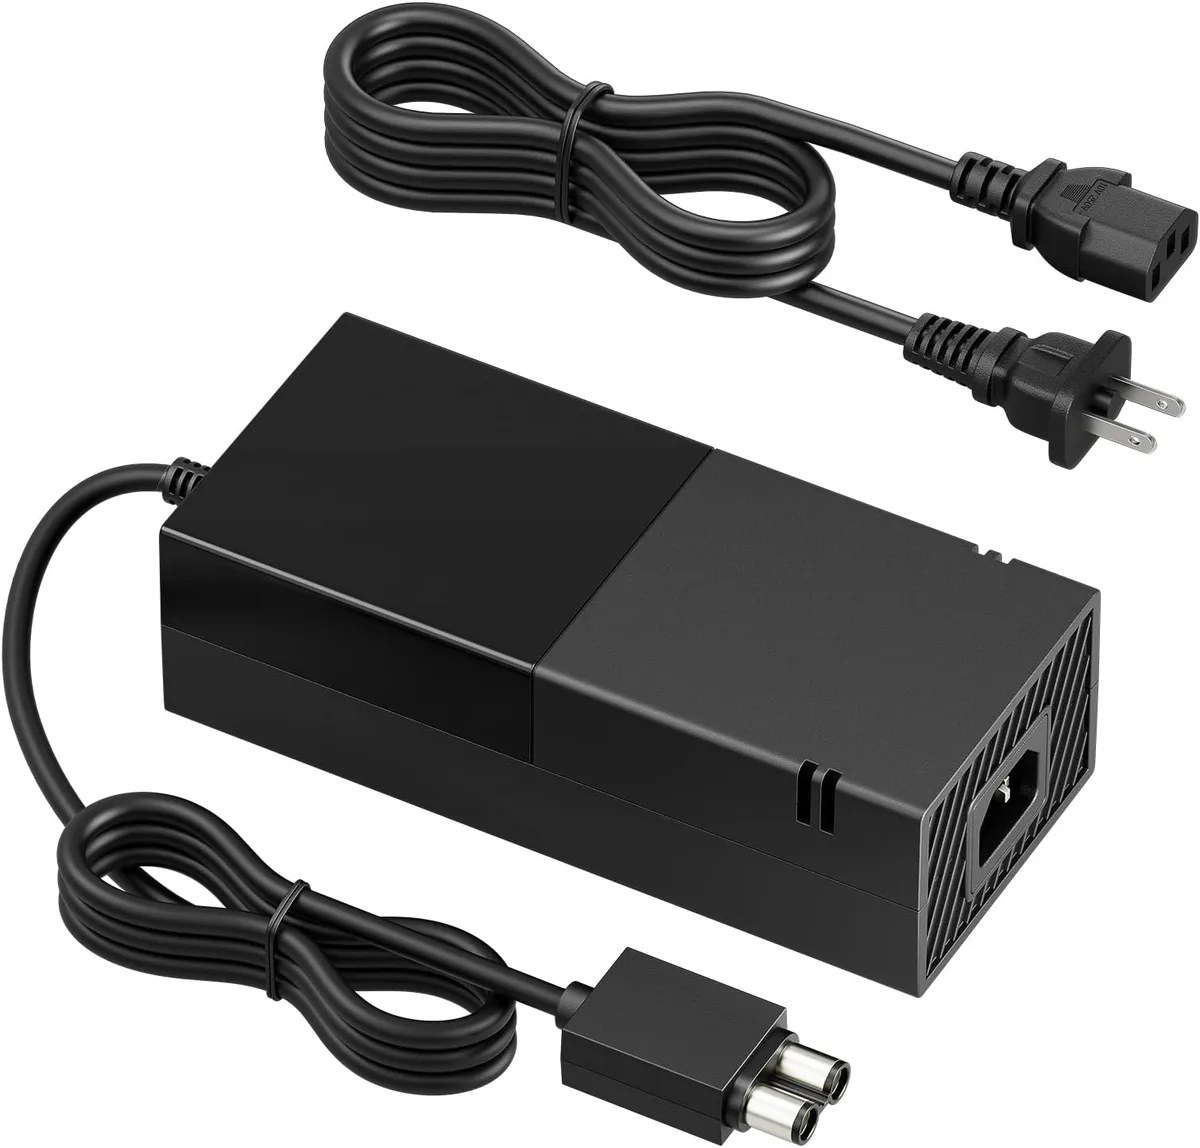
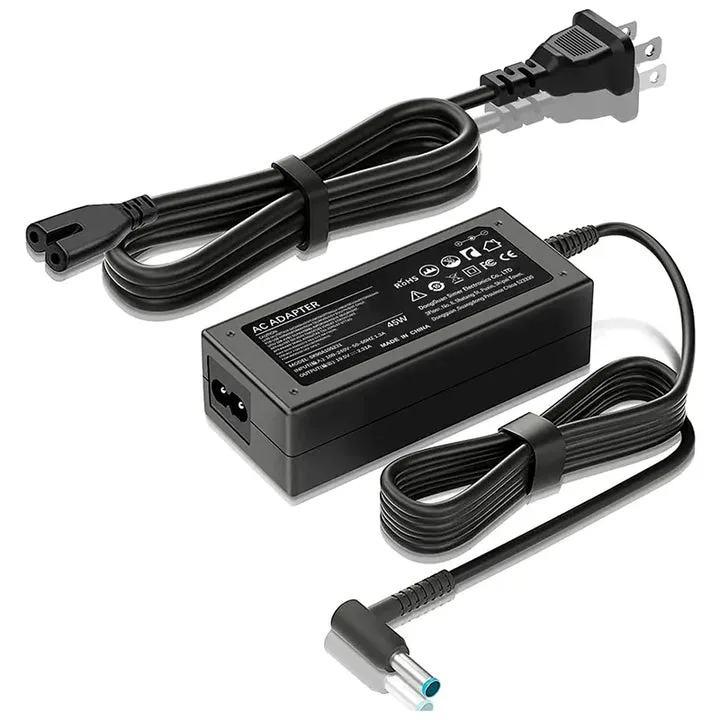
Learning how to replace a figure 8 c7 power cord on laptop charger units is a simple process that saves you from replacing a perfectly functional adapter. These cords are universal components designed to detach from your power brick, making them easy to swap when the cable becomes frayed or damaged.
As of 2026, most manufacturers adhere to the IEC 60320 standard for these connections. This ensures that a replacement cord meeting the correct electrical ratings will provide a safe and reliable power supply for your device.
Quick Answer
You can replace a figure 8 c7 power cord on a laptop charger by unplugging the old cord from the wall and the power brick. Inspect the new cord to ensure the connector shape matches your specific adapter. Firmly push the new cord into the brick inlet until it seats completely.
Verify the connection by checking for a snug, wobble-free fit. Never use a cord with visible damage or exposed internal wiring.
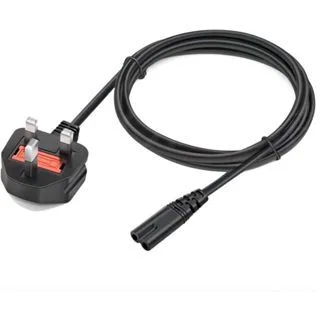
Image source: Bing (Web (fair-use with source credit))
The Figure-8 Problem: Why Your Laptop Power Cord Fails
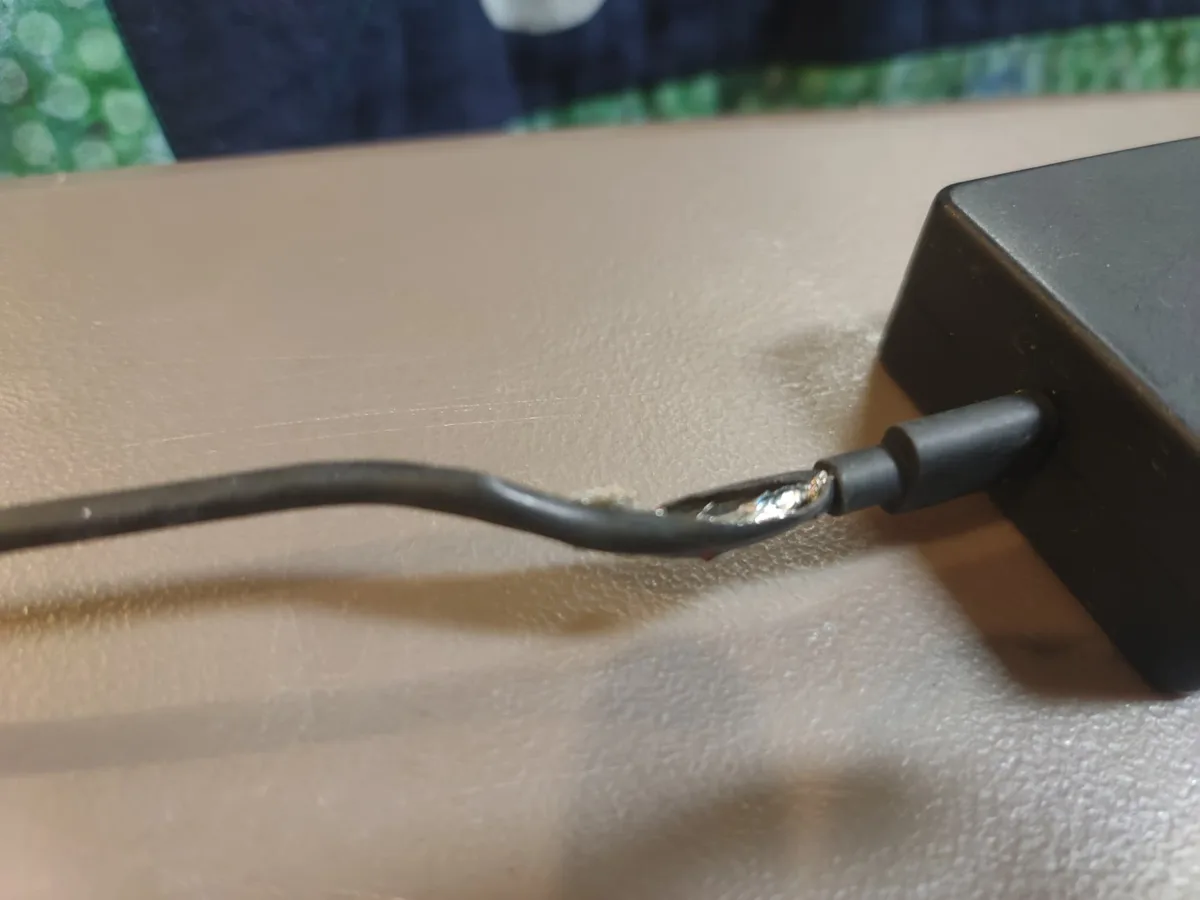
Power cords fail because they endure constant physical stress. You likely wrap your cable tightly around the brick or pull it by the cord rather than the plug when disconnecting it from the wall. This leads to internal wire fatigue, where the copper conductors break inside the protective plastic jacket.
When the internal wires break, the connection becomes intermittent. You might notice your laptop stops charging when you move the cable or the charger brick. In extreme cases, the insulation cracks near the connector, creating a shock hazard that requires an immediate replacement.
Identifying Your C7 Connector: Symmetrical vs. Polarized
Before you buy a new cable, you must identify the shape of the connector inlet on your power brick. While all C7 cords look like the number eight, they are not all interchangeable. Using the wrong type will result in a connector that simply does not fit the inlet.
- Non-Polarized (Symmetrical): Both ends of the figure-8 shape are rounded. This is the most common version found on many standard laptop chargers.
- Polarized (C8): One side of the figure-8 has a flat edge or a square corner. This ensures the plug can only be inserted in one orientation.
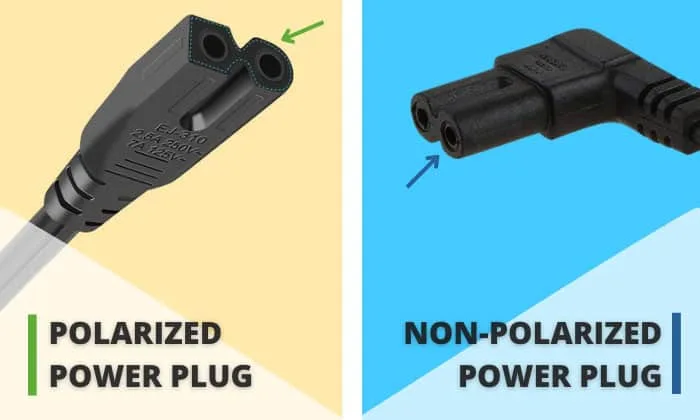
Image source: Bing (Web (fair-use with source credit))
If your power brick has a flat side in its inlet, you must purchase a polarized replacement. Attempting to force a symmetrical plug into a polarized socket can damage the plastic housing of your power brick. Always inspect your hardware before ordering a replacement part to ensure compatibility.
Visual Cues for a Secure Connection
A secure connection is the most important factor for safe power delivery. When you insert the new cord, you should feel a distinct resistance before it clicks into place. If the cord feels loose or wobbles, the internal pins are not making full contact with the connector.
- Alignment: Ensure the two holes on the cord line up perfectly with the pins on your brick.
- Depth: The plastic body of the connector should sit flush against the surface of the power brick.
- Resistance: A healthy connection requires a firm push, but you should never have to use excessive force to seat it.
If the cord remains loose after being pushed in fully, stop using it immediately. Poor contact creates resistance, which leads to localized heating and potential arcing at the pin interface. You can find technical specifications regarding safe electrical connections through the International Electrotechnical Commission standards website.
Safety First: Inspecting Your Power Brick for Damage
Before connecting a new cord, perform a quick safety check on the power brick itself. Look inside the inlet where the metal pins are located. If the pins are bent, oxidized, or caked with dust, the new cord will not provide a reliable electrical connection.
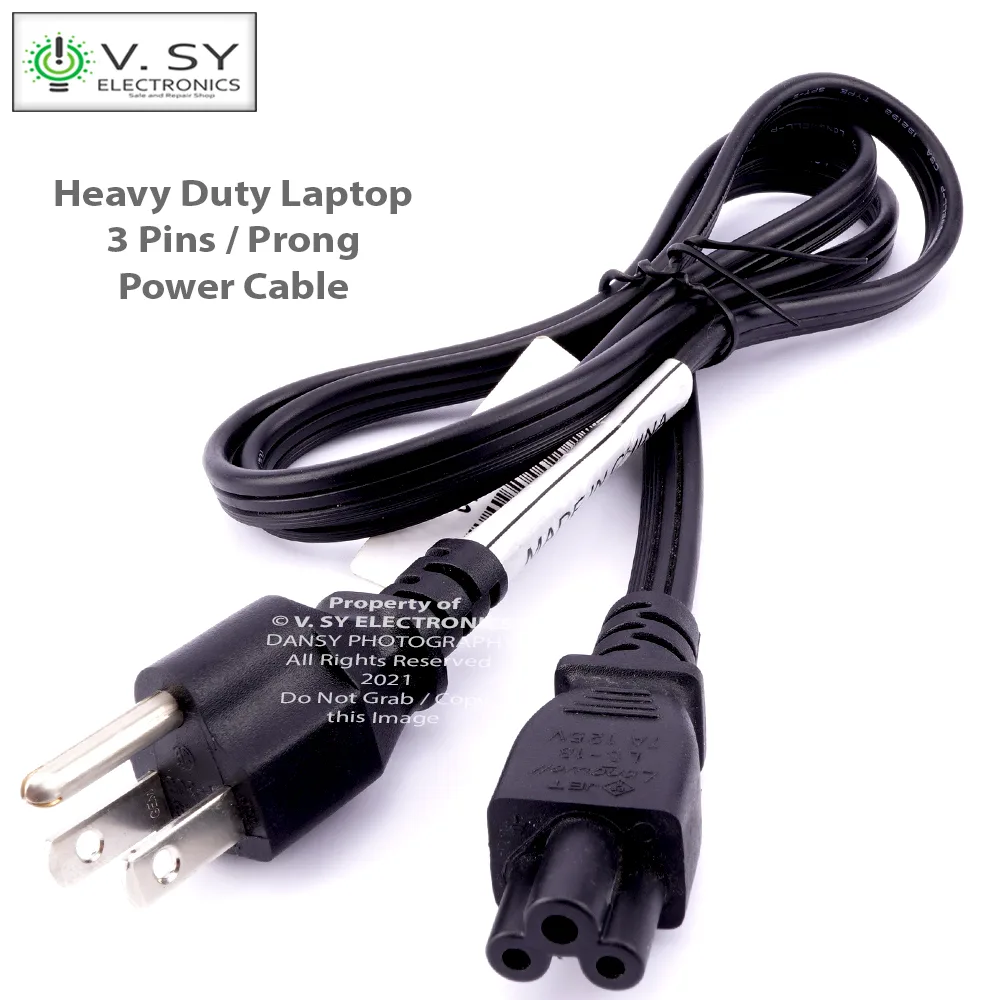
Image source: Bing (Web (fair-use with source credit))
Use a flashlight to look for any signs of melting or charred plastic inside the port. If you see signs of heat damage, the power brick itself is likely compromised and should be replaced entirely. Do not attempt to repair the internal pins if they are loose or broken.
How to Properly Seat and Test Your Replacement Cord
The installation process is simple, provided you follow the proper order of operations. Always start by ensuring the charger is completely disconnected from any wall outlet. This removes the risk of a short circuit while you are handling the connector pins.
| Step | Action | Safety Note |
|---|---|---|
| 1 | Unplug wall side | Always start at the wall outlet. |
| 2 | Remove old cord | Pull by the plastic plug head. |
| 3 | Inspect inlet | Look for bent pins or debris. |
| 4 | Insert new cord | Push until flush and firm. |
| 5 | Test fit | Ensure no wobbling occurs. |
Once the cord is seated, plug it into the wall outlet and then connect the charger to your laptop. If the charging indicator on your laptop does not turn on, re-seat the cord. Check the connection to the wall outlet as well, as loose plugs at the wall are a common source of intermittent power.
Key Specs: Understanding Voltage and Amperage
Your replacement cord must match the electrical requirements printed on your charger brick. Most laptop adapters are rated for 100 to 240 volts, which covers standard wall outlets across the globe. The critical metric to watch is the amperage rating.
Check the brick for a label stating an output or input current, often marked as 2.5A or 10A. The power cord you choose should be rated for at least that amount of current. Using a cord with a lower amperage rating than your brick demands can lead to dangerous overheating.
Common Visual Mistakes to Avoid During Installation
Installation errors often stem from ignoring the physical orientation of the figure-8 shape. If you encounter resistance when trying to slide the cord into the power brick, do not assume it just needs a harder push. Stop and re-examine the prongs.
- Forcing the plug: If you push a polarized cord into a non-polarized hole, you risk snapping the plastic wall between the pins.
- Incomplete seating: A plug that looks mostly in is still a major hazard. The plastic head must be fully flush against the surface of the brick.
- Ignoring alignment: Cables have a distinct top and bottom. If it doesn't slide in smoothly, rotate the plug 180 degrees and try again.
Why Cheap Replacement Cords Cause Overheating
Cheap cords often sacrifice the quality of their internal copper wiring to keep costs low. High-quality power leads use 18 AWG copper, which provides enough surface area for current to flow without building up excess heat. If your cord feels surprisingly light or the jacket seems thin, it likely lacks the necessary conductive material.
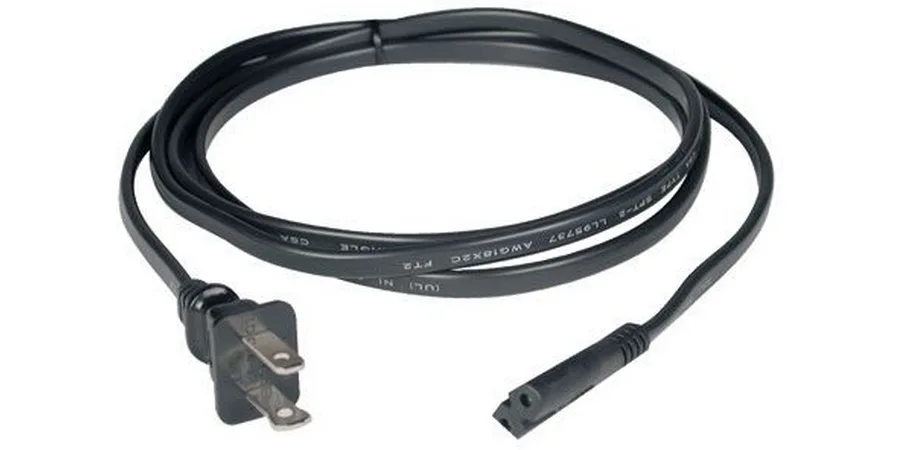
Image source: Bing (Web (fair-use with source credit))
Thin wires act like a bottleneck for electrical current. This forces the wire to resist the flow of electricity, which converts that energy into heat instead of power for your laptop. A cord that gets warm to the touch during normal operation is a red flag that the cable is undersized and potentially unsafe.
Maintenance Tips for Extending Cord Life
You can significantly extend the lifespan of your power cord by changing how you store it. Stop wrapping the cable tightly around your power brick, as this puts extreme tension on the connection point. This stress is the leading cause of internal wire failure.
Instead, use a loose loop method to coil the cable. Secure the loop with a velcro strap or a simple twist tie. When you unplug the cable from the wall, always pull on the molded plug rather than the cord itself to prevent internal conductor breakage.
Final Decision Guide for Choosing a Safe Replacement
When picking a replacement cable, prioritize build quality over the lowest price point. Look for clear certification marks on the cable jacket, such as UL or ETL logos, which indicate the product has undergone independent safety testing. These labels confirm the cord meets the electrical standards necessary to handle the heat generated during laptop charging.
Avoid no-name listings on marketplaces that provide no specifications regarding wire gauge or insulation materials. A reliable vendor will list the AWG rating and provide photos of the plug clearly. If the product description feels vague or lacks technical details, keep looking for a more transparent option.
Comparing OEM Cables vs Third-Party Alternatives
Original Equipment Manufacturer (OEM) cords are the safest bet for guaranteed compatibility. They are built to the exact specifications of your charger brick, ensuring a precise fit that won't strain the inlet pins. However, these are often more expensive and harder to find as standalone parts.
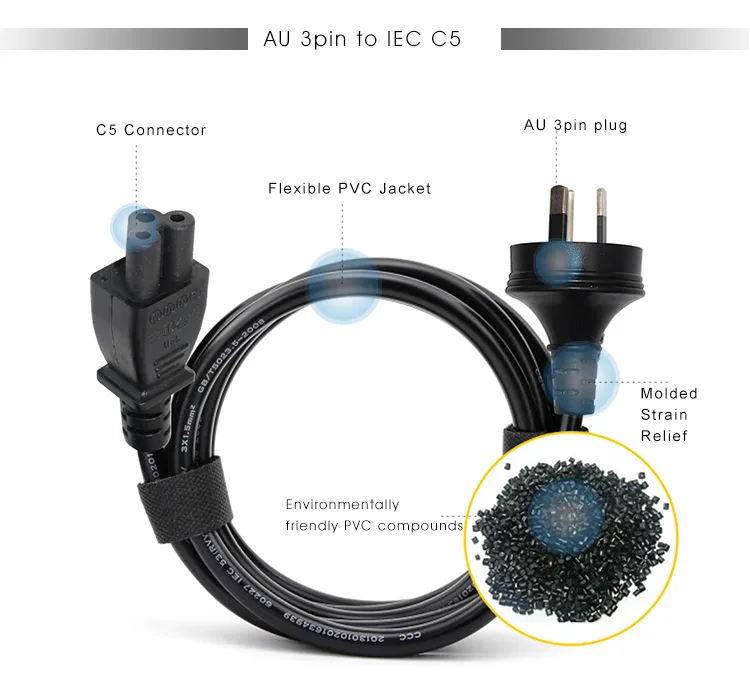
Third-party alternatives are excellent, cost-effective substitutes if you choose carefully. The best third-party options feature durable PVC jackets and reinforced strain relief at the neck. By confirming the connector shape and electrical rating, you'll gain the same performance as an OEM part for a fraction of the cost.
Troubleshooting Common Power Delivery Issues
If your laptop isn't charging after installing a new cord, start by checking the wall outlet. Use a lamp or a phone charger to confirm that the outlet itself has power. Sometimes, a tripped circuit breaker or a faulty GFCI outlet is the actual cause of the problem.
If the wall outlet is fine, re-seat the cord into the power brick. Ensure there is no gap between the plug and the brick housing. If the charging indicator still fails to light up, inspect the prongs inside the brick for any signs of soot or blackening, which may indicate a failed contact point inside the power adapter itself.
When to Retire Your Power Brick
A power brick has a finite lifespan, even if the cord is replaceable. If you notice a buzzing or high-pitched whining sound coming from the brick, the internal capacitors are likely failing. This creates inconsistent voltage delivery that can damage your laptop's battery over time.
Additionally, any swelling or bulging of the power brick casing is a critical warning sign. This usually indicates that internal heat has compromised the integrity of the unit. Replace the entire assembly immediately if the housing feels soft, deformed, or excessively hot during operation.
Best Practices for Workspace Cable Management
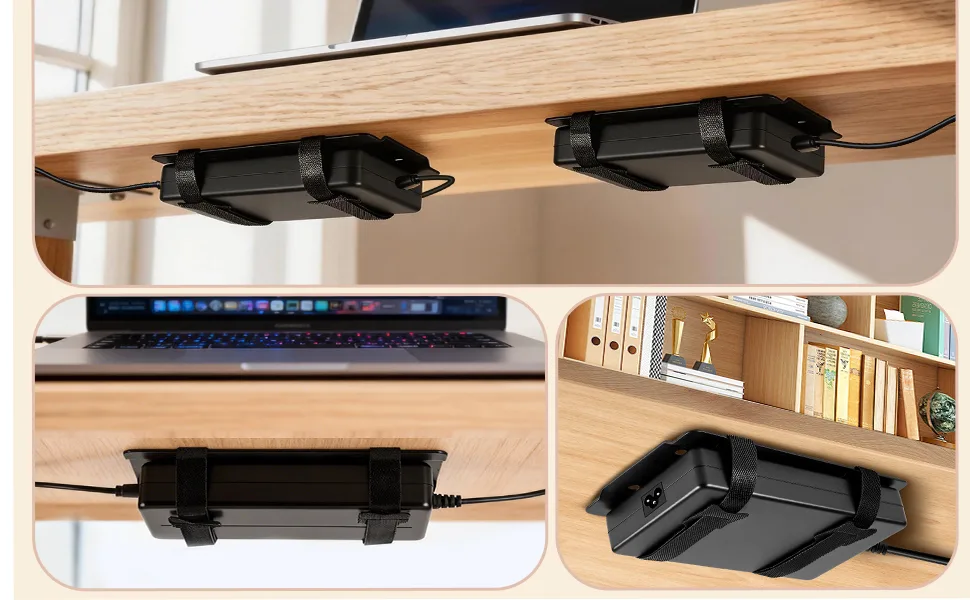
Organizing your cables prevents the accidental tugs and drops that break connectors. Use cable clips to anchor the power brick to your desk or a mounting tray. This keeps the weight of the cord from pulling directly on the connection point at the brick.
Consider using a cable sleeve to bundle the power cord with other cables. This adds a layer of protection against pets, vacuum cleaners, and accidental foot traffic. Keeping your cord path clear and supported ensures your new replacement will last for years without further intervention.
Frequently Asked Questions
Is it safe to use a longer power cord than the original?
Yes, it is perfectly safe to use a longer cord as long as the gauge of the wire is sufficient. Higher-quality cables maintain consistent power delivery regardless of length. Just be mindful of the added tripping hazard a longer cord creates in your workspace.
Do I need a specific brand of replacement cord?
No, the IEC 60320 standard makes the C7 connector a universal interface. You do not need to buy a cord branded by your laptop manufacturer. Any cord meeting the correct voltage and amperage ratings for your specific power brick will work perfectly.
What should I do if the power brick feels hot?
A warm power brick is common, but a hot one is a sign of trouble. Unplug the charger from the wall and check the cord connection for a loose fit or debris. If it remains hot to the touch after you have ensured a solid connection, discontinue use and replace the power brick entirely.
Can I use a cord from another appliance?
You can use a cord from another appliance only if the connector shape is identical and the electrical ratings match your charger. Many game consoles, televisions, and cameras use the same C7 figure-8 connector. Check the fine print on the cord jacket to ensure it handles the required amperage.
How do I know if my cord has internal damage?
Internal damage often presents as an intermittent charging state, where the laptop switches between charging and battery power while the cord is stationary. If wiggling the cord near the connector triggers the charging light, the internal conductors are frayed. Stop using this cord immediately to prevent short circuits.

Similar Posts