Why Your Laptop Charger Only Works at Certain Angles
Senior Hardware Diagnostics Specialist & Lead Thermal Editor at Laptop Post Testing Lab · CompTIA A+, ACMT, B.S. in Computer Engineering · 12+ years bench-testing laptop thermal solutions & motherboard repairs
If you are wondering why does my laptop charger only charge when bent at a certain angle, you are likely dealing with a broken wire inside the protective insulation. This common failure happens when the copper strands inside the cord snap from repeated bending or physical stress.
As of 2026, industry reports from the National Fire Protection Association emphasize that compromised power cables can pose significant electrical risks. When the internal connection is inconsistent, it often creates heat or arcing at the point of damage. Replacing the cable immediately is the only way to ensure your hardware remains safe from power surges or potential fire hazards.
Quick Answer
Your laptop charger needs to be bent because internal copper wires are broken. The cable’s shielding hides these fractured strands from view. Pushing the cable forces those broken wires into temporary contact.
This connection is fragile and inherently unstable for your hardware. You must replace the charger to prevent heat damage or fire risks.
Why Your Charging Cable Only Works at Certain Angles
When your charger only functions at a specific angle, you are experiencing a loss of electrical continuity. Your power adapter relies on a continuous path of conductive copper strands to carry electricity from the wall outlet to your machine. Over time, those strands fray.
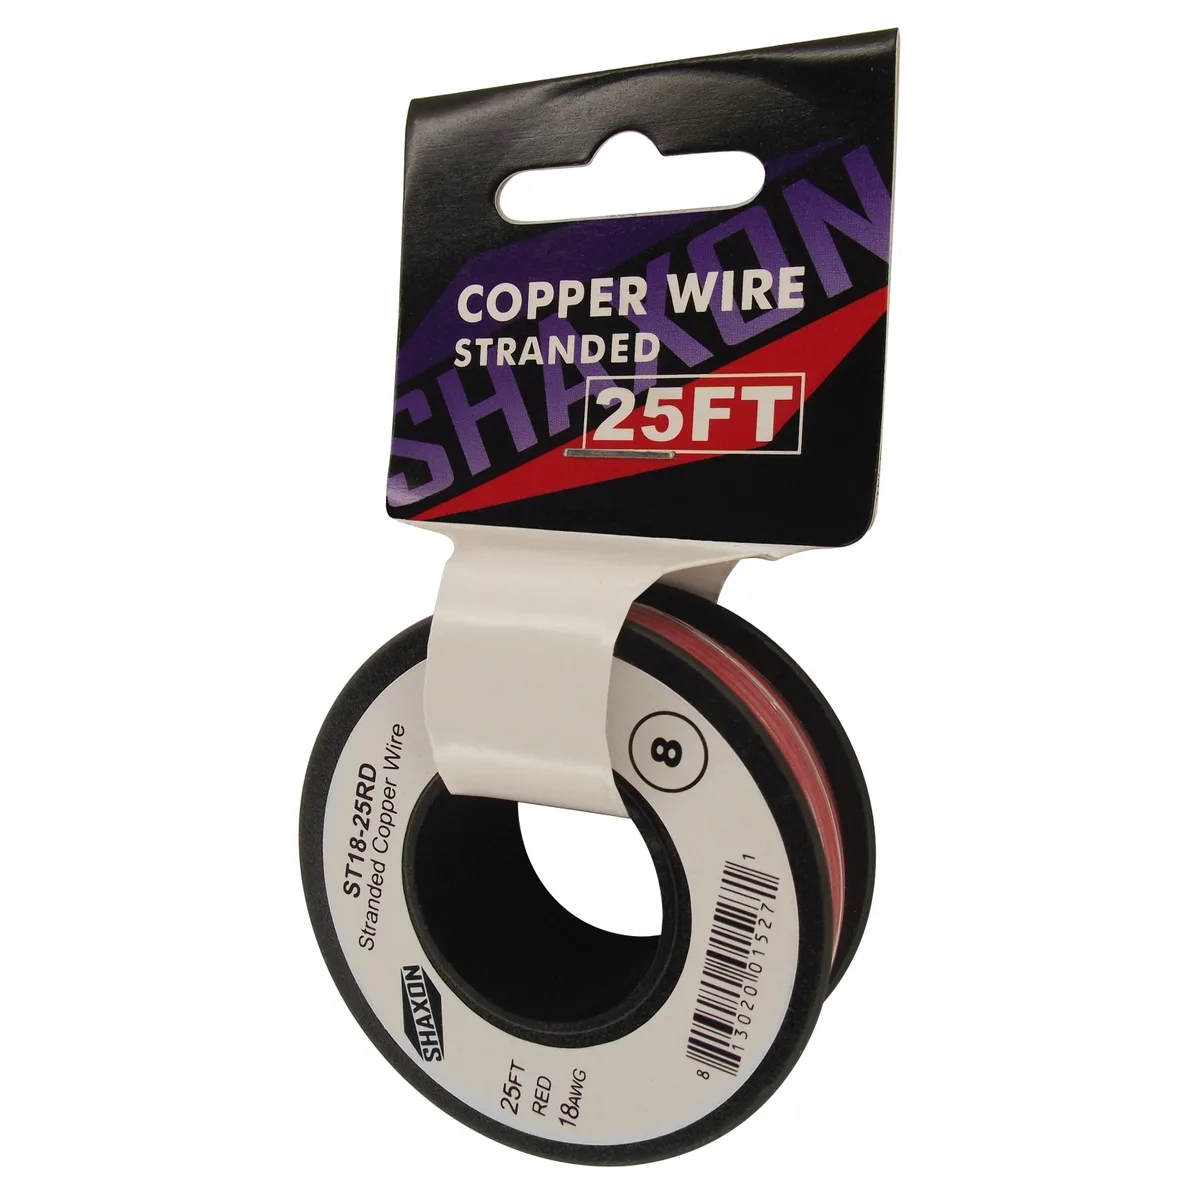
Most cables contain several thin copper wires wrapped in a plastic jacket. If you frequently wrap your charger tightly around the power brick, those wires endure extreme tension. Eventually, the metal fatigues and snaps inside the rubber casing.
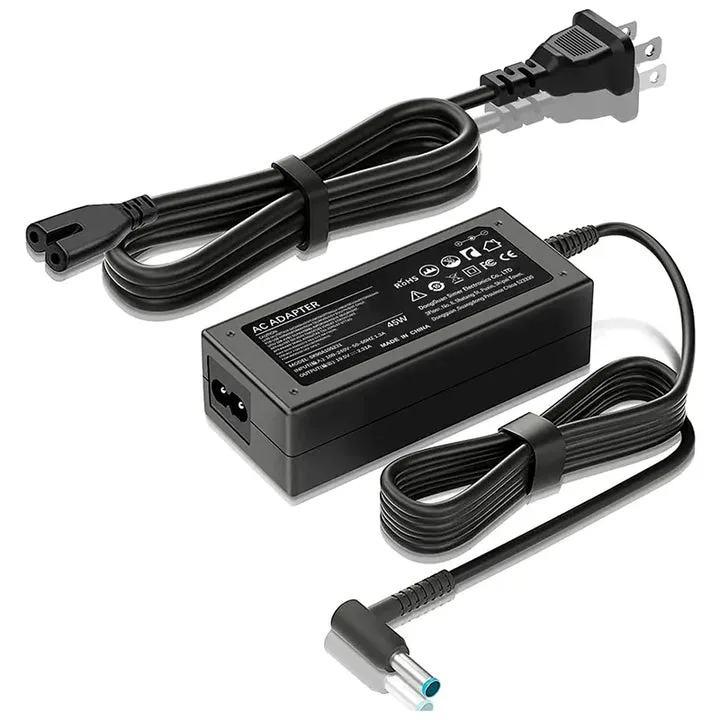
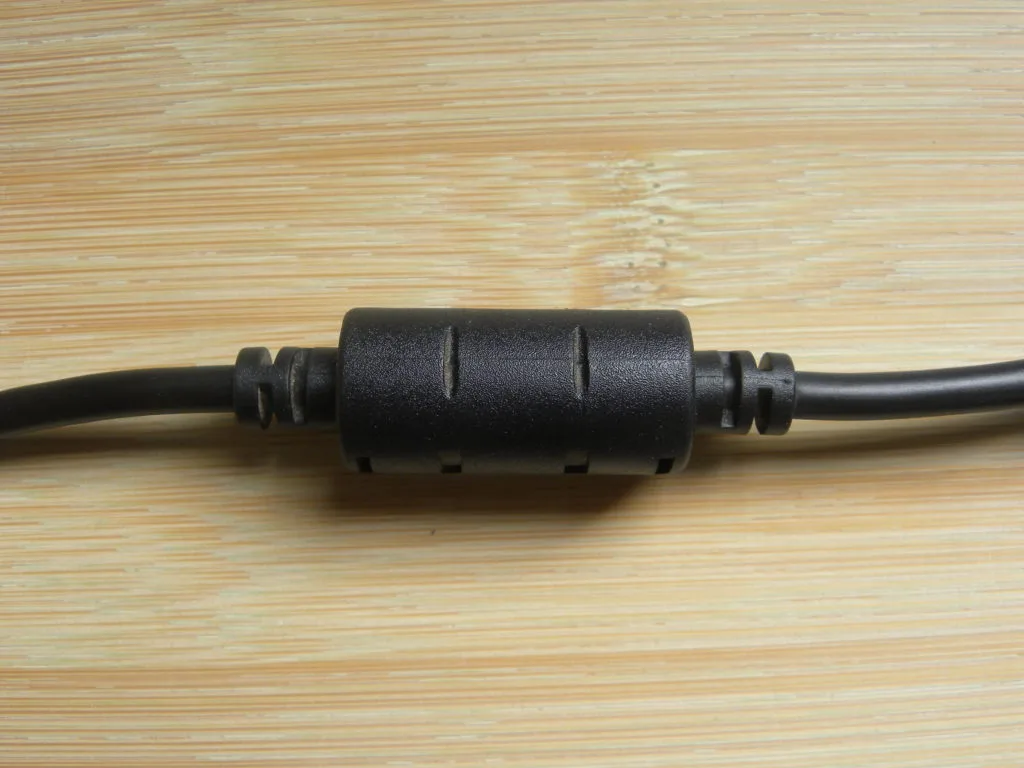
The angle you find is the only position where the two fractured ends of the wire touch. This is a temporary mechanical fix, not an electrical one. The connection remains poor and creates resistance, which leads to increased heat production.
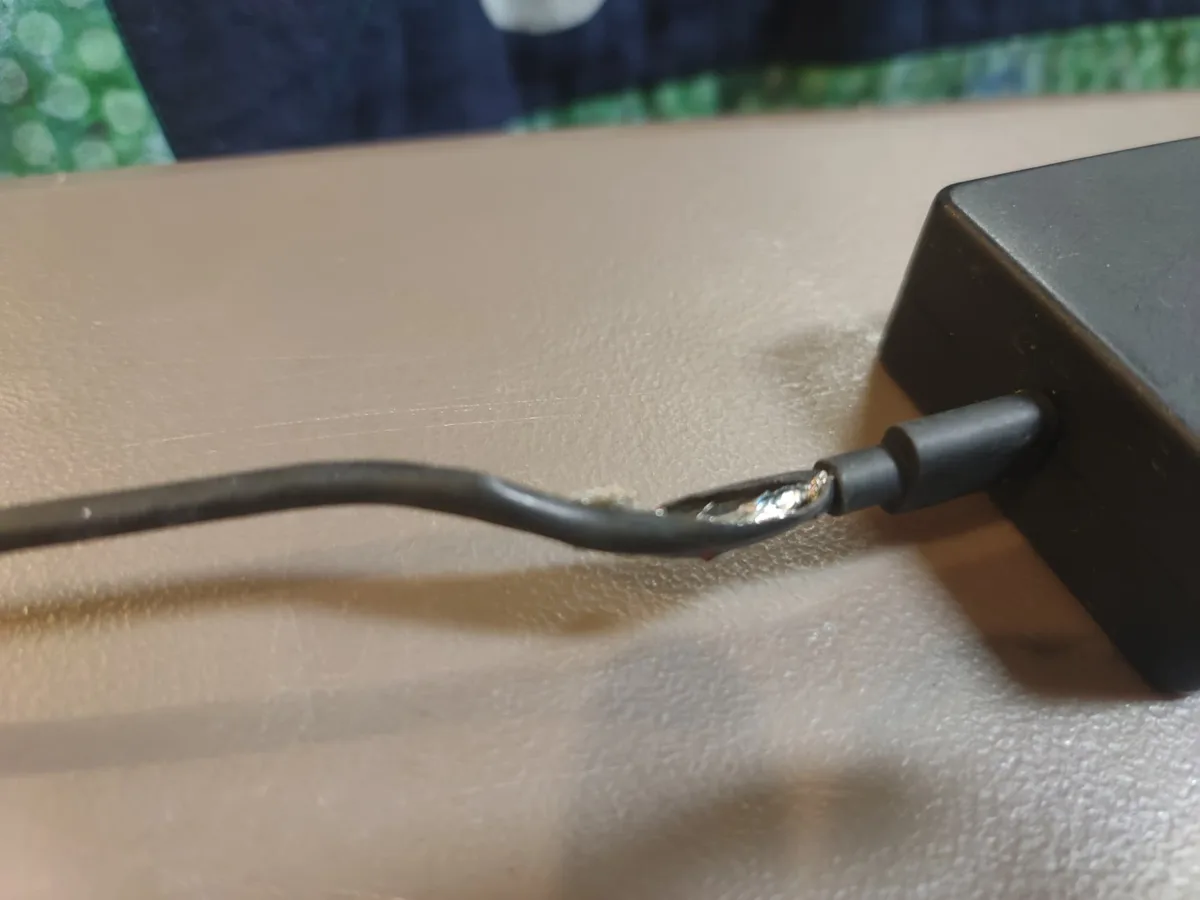
Image source: Bing (Web (fair-use with source credit))
The Reality of Internal Cable Fatigue
Cable fatigue is the gradual degradation of materials caused by cyclical loading. Every time you bend, twist, or stretch your charger, the internal copper undergoes microscopic stress. This stress accumulates until the material eventually fails.
Some cables are designed with reinforced strain relief near the connector head. Even with these features, the area where the cord meets the brick or the plug remains the weakest point. Repeated movement in these zones accelerates the breakdown of the insulation and the conductive core.
Once the internal insulation breaks, the copper strands have no support. They move freely inside the casing, which makes the connection increasingly sensitive to any movement. You might notice the charging light flickers or turns off completely with even the slightest vibration on your desk.
Visualizing the Damage: How Electrical Continuity Breaks
To understand why a bent cable works, you have to imagine the break as a literal gap in a bridge. When the cable is straight, the bridge is pulled apart, and electricity cannot cross the gap. Bending the cable closes that gap by forcing the two sides together.
Image source: Bing (Web (fair-use with source credit))
This process causes arcing. Arcing occurs when electricity jumps across a small gap between two conductors. This jump creates localized, extreme heat that melts the plastic shielding inside.
You might notice the cable feels warm or even hot to the touch when it is held in that specific working angle.
This heat is not just a sign of inefficiency. It is a sign of thermal damage to your charger’s internal components. If you ignore this, the melted plastic and exposed wires will inevitably short-circuit.
A short circuit can damage the sensitive charging port on your laptop, often requiring an expensive motherboard repair.
Risk Factors: Why Arcing is a Genuine Fire Hazard
Arcing is dangerous because it produces intense, concentrated heat in a very small space. Your laptop charger is designed to manage specific current levels, but it is not designed to contain the heat generated by a faulty, high-resistance connection.
When the gap between wire strands is small, the electricity can bridge the distance, causing a series of tiny, repeated sparks. These sparks slowly consume the insulation material. Over time, this can lead to carbonization, where the plastic casing turns into a conductive residue that promotes further arcing.
The Underwriters Laboratories standards for power adapters mandate safety features to prevent these issues. However, these features cannot protect the device once the cable itself has been physically compromised. Continuing to use a damaged charger bypasses the safety engineering built into the product.
Is the Problem Your Charger or Your Laptop Port?
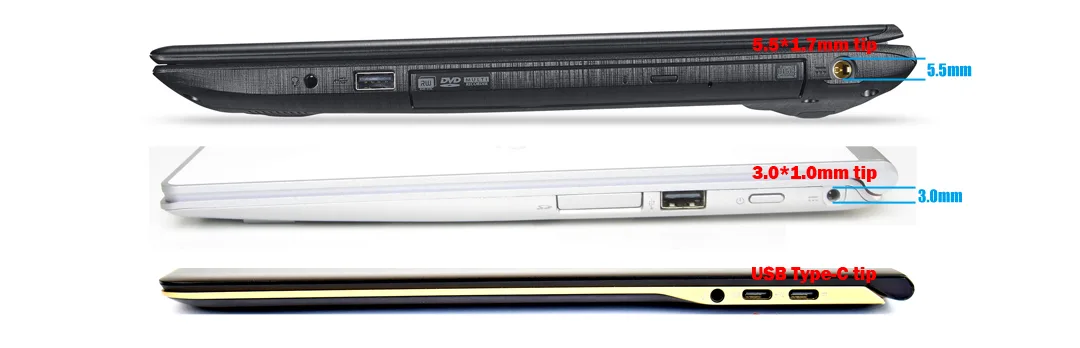
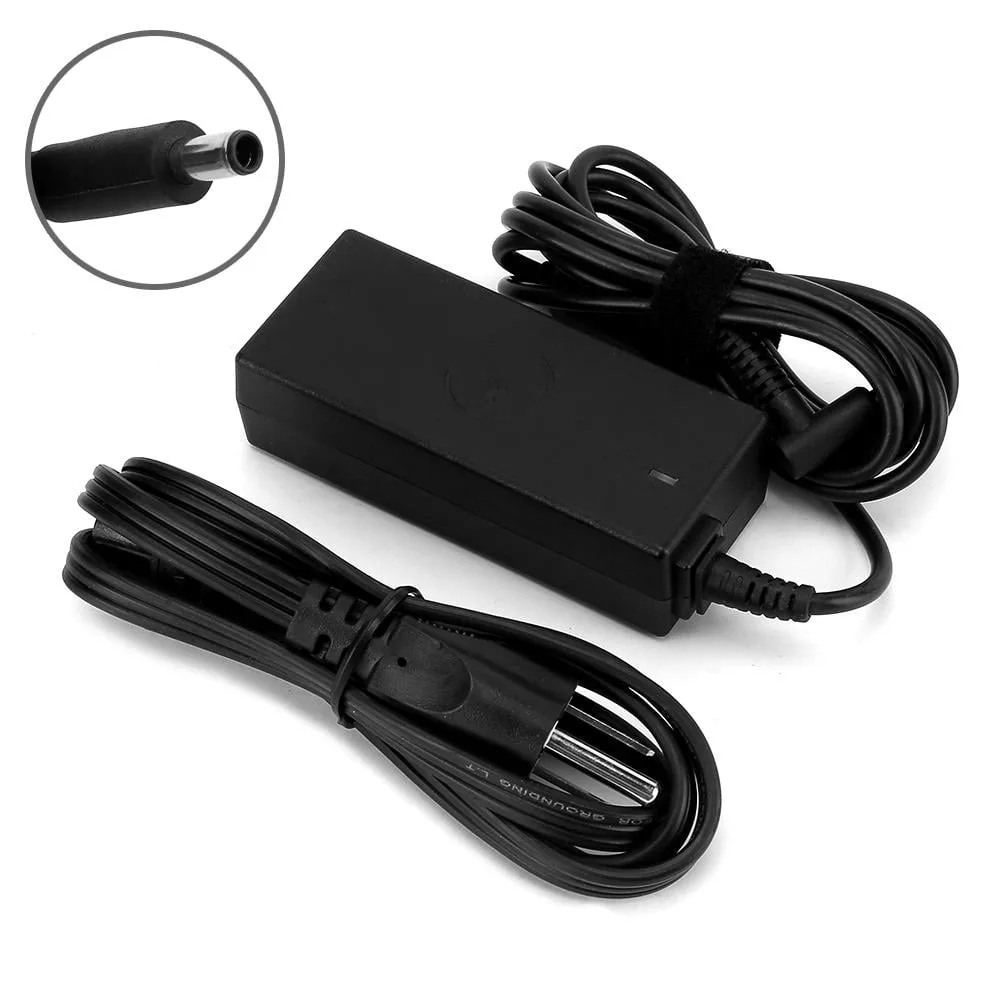
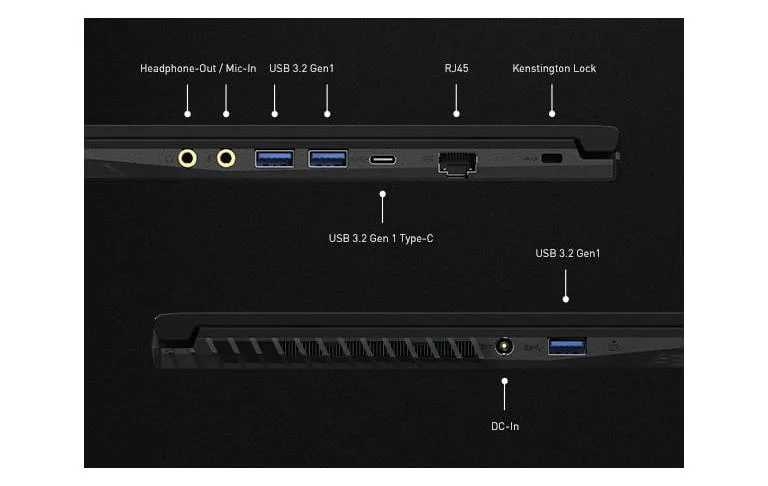
Before you commit to buying a new power adapter, verify that the fault lies with the cable and not the charging port. A loose or damaged DC power jack can mimic the symptoms of a broken cable perfectly.
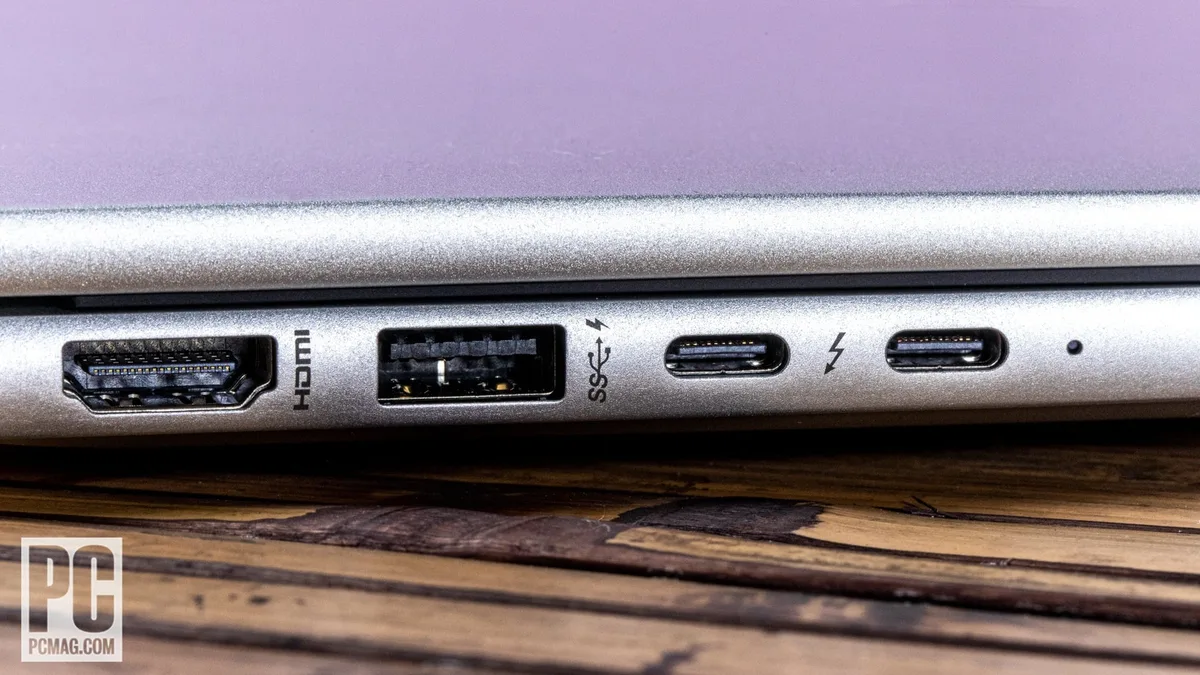
Image source: Bing (Web (fair-use with source credit))
If the charging port is the issue, you might feel the plug wobbling inside the laptop chassis. This indicates that the physical connection between the port and the internal motherboard has broken. If you have ruled out the cable, you likely need a professional repair technician.
Comparing Symptoms
| Symptom | Likely Culprit |
|---|---|
| Cord has visible kinks or fraying | Damaged Charging Cable |
| Port feels loose or wobbly | Damaged Charging Port |
| Charger works on another identical laptop | Damaged Charging Port |
| Charger is warm at the bend point | Damaged Charging Cable |
If you suspect the port, do not force the plug into different positions. This can further damage the electrical pins on the motherboard. A professional diagnostic assessment can determine if the port simply needs a cleaning or a full soldering replacement.
Step-by-Step Diagnostic Process
You can identify the source of your power failure by methodically checking each component in the charging chain. Start by inspecting the power brick and the cable from end to end. Look for any visible kinks, heat damage, or exposed metal.
Next, plug the charger into a different wall outlet to rule out a localized power issue. If the charger still fails to provide consistent power, test the cable by gently moving it near the connector and the base of the brick. If the charging status light on your laptop flickers in response to these movements, you have confirmed a physical break in the cabling.
Finally, clean the laptop’s charging port. Use a wooden toothpick to gently remove any lint or debris that might be preventing a solid electrical contact. If the port remains unresponsive after cleaning, and you have confirmed your charger works on another identical laptop, you likely have an internal hardware failure.
Safety Warnings: Why You Should Never Repair a Frayed Cable
Repairing a frayed cable using tape, glue, or solder is dangerous and rarely results in a safe product. Electrical power adapters are precision-engineered devices that rely on specific shielding and insulation to prevent fire and electrocution. Home-repaired cables lack the mechanical strength and thermal protection needed for daily use.
When you attempt to solder broken internal wires, you create a stiff spot in the cable. This new rigidity puts extra strain on the remaining intact wires, causing them to fail shortly after your repair. Additionally, poor solder joints can cause excessive heat during operation, which can melt the plastic housing and create a genuine fire hazard.
Per guidelines provided by the Occupational Safety and Health Administration regarding electrical equipment, damaged cords should be removed from service immediately. A compromised cable can deliver an unstable current, which may trigger a thermal event inside your laptop. Replacing the entire unit is the only way to restore the safety certifications of your device.
Evaluating Your Replacement Options: OEM vs. Third-Party
You should choose a replacement charger based on safety certifications and exact technical compatibility. Original Equipment Manufacturer (OEM) chargers provide the highest level of assurance, as they are tested to meet the specific safety standards required for your unique laptop model.
Third-party chargers can be a viable alternative if you verify their specifications. Look for chargers that carry recognized certifications like UL or CE. These marks indicate that the product has undergone independent safety testing to ensure it won't overheat or malfunction under normal load.
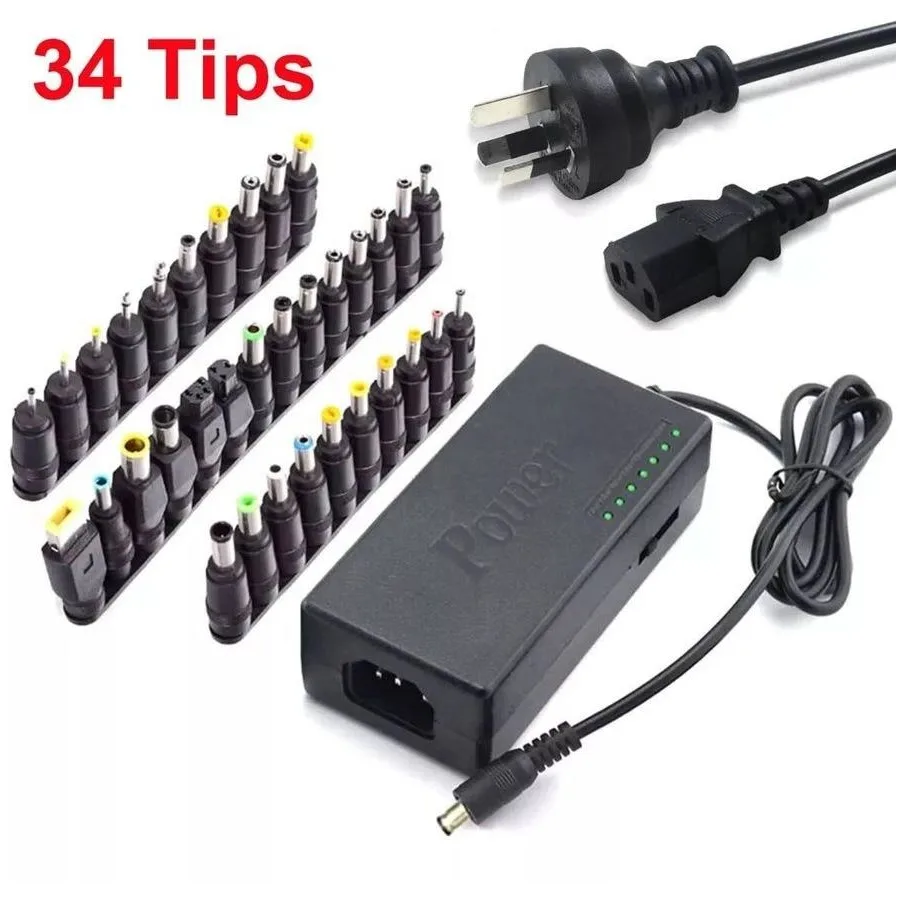
Avoid "universal" chargers that claim to work with every laptop model. These adapters often use interchangeable tips that can result in an improper electrical connection. Always prioritize chargers that explicitly list your specific laptop model or the original part number on their packaging.
Understanding Electrical Specifications for Replacements
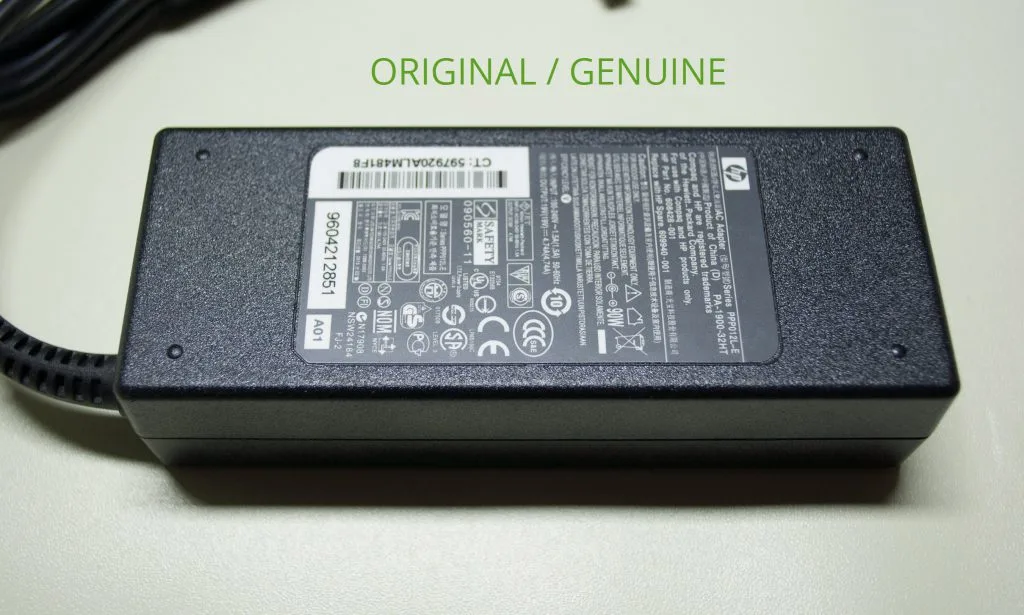
Your replacement charger must match the electrical specifications of your original adapter to function safely. You can find these details printed on the label of your current power brick. Look specifically for the output voltage (V) and the amperage (A) rating.
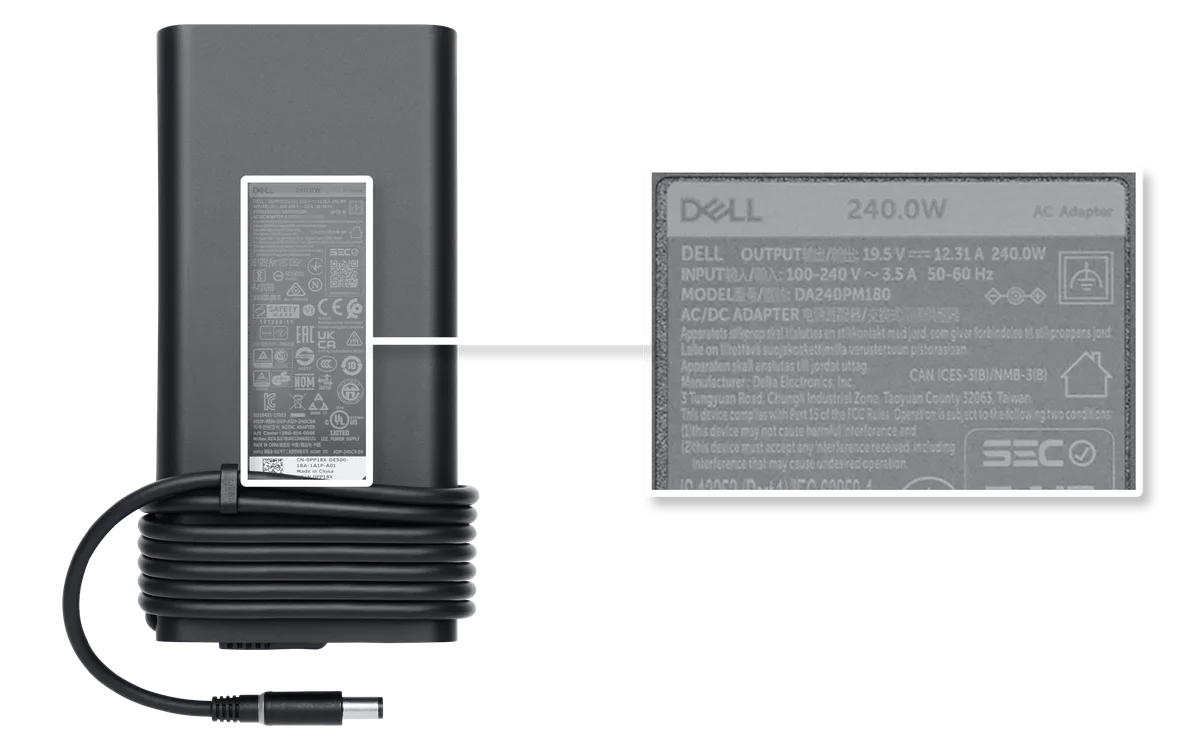
Image source: Bing (Web (fair-use with source credit))
The voltage must be an exact match to prevent damage to your laptop’s sensitive power management chip. If the voltage is too high, it can permanently fry your motherboard. If the voltage is too low, the laptop may not charge or could experience system instability.
The amperage rating on your new charger should be equal to or greater than the original unit. A higher amperage rating simply means the charger has more headroom to provide power without being overworked. Never use a charger with an amperage rating lower than what your laptop manufacturer recommends, as this will lead to overheating and poor performance.
Protecting Your Laptop’s Charging Port from Future Damage
Preventing port damage requires changing how you handle your power cable during daily use. Never wrap the cable tightly around the power brick, as this creates tight bends that stress the internal copper strands. Instead, use a loose coiling method that maintains a wide bend radius.
Avoid placing your laptop in a position where the charging cable is pulled tight or forced into a sharp angle near the port. If you use your laptop on a couch or bed, ensure the cable has enough slack to move freely without straining the connector. This simple habit prevents the constant mechanical stress that leads to port looseness.
Finally, avoid jerking the cable out of the laptop port. Always pull the plug itself rather than tugging on the wire. If you notice the plug feels hot after you remove it, this is a clear sign that the connection was loose during charging, causing excessive resistance and heat.
When to Seek Professional Hardware Repair
You should contact a professional if your charger works fine on other devices but your laptop refuses to hold a steady charge. A technician can test the voltage output of your motherboard’s internal power rail to see if the problem exists on the main circuit board.
Hardware repair is necessary if you notice the laptop charging port is pushed inward or if the chassis itself feels warm near the power input. These symptoms indicate physical damage to the internal mounting points, which simple cleaning or a new cable cannot fix. Always seek out an authorized service provider to ensure they use factory-spec components for internal repairs.
Frequently Asked Questions
Can I use electrical tape to fix my charger permanently?
No, you should never rely on tape for a permanent repair. Electrical tape only secures the outer jacket and does not address the snapped copper wires inside. It provides a false sense of security while the underlying electrical fault remains, increasing the risk of overheating or a short circuit.
Is it safe to keep using a flickering charger?
No, you must stop using a charger that requires specific positioning to function. A flickering connection means the electrical path is unstable, which causes arcing at the contact point. Continued use may trigger power surges that can permanently damage your laptop's battery or sensitive motherboard circuitry.
Why does my charger make a buzzing sound?
A buzzing sound usually indicates a failing power component inside the adapter or an inconsistent electrical connection at the break. This noise often accompanies internal arcing where electricity is jumping across the gap in the wire. Unplug the charger immediately if you hear this, as it is a common precursor to total failure.
Will a generic charger hurt my laptop?
A generic charger can be dangerous if it does not match your laptop's specific voltage and amperage requirements. Incorrect wattage delivery can lead to poor performance, battery failure, or extreme heat build-up. Always match the technical specifications listed on your original adapter or manufacturer support page to prevent long-term damage.
Final Decision Guide: Replace or Repair?
You have two primary paths when your charging cable fails. The first is to replace the adapter entirely, which is the safest, most reliable, and highly recommended option. It restores your system's integrity and guarantees that you are meeting the manufacturer’s safety standards for power delivery.
The second path is to seek professional repair if the failure is actually within the laptop’s charging port. Attempting to repair a damaged cable yourself is never a recommended path because of the inherent fire risks and the difficulty of restoring an electrical circuit to factory performance levels.
Prioritize your safety and your hardware's longevity by investing in a high-quality, compatible replacement unit. Your laptop is a precision instrument, and it relies on a steady, consistent stream of power to operate safely. When in doubt, always choose the path that removes damaged electrical components from your home.

Similar Posts