How to Safely Power Vintage Laptops With Universal Chargers
Senior Hardware Diagnostics Specialist & Lead Thermal Editor at Laptop Post Testing Lab · CompTIA A+, ACMT, B.S. in Computer Engineering · 12+ years bench-testing laptop thermal solutions & motherboard repairs
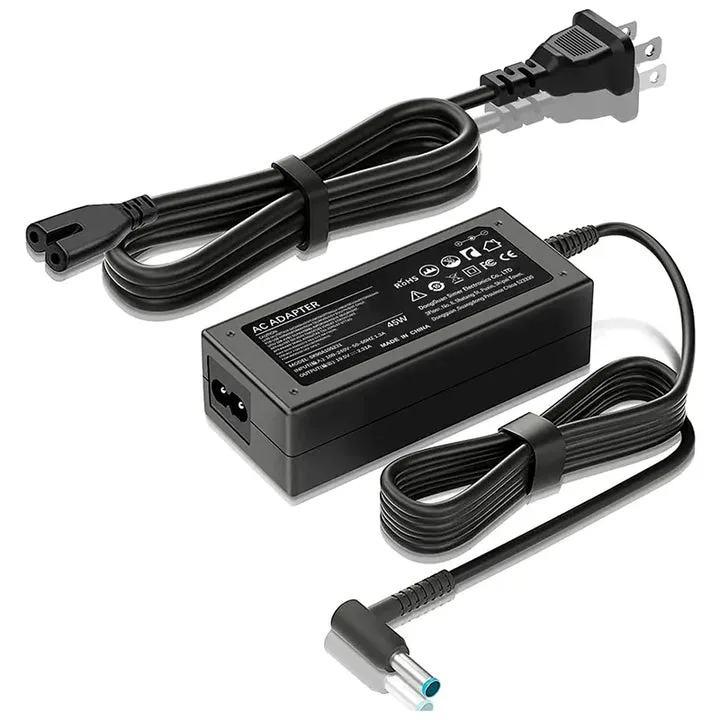
Rescuing a vintage laptop often leads to a common problem where the original power supply is missing or damaged. Learning how to use a multi-tip universal laptop charger on vintage laptops requires careful preparation to avoid permanent hardware failure. These devices allow you to select specific voltages, but they lack the proprietary safety communication found in modern machines.
Vintage hardware operates on basic electrical inputs that do not offer protection against incorrect settings. As of 2026, many technicians rely on IEEE power standards to ensure that legacy equipment receives the correct DC current. Using the wrong power configuration can destroy sensitive components like motherboards or capacitors.
Quick Answer
You must match the voltage, amperage, and polarity of the laptop precisely. Use a multimeter to verify output before plugging in the adapter. Never trust the label on the universal charger alone.
Ensure the barrel tip fits the port without any loose movement. Mismatched power settings will destroy fragile vintage computer motherboards instantly.

Image source: Bing (Web (fair-use with source credit))
The Stakes: Why Vintage Laptops Need Precision Power
Vintage laptops lack the sophisticated power-management circuits found in modern hardware. Modern devices use USB-C Power Delivery to negotiate voltage, which prevents electrical damage if the charger and device do not match. Older systems act as passive recipients for whatever electricity is pushed through the barrel jack.
If you provide 19V to a machine expecting 12V, you will likely smoke the internal power regulation circuitry immediately. Even a small difference in voltage can cause capacitors to fail or the system to become unstable. Because replacement parts for 20-year-old machines are difficult to source, a single mistake effectively ends the life of the laptop.
Quick Check: Identifying Your Laptop's Power Requirements
Before you touch a charger, turn your laptop over. Look for a small sticker on the base or near the battery compartment that lists the power input requirements. You need to identify three specific pieces of data to proceed safely.
- Voltage (V): Your charger must match this number exactly.
- Amperage (A): The charger must provide at least this amount of current.
- Polarity: This indicates if the center pin is positive or negative.
If the label is missing or worn, search for the service manual of your specific model online. Manufacturer documentation is the most reliable way to confirm power needs. Do not guess these values based on similar models from the same brand, as specs often change between hardware revisions.
How Voltage, Amperage, and Polarity Interact
Electrical power acts like a water system. Voltage represents the pressure pushing current through the circuit. If the pressure is too high, it ruptures the pipes, which in this case means burning out internal electronic components.
Amperage is the volume of current available to the system. You can use a charger with higher amperage than the laptop requires, because the laptop will only draw what it needs. You cannot use a charger with lower amperage, as the adapter will overheat and fail under the load.
Polarity determines the direction of the electrical flow. Most laptops are center-positive, but some vintage models use center-negative configurations. Connecting a standard center-positive charger to a center-negative device creates a direct short circuit.
This usually results in a spark and a dead machine.
The Danger of Mechanical Fits and Barrel Jack Compatibility
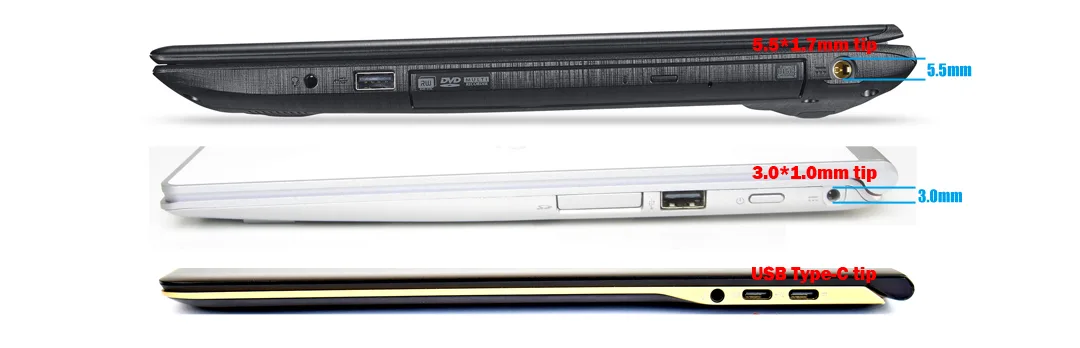
A physical fit does not guarantee an electrical connection. Many universal charger kits come with a variety of tips that look similar but have different inner diameters or pin lengths. You might find a tip that slides into the jack, but if it does not make firm contact, you are risking an electrical arc.
Arcing happens when electricity jumps across a gap in a loose connection. This generates intense heat that can melt the plastic housing of the port. It also creates inconsistent power, which can lead to data loss or system crashes if the laptop manages to turn on at all.
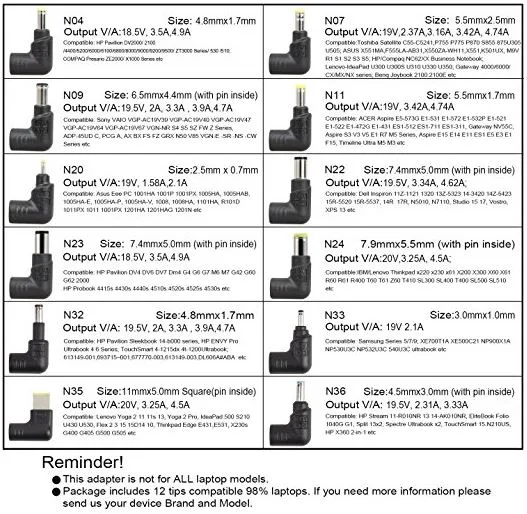
Image source: Bing (Web (fair-use with source credit))
| Connector Condition | Risk Level | Result |
|---|---|---|
| Snug, no movement | Low | Safe for operation |
| Loose or wiggly | High | Arcing and melting |
| Incorrect inner pin | Critical | No power or short circuit |
If you feel any resistance or if the tip feels sloppy inside the port, stop immediately. You need to source a specific tip that matches the dimensions of your original power jack. Some manufacturers used custom barrel sizes that universal kits do not include.
In those cases, you may need a barrel-jack adapter rather than a universal charger.
Step-by-Step: Verifying Your Universal Charger Before Connection
Before you plug that adapter into your vintage laptop, you need to verify the actual output with a tool. The switch on the side of many universal chargers is a common failure point. It can easily slide during transit, changing your voltage from a safe 16V to a dangerous 24V.
Set the voltage switch to match your laptop's requirement. Grab a digital multimeter and set it to measure DC voltage. Touch your black probe to the outside of the metal barrel tip and your red probe to the inside pin.
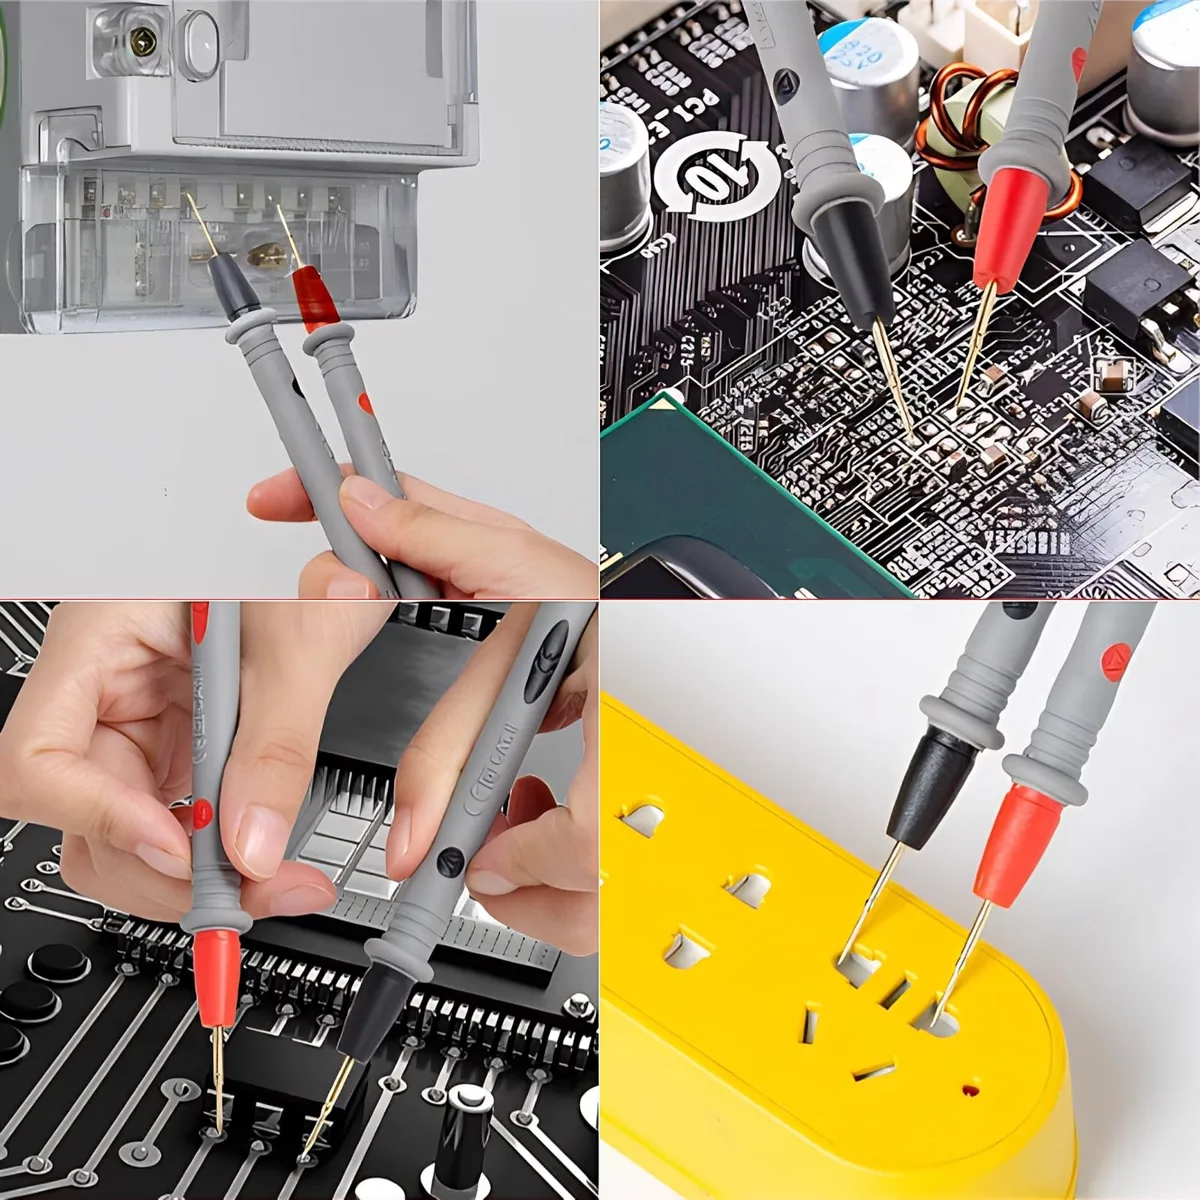
Image source: Bing (Web (fair-use with source credit))
Compare the reading on the multimeter screen to the voltage requirement on the laptop label. If they do not match perfectly, do not use the charger. If the multimeter shows zero voltage, the adapter or the tip might be faulty.
Never use a charger that you have not personally verified with a meter.
Deciphering the Polarity Symbol on Your Chassis
Polarity is the most overlooked variable when using universal chargers. If you look closely at the power input label on your laptop, you will see a small diagram. This diagram shows a circle with a dot in the middle, connected by lines to a plus sign and a minus sign.
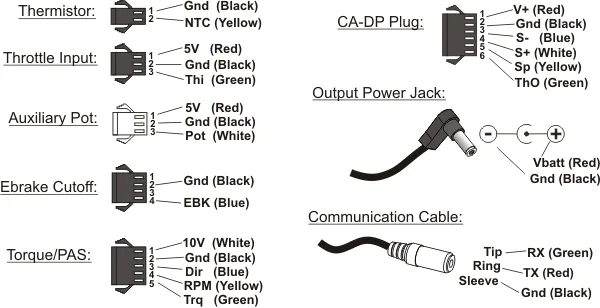
Image source: Bing (Web (fair-use with source credit))
- Center Positive: A line points from the center dot to the (+) sign. The outer ring connects to the (-) sign. This is the industry standard for almost all laptops.
- Center Negative: A line points from the center dot to the (-) sign. The outer ring connects to the (+) sign. Using a standard charger here will cause a catastrophic short.
Always verify this diagram before you insert the tip. If your charger lacks a clear polarity diagram, check the manufacturer's official support documentation for connector standards. If you are ever in doubt, use your multimeter to check the polarity of the charger tip against your chassis requirements before making the final connection.
Critical Mistakes to Avoid
The most common way to kill a vintage computer is to ignore the sliding voltage switch. Many users find a tip that fits, plug it in, and turn the computer on without checking the settings. This often results in the immediate release of magic smoke from the power regulation section of the motherboard.
Another frequent error is using a charger that provides insufficient amperage. If your laptop requires 4.7A and you provide a 2A charger, the charger will try to pull more power than it can handle. This causes the charger to overheat, potentially melting the casing or causing a fire.
Always ensure the amperage rating on the charger is equal to or higher than the requirement on the laptop label.
Never force a tip into a port. If you have to wiggle the connection to get the power light to turn on, you have a mechanical mismatch. This loose connection creates intermittent power gaps that can corrupt hard drives or damage the sensitive capacitors on the motherboard.
When to Use a Multimeter vs. Manufacturer Labels
Manufacturer labels are the first source of truth for your power needs, but they can be misleading. Over decades of use, stickers can be swapped, or internal modifications might have been made to the laptop hardware. A label might say 19V, but a multimeter is the only way to know what the charger is actually outputting.
Use the label to find your target numbers. Use the multimeter to ensure your tool matches those numbers. If you have a choice between trusting the printed text on a universal brick and the real-time readout of a multimeter, always choose the multimeter.
Electronics age, and internal components in old power supplies often drift from their original voltage settings.
Comparing Universal Adapters to Original OEM Bricks
Original bricks provide stable power specifically filtered for older hardware. Universal adapters prioritize modularity over signal purity, which can introduce electrical noise. Use OEM gear if you can locate one that tests within range.
Universal units act as a solid backup plan when original hardware is lost. Ensure your adapter is certified by reputable safety organizations. Always prioritize an OEM charger to maximize the lifespan of your vintage machine.
Troubleshooting Common No-Power Symptoms
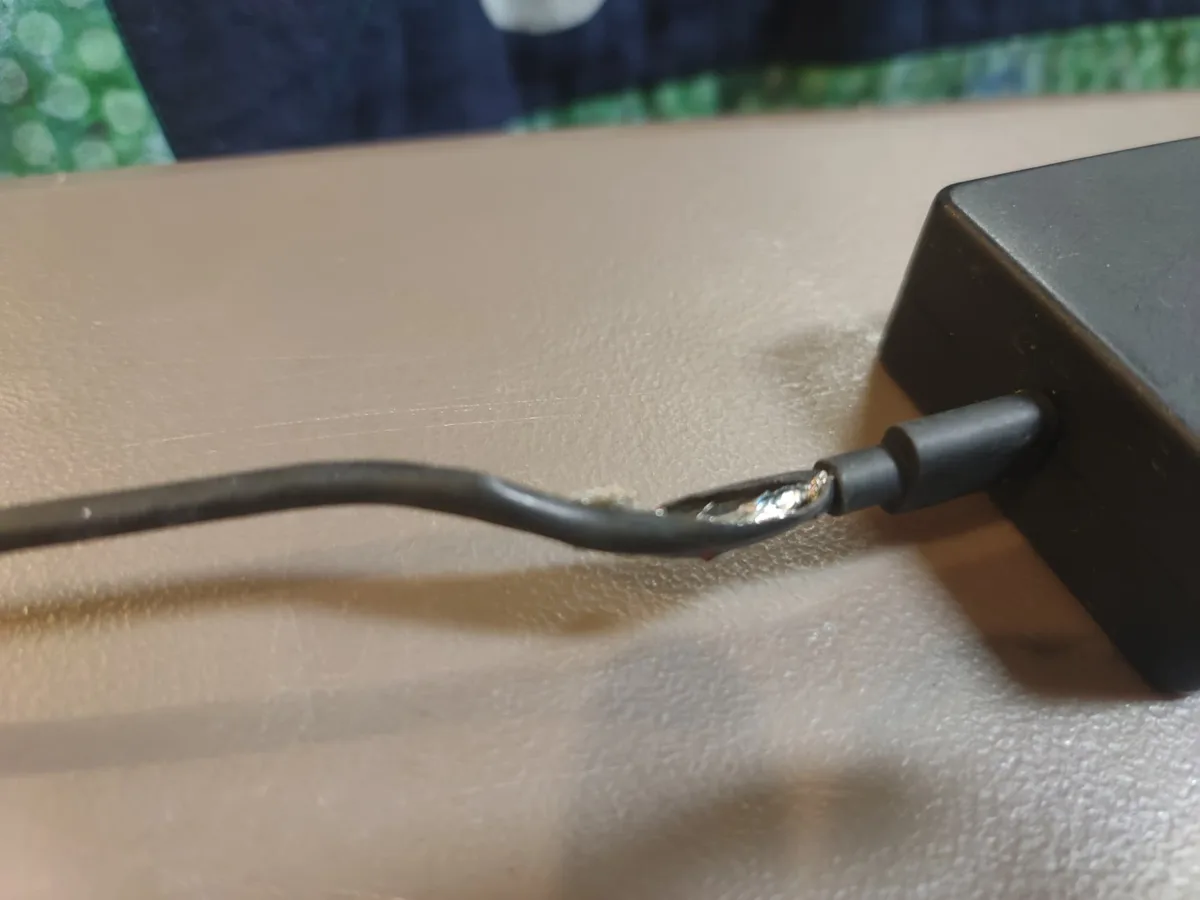
Start by checking the mechanical fit of the barrel jack. If the laptop has been stored, the internal power port may have corroded pins. Use a contact cleaner if you notice debris or visible oxidation.
Reset the universal brick by disconnecting it from the wall for a full minute. This clears internal fault circuits that trip during power surges. If the laptop still fails to turn on, you may need to inspect the internal motherboard fuses.
Safety Protocols for Aging Internal Components
Internal capacitors are the most fragile parts of any vintage system. They lose capacitance over time and become extremely sensitive to voltage spikes. Ensure your universal charger is providing a smooth, regulated output before attempting a cold start.
Never leave a newly revived system charging unattended. If you smell ozone or notice plastic warming up, unplug everything immediately. It is better to preserve the hardware than to rush the power-up process.
Best Practices for Locking and Storing Voltage Settings
Tape the voltage selector switch to prevent accidental changes during daily handling. Many universal bricks have exposed switches that bump easily when moved. A simple strip of electrical tape provides a reliable safeguard against high-voltage output errors.
Store your connector tips in a labeled organizer or small bag. This prevents the loss of specific sizes that are difficult to replace individually. Keep the set in a cool, dry environment to prevent the degradation of rubberized seals.
Final Verdict: Is It Safe to Use Your Universal Charger?
You can safely power vintage laptops if you maintain a rigorous verification routine. Always verify voltage and polarity with a multimeter before plugging into the port. These steps keep your hardware running for years to come.
Frequently Asked Questions
Can I use a universal charger with a higher voltage than my laptop?
Never use a higher voltage. Providing more voltage than the laptop expects will instantly destroy the internal power regulation circuits. Your laptop needs to receive the exact voltage specified on its label to function without permanent damage.
Does the wattage on the charger matter?
The wattage must be at least as high as what the laptop requires. You can calculate wattage by multiplying the voltage by the amperage. If the universal charger provides more wattage than the laptop needs, it is perfectly safe to use.
Why does my charger tip feel loose?
A loose tip usually means the inner or outer diameter does not perfectly match your laptop's power port. This can cause arcing and heat, which will melt your charging port. You should source a replacement tip that fits snugly before using the charger.
How do I identify center-positive vs. center-negative?
Check the barrel-jack diagram on the bottom of the laptop. A line pointing to the center dot from a plus sign confirms center-positive. If the line points to a minus sign, it is center-negative.
Consult manufacturer documentation if the label is missing.
Are universal chargers better than original power bricks?
Original power bricks are generally better because they were engineered specifically for your laptop's electrical requirements. Universal chargers are designed for flexibility and often provide less consistent power. Use a universal unit only when an original brick is unavailable.

Similar Posts