How to Replace a Broken Mickey Mouse Power Cord Easily
Senior Hardware Diagnostics Specialist & Lead Thermal Editor at Laptop Post Testing Lab · CompTIA A+, ACMT, B.S. in Computer Engineering · 12+ years bench-testing laptop thermal solutions & motherboard repairs
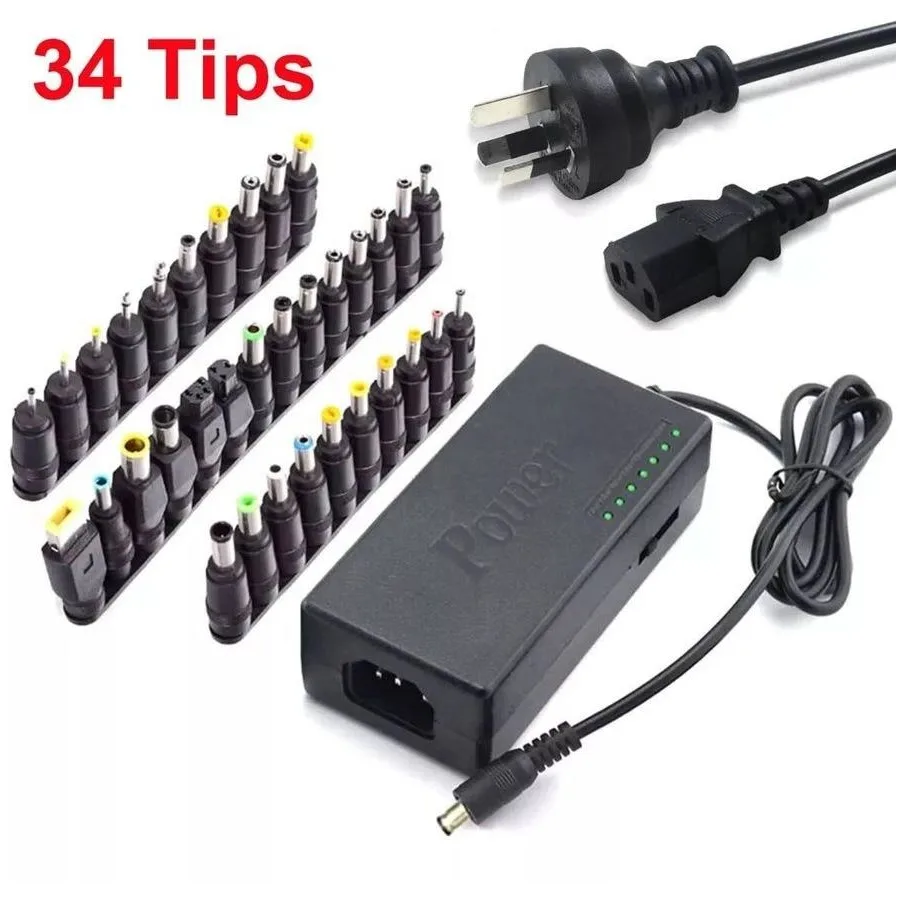
Replacing a broken 3-prong mickey mouse ac power cord is a simple repair that restores power to your laptop or monitor safely. These cables, officially categorized as C5 connectors, are common across many household electronics and computer systems.
You’ll need to ensure your replacement cord matches the original equipment specifications to prevent electrical hazards. As of 2026, manufacturers continue to follow international standards for these appliance couplers to ensure compatibility and user safety. Here is how you can perform a safe and effective replacement.
Quick Answer
You replace a broken 3-prong Mickey Mouse AC power cord by unplugging the device. Check the new cable for matching wattage ratings. Ensure the C5 connector fits the port snugly.
Do not force the plug into your device. Test the power connection after you verify the plug is seated.
Identifying the Mickey Mouse (C5) Power Cord
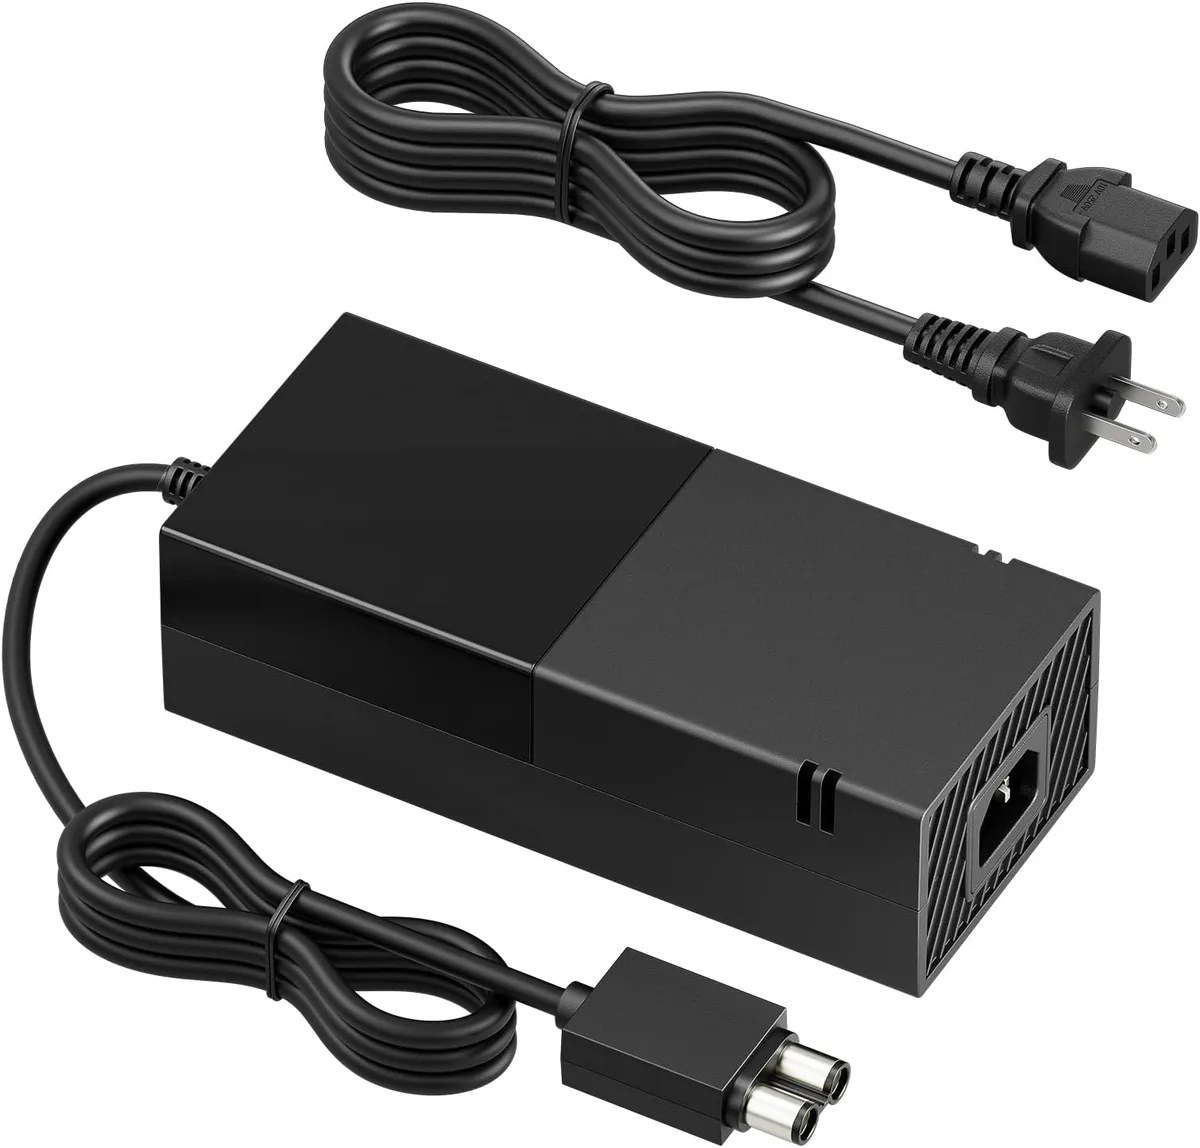
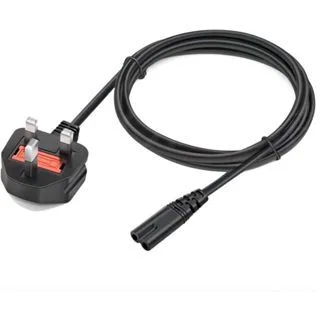
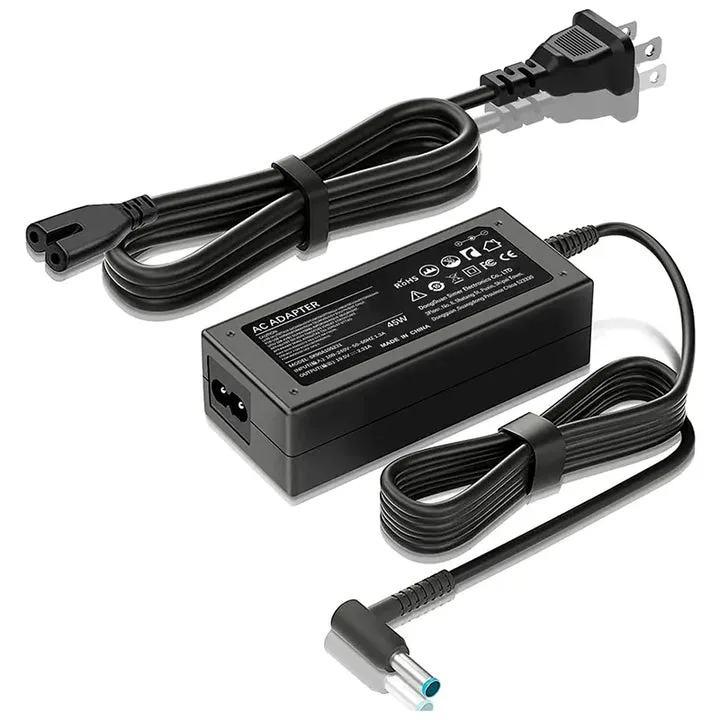
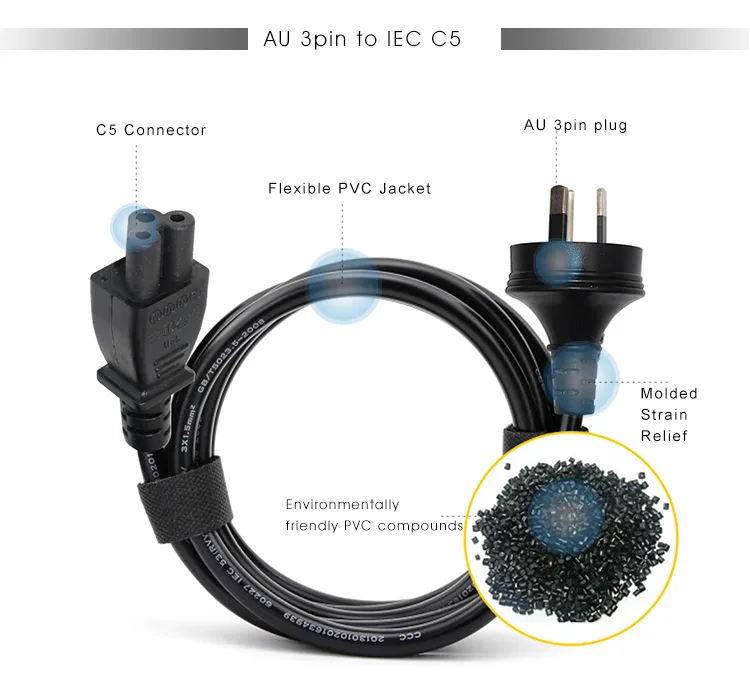
The Mickey Mouse cord gets its nickname from the cloverleaf shape of the female connector end. This shape features three circular pin holes arranged in a triangle. You’ll find these cables supplying power to bulky external power bricks for laptops and some desktop monitor power supplies.
Confirming the connector type is the first step before you look for a replacement. Do not confuse the C5 connector with the C13 cable. The C13 cable is rectangular or D-shaped and is common for desktop PCs.
Using the wrong cable type will result in a connection that simply won't fit into your device.
Why Visual Verification Prevents Electrical Hazards
Visual inspection is the most effective way to ensure a new power cord is safe for your hardware. You should examine the connector head for any signs of plastic distortion or uneven molding. A clean, smooth finish indicates the manufacturer followed proper production processes for the cable.
Check the interior of the connector pins for any signs of oxidation or metal deformity. If the pins look dull or appear slightly bent, the cable may create a poor electrical contact. A poor connection often causes localized heating at the port interface.
This eventually leads to damaged electronics.
Anatomy of a Safe Power Connector
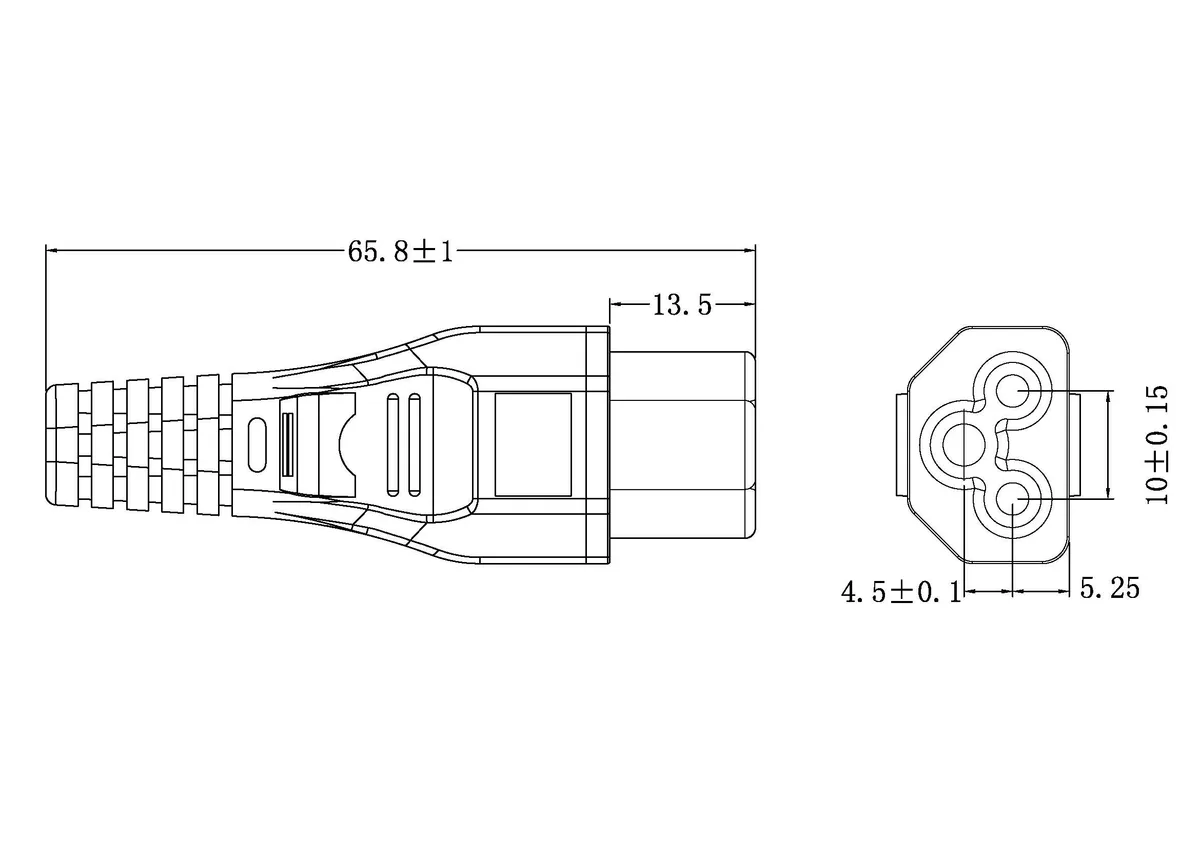
A safe power connector serves as the bridge between your wall outlet and your device. It consists of the C5 female end and a grounded plug for your specific regional wall outlet. The internal wiring must be robust enough to handle the current your device consumes.
Most C5 cords use three-conductor wiring to provide a safety ground. This ground wire carries current away from the device chassis in the event of an internal short. Always ensure your power cable includes this third pin.
Never attempt to remove or modify this pin to force a fit into a 2-prong outlet.
How to Check Your Cord’s Gauge (AWG) and Safety Ratings
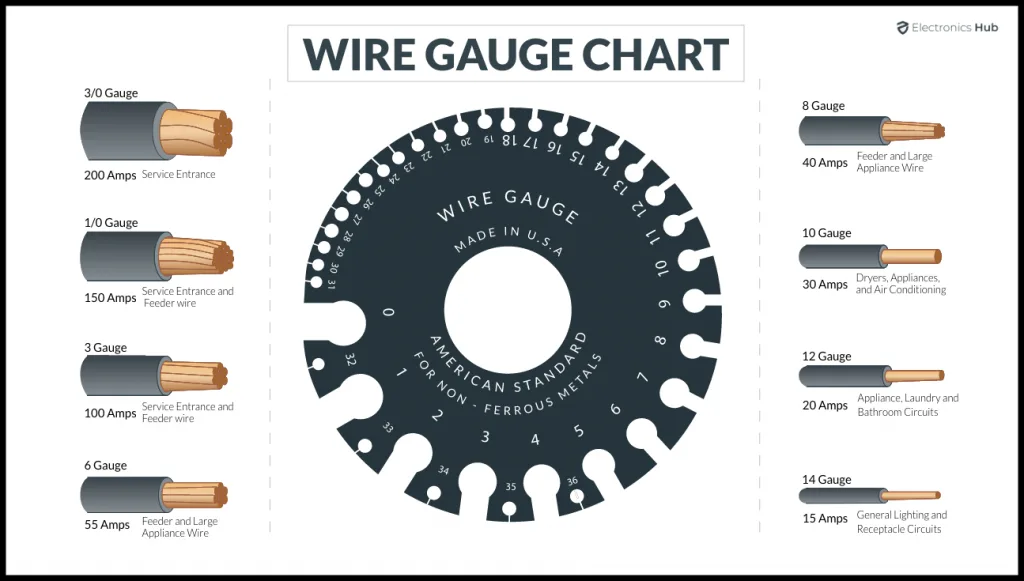
You’ll find the wire thickness printed directly on the outer jacket of the power cable. This specification is measured in American Wire Gauge, or AWG. A lower number indicates a thicker internal copper wire, which allows for higher current capacity.
Most laptops use an 18 AWG cable, but some high-performance devices require 16 AWG. You can safely upgrade to a 16 AWG cable if you need extra durability. You should avoid thinner wires, such as 20 AWG or higher, as these may not meet the power demands of your adapter.
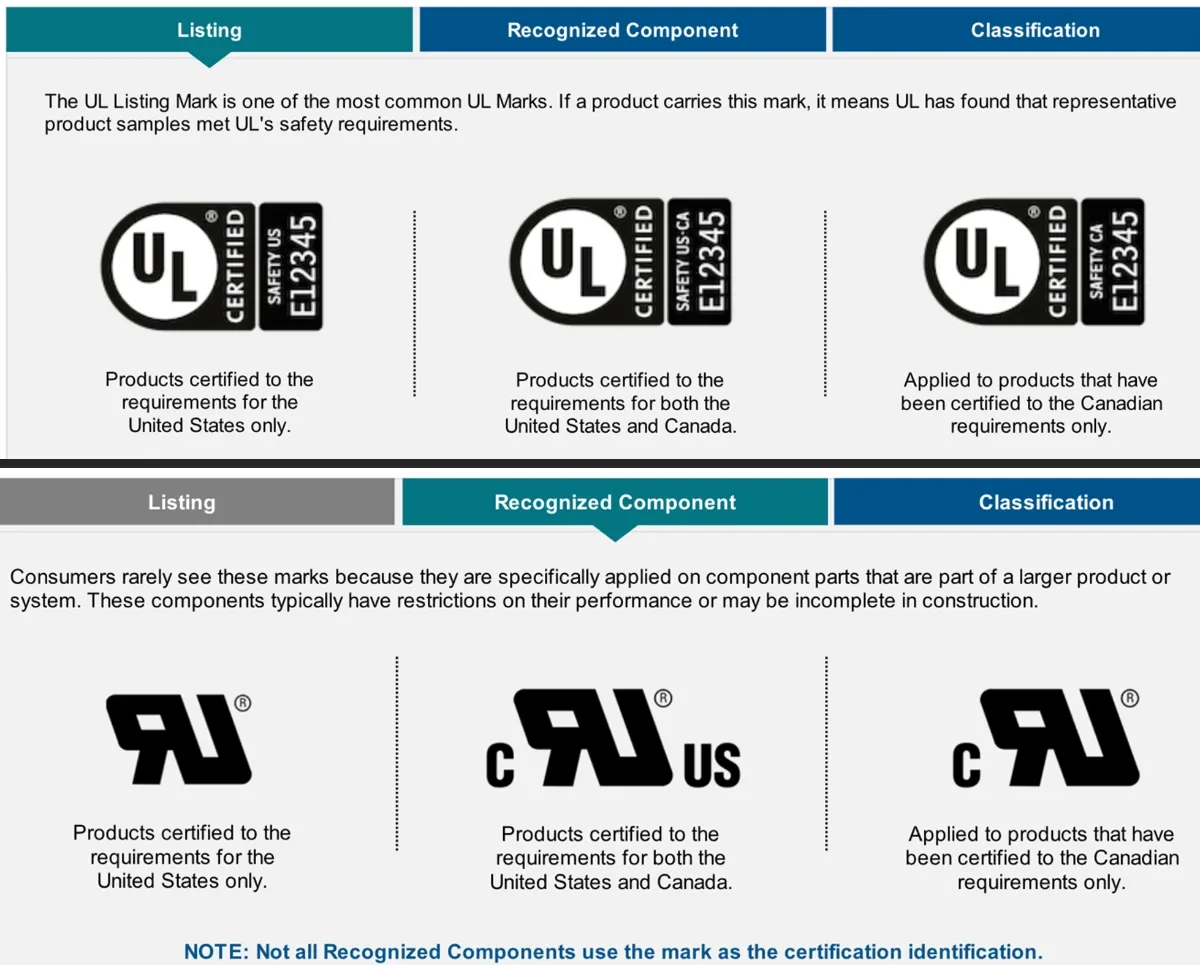
The Occupational Safety and Health Administration (OSHA) emphasizes using equipment that is listed or labeled by a nationally recognized testing laboratory. Look for these specific identifiers on your cable to ensure it meets safety requirements. If a cable lacks these markings, it hasn't undergone standard safety testing.
| Marking | What It Means | Why It Matters |
|---|---|---|
| UL | Underwriters Laboratories | Confirms independent safety testing |
| ETL | Intertek Certification | Validates electrical compliance |
| CE | Conformité Européenne | Ensures health and safety standards |
Step-by-Step: Safely Replacing Your Broken Cable
- Unplug the old cable from both the wall outlet and your electronic device.
- Inspect the port on your device for any debris or burned plastic residue.
- Ensure the new cable’s connector shape matches the port geometry perfectly.
- Push the connector firmly into the port until it seats flush with the device.
- Plug the male end of the cable into the wall outlet.
- Verify the device receives power by checking its status light or screen.
Stop the process immediately if you feel resistance while plugging in the cable. Never force the connector into the port. If it doesn't slide in with light pressure, check for bent pins inside the port or debris that might be blocking the entry.
Evaluating Connection Quality and Snugness
A proper connection should feel secure the moment you insert the plug. You shouldn't need to force it, but it also shouldn't rattle or slide out easily. If the cable feels loose, you likely have a compatibility issue or a worn-out device port.
Gently wiggle the plug side to side after insertion. If the device flickers or loses power during this movement, the contact pins inside the port are likely loose. Stop using that cable immediately.
A loose fit creates micro-gaps that lead to electrical arcing and heat buildup.
Common Visual Indicators of Damaged Ports and Cords
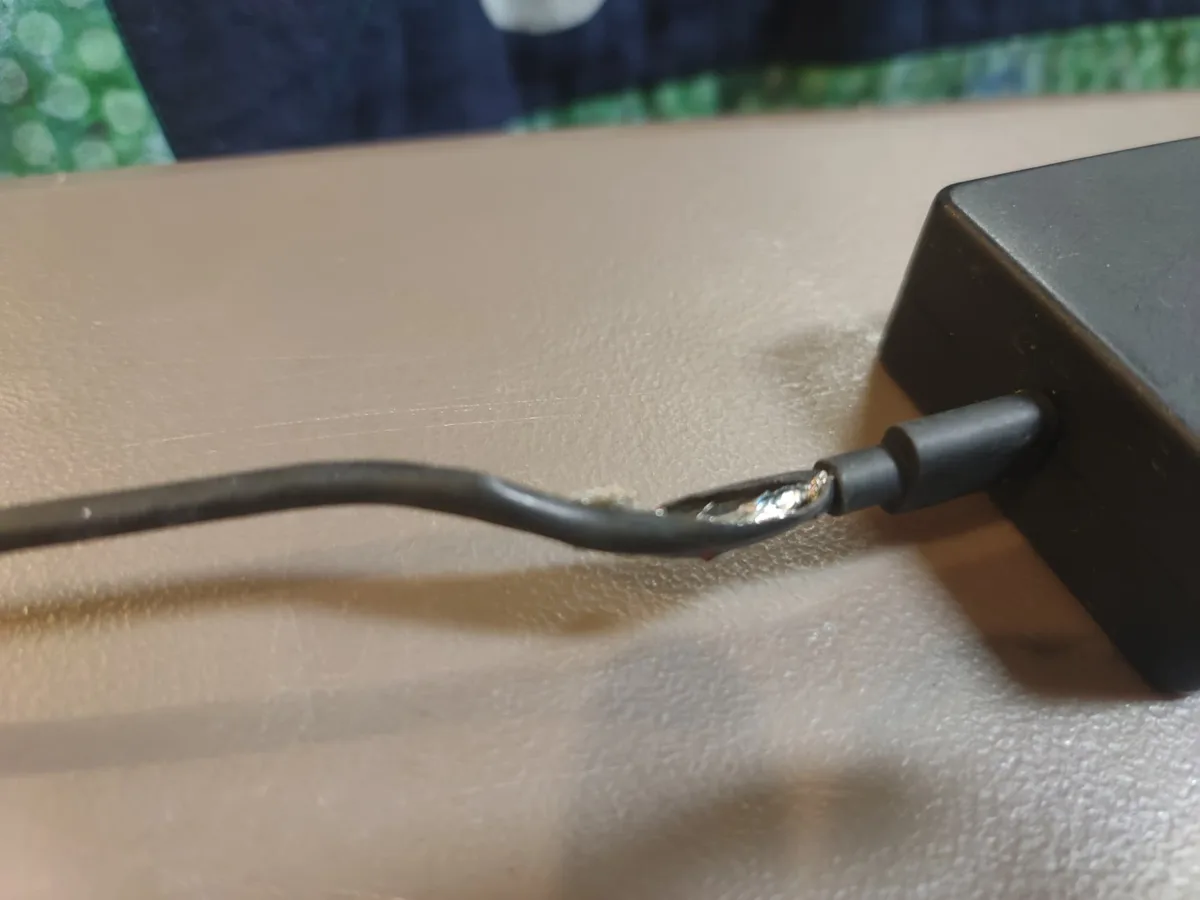
Check the outer casing of your power cord for any visible kinks or deep cuts. Frayed insulation is a major red flag that indicates the internal wiring is compromised. Even if the device still powers on, a damaged jacket exposes you to potential shorts.
Inspect the device port with a bright flashlight. Look for discoloration, such as brown or black marks on the plastic housing. These marks suggest the port has already experienced overheating.
If the metal pins inside the port look pushed back or bent, a new cord will not fix the underlying hardware damage.
Preventing Arcing and Thermal Overload
Arcing occurs when electricity jumps across a gap between a loose plug and a device port. This process generates intense, concentrated heat that quickly melts plastic and ruins internal components. You can prevent this by ensuring your power cord is always fully seated.
Thermal overload happens when you pull more power through a cable than it’s designed to handle. Using a cable with an underrated gauge, like 20 AWG for a high-draw gaming laptop, causes the wire to get warm to the touch. Always verify your device's power requirements on its sticker or original documentation.
Understanding Compliance Markings: UL, ETL, and CE
Safety markings serve as your primary evidence that a cable adheres to strict international electrical standards. The Underwriters Laboratories (UL) mark signifies that the product successfully passed rigorous testing for fire, shock, and mechanical hazards. You should look for this stamp on the molded plug head or directly on the cable insulation.
Other organizations like Intertek (ETL) provide equivalent validation for the North American market. The CE mark serves as a declaration of conformity for products sold within the European Economic Area. When you choose a cable with these certifications, you significantly reduce the risk of internal short-circuits or catastrophic failure.
Best Practices for Long-Term Cord Maintenance
Coil your cables loosely to prevent internal wire breakage at the base of the connector. Tight wrapping places extreme tension on the copper strands, which leads to hidden fractures over time. A simple hook-and-loop strap is a cheap, effective way to manage your cords without damaging them.
Avoid routing power cables across high-traffic floor areas where they can be crushed by chair casters or stepped on. If a cable must pass under furniture, ensure it stays free of sharp bends or constant compression. Keeping your cords in their natural shape is the easiest way to prevent internal wear.
Identifying When a Replacement Isn't Enough
Internal power board failure is often misdiagnosed as a faulty power cord. If your device displays charging status lights only when the cable is held at a precise angle, the input jack itself is likely loose. This indicates the solder points connecting the port to the motherboard have fractured.
In these situations, a new power cable will only provide a temporary, unreliable fix. You need professional board-level repair to restore a stable power connection. If you have already tried a known-good replacement cable and the connection remains unstable, stop using the device to prevent permanent damage to the power circuits.
Troubleshooting Poor Connectivity and Loose Plugs
Start troubleshooting by checking for oxidation on the metal pins of your device port. Corroded pins create high resistance, which leads to heat and intermittent charging. A light rub with a dry, non-abrasive cloth can remove surface dust, but deep corrosion is usually a sign of irreparable port damage.
Verify that the plug is fully seated by checking the gap between the cable head and the device body. If a visible gap exists, the pins may be misaligned or the port housing has warped from past heat exposure. Don't force the connection further if you feel a hard stop, as this will crush the fragile pins inside the port.
Expert Advice on Avoiding Low-Quality Replacements
Focus on the build quality of the molded plastic heads rather than just the price. Cheap manufacturers often use thinner plastic that warps under normal operating temperatures. High-quality cables utilize heat-resistant polymers that keep the pins perfectly aligned throughout years of daily use.
Avoid no-name generic cables that lack visible manufacturer branding or safety markings. These uncertified products often feature inadequate shielding and sub-par conductor materials. Investing a few extra dollars in a verified, branded replacement is the most effective way to protect your hardware from electrical instability.
Frequently Asked Questions About C5 Couplers
Are all 3-prong Mickey Mouse cords interchangeable?
Most are interchangeable if the voltage and amperage ratings match your device. Always check the power brick's label to ensure it matches the cord's specifications. Using a cable designed for a lower-power device on a high-power machine can lead to overheating or sudden system shutdowns.
Can I use a 2-prong cord instead of a 3-prong one?
You should never replace a 3-prong cable with a 2-prong substitute. The third pin provides a critical safety ground connection that protects you from electrical shock. Removing this ground pin bypasses built-in safety features and increases the risk of damage to sensitive internal circuitry during power surges.
Why does my new cord feel warm?
A power cord that feels warm suggests the cable is operating near its maximum capacity. If it feels hot to the touch, replace it immediately with a heavier-gauge cable. A properly sized cord should remain near room temperature during normal operation while the device is under a standard load.
How do I know if my port is damaged?
A damaged port often exhibits visible looseness or a lack of resistance when you insert the plug. If the device only charges when you hold the cable at a specific angle, the internal solder joints have likely cracked. This indicates the internal power board needs professional repair or replacement.
Can I repair a damaged cord with electrical tape?
You should never use electrical tape to repair a frayed or broken power cord. Tape does not restore the structural integrity or insulation of the internal wiring. Frayed cables pose a genuine fire and shock risk, so replacing the entire cable assembly is the only safe solution.
How do I check the wattage rating on my cord?
Look for the text molded into the cable jacket or stamped on the plug head. It will list the maximum voltage and amperage, such as 250V 2.5A. Ensure these values meet or exceed the requirements listed on your power adapter's label to guarantee safe operation under load.
What happens if I use a cord from another device?
You can safely use a cord from another device if the plug type is identical and the cable's amperage rating meets your device's requirements. Many manufacturers share the same IEC 60320 standards across their product lines. Just confirm the wattage and voltage markings on the cable jacket are appropriate for your specific equipment.

Similar Posts