How to Fix a Loose USB-C Port That Keeps Falling Out
Senior Hardware Diagnostics Specialist & Lead Thermal Editor at Laptop Post Testing Lab · CompTIA A+, ACMT, B.S. in Computer Engineering · 12+ years bench-testing laptop thermal solutions & motherboard repairs
If you have been struggling with how to fix loose usb c charging cable falling out of laptop port, you aren't alone. This annoying issue often stems from simple environmental buildup rather than a broken machine.
Modern laptops use the USB Type-C standard, which relies on tiny mechanical tabs for a secure fit. As of 2026, many hardware standards bodies, including the USB Implementers Forum, emphasize that regular port maintenance is key to long-term reliability. Let’s look at how to restore that click you’re missing.
Quick Answer
A loose USB-C cable usually results from impacted debris inside the port. You must remove this lint to allow the cable tabs to lock. Use only non-conductive plastic tools for this cleaning process.
Never use metal objects near the charging pins. If the port remains loose after cleaning, the internal hardware may require professional repair.
Why Your USB-C Cable Won’t Stay Plugged In
Most charging failures occur because the cable plug cannot reach its full depth. USB-C connectors rely on spring-loaded retention clips located on the male plug itself. When these clips fail to engage, the cable simply slips out under its own weight.
You might assume the cable is broken when the port is actually the problem. If you notice a spongy feeling when inserting your charger, that is a classic sign of compressed debris. Identifying the root cause takes just a few seconds of careful inspection.
Identifying the Culprit: Debris vs. Hardware Wear
Understanding what is happening inside the port helps you choose the right fix. Debris acts as a physical barrier that prevents the male connector from fully seating. Once the connector cannot reach the bottom of the port, the retention springs remain retracted.
Hardware wear is different and often involves the metal casing itself. If you see visible gaps or if the port wobbles when touched, the physical connection to the motherboard has likely weakened. Differentiating between these two is the first step in our repair workflow.
| Symptom | Primary Cause | Recommended Action |
|---|---|---|
| Spongy resistance | Impacted lint or dust | Gentle physical cleaning |
| Port wobbles | Loose solder/chassis | Professional hardware repair |
| Cable clicks but falls | Worn cable springs | Replace the USB-C cable |
| Visible metal distortion | External physical force | Professional assessment |
Anatomy of a USB-C Port: How the Locking Mechanism Works
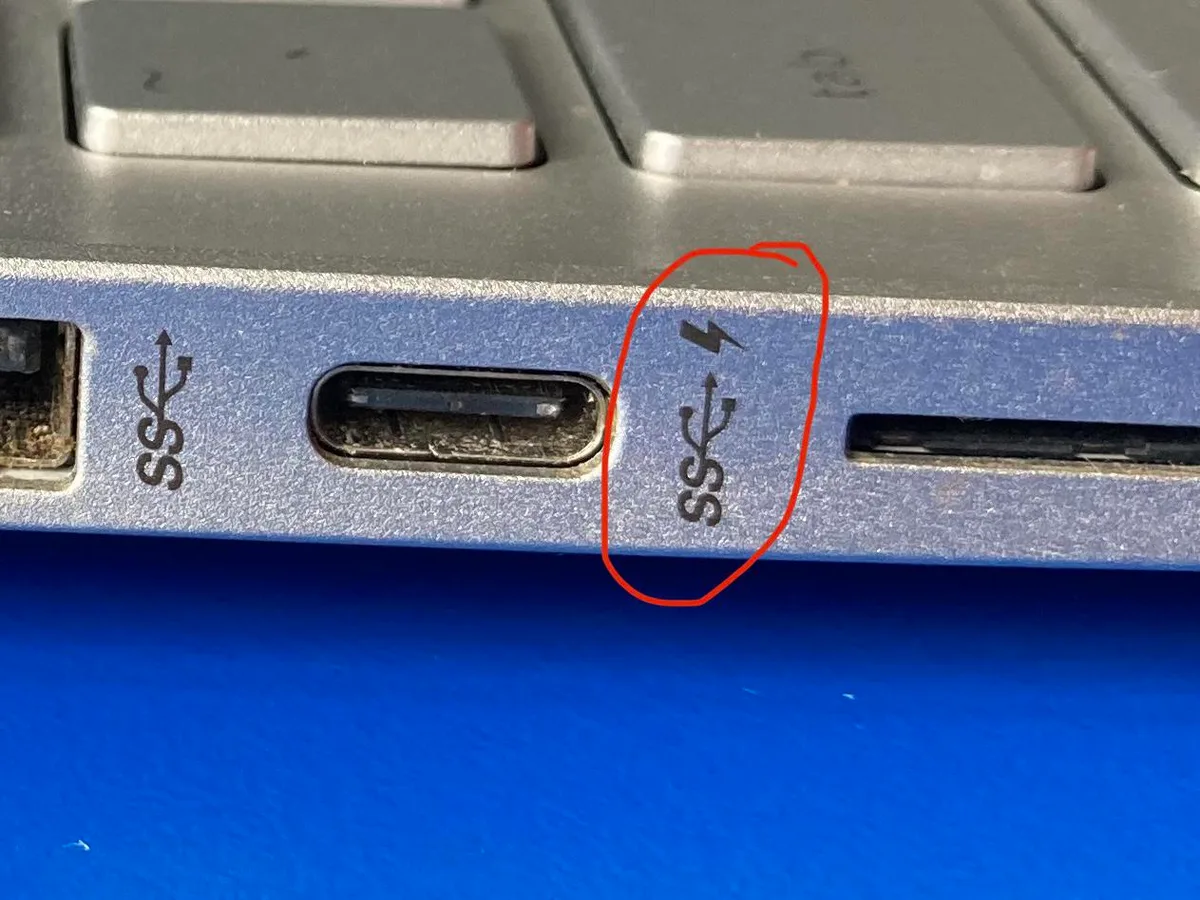
The USB-C interface is a sophisticated connection designed for both power and data. The female port on your laptop has specific notches inside its metal housing that match the retention tabs on the cable. When you push the cable in, these tabs flex and then snap into the notches.
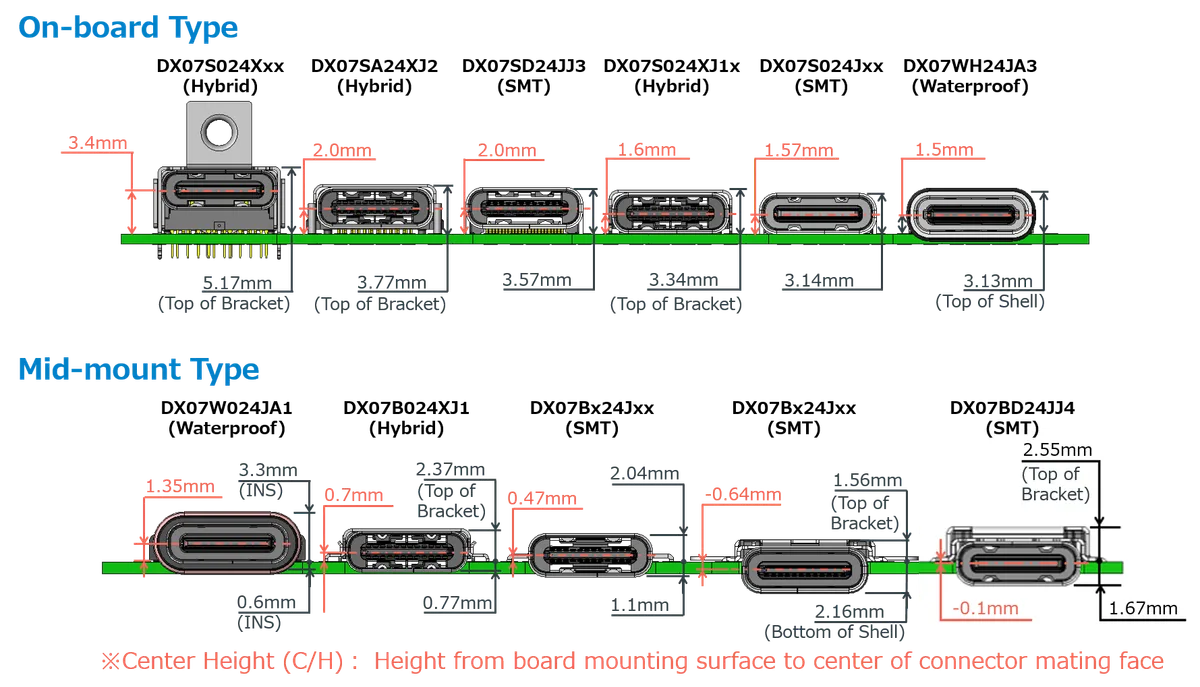
If these components are obstructed, the physical lock cannot occur. Even a small amount of lint can prevent the tabs from clearing the edge of the port. Keeping this interface clear ensures the electrical pins maintain consistent contact for power delivery.
Inspection: Using Light and Angle to Spot Obstructions
Effective inspection requires a bright light source and a clear line of sight. Point a high-intensity flashlight directly into the port while looking from the side. You are searching for compacted gray or white fibers at the very base of the connector.
Do not use a standard smartphone flash if it is too wide, as it can bounce glare back into your eyes. If you can see the back wall of the port, it is likely clean. If the view is obscured by a soft, fuzzy mass, that is your primary target for extraction.
Safe Debris Extraction: The "No-Metal" Rule
Safety is the most important part of this process. Never use a metal needle, a paperclip, or any conductive tool. Metal tools can create a short circuit across the charging pins, which might result in permanent motherboard failure.

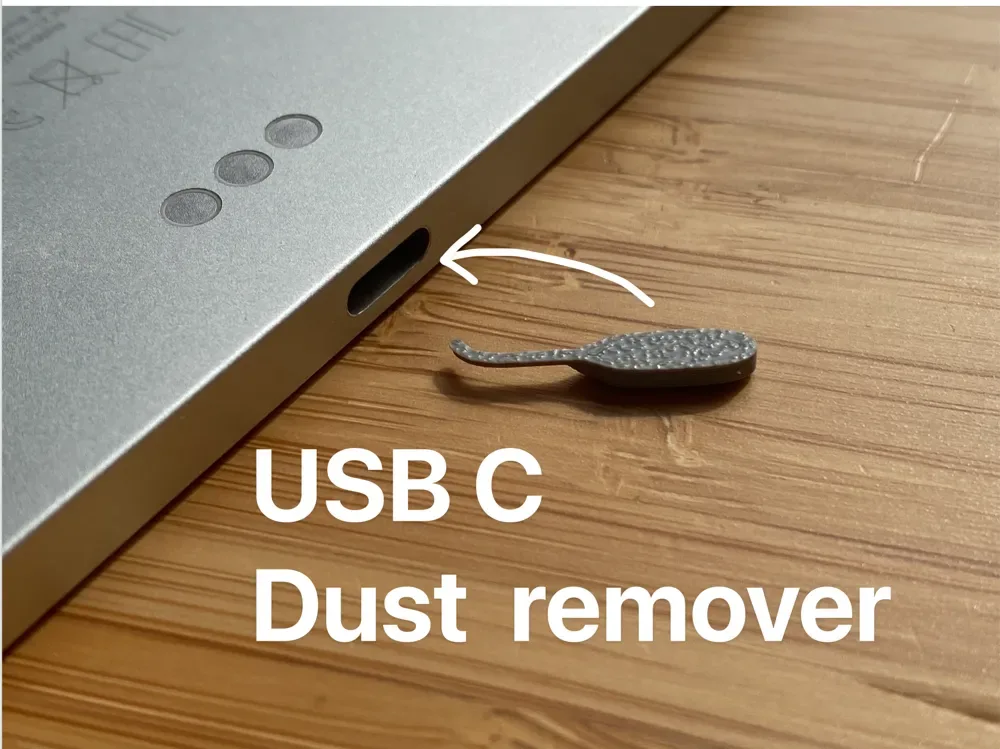
Use a plastic dental pick or a wooden toothpick to gently hook the debris. Work slowly around the central tongue of the port. You should never apply significant force, as the plastic tongue is fragile and can snap if pushed too hard.

Once you loosen the lint, tip the laptop so the port faces downward. Use a quick, controlled burst of compressed air to clear the remaining dust. Always keep the compressed air can upright to prevent liquid propellant from entering the machine.
Cross-Testing Your Cables for Retention Failure
Often the problem isn't the laptop at all. You can easily determine if your charger is to blame by testing a different USB-C cable that you know is in good condition. If the new cable provides a solid, tactile click and stays secure, your original cable has likely suffered from metal fatigue on its retention springs.
Frequent plugging and unplugging cycles will eventually flatten these tiny hooks. Once they lose their spring tension, they cannot latch onto the port housing effectively. You should check the edges of the cable connector for visible wear or rounded corners.
If you find significant damage there, replacing the cable is the safest and most effective solution.
Common Mistakes That Cause Permanent Port Damage
Avoid the temptation to use aggressive methods when your connection feels loose. Many users accidentally snap the internal tongue of the port by using metal tools to force out debris. This piece is responsible for holding the pins in place, and if it breaks, the entire port usually requires a motherboard-level replacement.
Do not try to bend the metal housing of the port back into shape with pliers. Forceful adjustments typically cause hairline cracks in the solder joints beneath the port. This leads to intermittent charging or even total port failure.
Patience is your best asset when dealing with precision hardware.
When to Seek Professional Solder Repair
You should consider a professional repair shop when cleaning and testing fail to resolve the issue. If the port physically wobbles within the laptop chassis, the solder points connecting it to the motherboard have likely fractured. This damage occurs from repetitive mechanical stress or accidental lateral pressure on the charging cable.
Professional technicians have the equipment to perform board-level repairs without damaging nearby components. They can heat the solder joints to re-establish the connection or swap the entire port component. Trying this at home without advanced soldering tools almost always leads to irreversible thermal damage to your laptop.
Understanding Internal Arcing and Electrical Risks
Loose cables create a dangerous scenario known as electrical arcing. When the connection is not fully seated, small gaps exist between the pins of the plug and the port. Electricity can jump across these gaps, creating microscopic sparks that generate high heat.
This arcing process rapidly oxidizes the charging pins, turning them black and brittle. Eventually, the pins lose their ability to transfer power entirely. If you hear a crackling sound or smell ozone when your cable is connected, disconnect the charger immediately.
You are essentially burning the contacts with every second the connection remains loose.
Long-Term Maintenance: Keeping Ports Clean and Secure
Preventing debris accumulation is the best way to keep your charging connection secure. You can reduce lint buildup by using a simple dust plug when your laptop is in a bag or backpack. These small silicone inserts block pocket lint and dirt from falling into the port during transport.
Additionally, handle your charger with care to avoid putting unnecessary leverage on the port. Avoid wrapping the cable tightly around your laptop corner, as this tension pulls the connector sideways. Keeping your equipment clean and using a light touch during insertion will drastically extend the lifespan of your charging interface.
Real Scenarios: Case Examples of Charging Failure
In our analysis of common hardware issues, two main scenarios emerge. The first involves users who carry their laptops in open-top bags, where lint and debris quickly accumulate inside the ports. This is a common occurrence with soft-lining fabric bags that shed fibers over time.
The second scenario involves high-stress environments like classrooms or shared workspaces. Here, cables are frequently snagged by passing feet or equipment, leading to micro-fractures in the port solder. When you evaluate your own situation, consider how you store your machine.
Changing your storage habits can prevent recurring connectivity issues after you perform a successful cleaning.
Frequently Asked Questions
Why does my cable click in but still disconnect?
This often indicates that debris is sitting at the very back of the port, preventing the cable from reaching full insertion depth. The metal pins inside the port are not making complete contact with the connector strips. A secondary possibility is that the cable's internal retention springs have collapsed and no longer provide sufficient tension.
Can a loose port cause my laptop battery to fail?
A loose port does not inherently ruin your battery, but it causes inconsistent power delivery. Repeated power cycles from a flickering connection can confuse your laptop's charging controller. This often leads to inaccurate battery percentage readings and potentially prevents the battery from reaching a full charge.
Are all USB-C ports the same size?
Every USB-C port adheres to the same standard physical dimensions defined by the IEEE. While the outer dimensions are universal, the internal quality of the retention mechanism can vary between laptop manufacturers. Some brands use reinforced steel housings that are more resistant to deformation than others.
Is it safe to use a vacuum cleaner on my charging port?
Do not use a standard household vacuum on your laptop ports. The suction is rarely strong enough to pull out impacted debris, but the static charge generated by the vacuum nozzle can damage sensitive motherboard electronics. Stick to compressed air or manual extraction with non-conductive tools for the safest results.
How often should I check my charging port for dust?
You should perform a visual inspection whenever you notice a slight change in the click when inserting your charger. If you work in a dusty environment, a quick glance once a month is good practice. Routine checks help you catch debris before it gets crushed into the back of the port.
Final Verdict: DIY Fix or Service Center Trip?
You should attempt a DIY fix if you can clearly identify debris as the cause. Use your light source to confirm the blockage, then proceed with the non-conductive extraction method. If you remove the debris and the cable feels tight again, your repair is successful.
If the port appears physically damaged, or if cleaning does not resolve the issue, contact a professional service center. Do not continue to operate a laptop with a loose, sparking, or unstable charging port. Protecting your motherboard from electrical arcing is always more cost-effective than replacing the entire logic board.

Similar Posts