How to Test Your Laptop Battery Health with BatteryInfoView
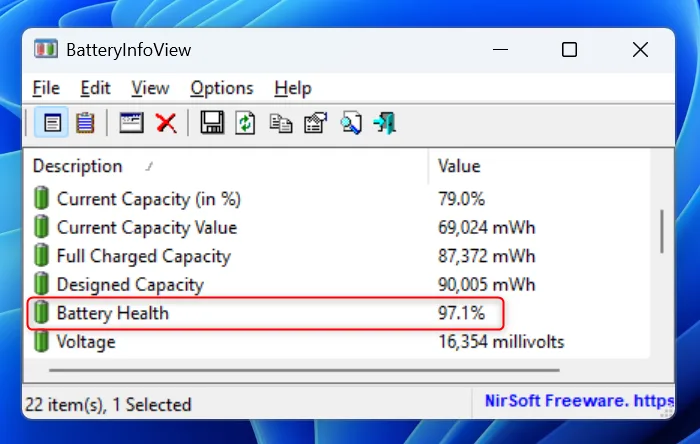
If your laptop’s battery dies halfway through a work call, learning how to test laptop battery with batteryinfoview software is the fastest way to confirm if degradation is the root cause. This free, portable Windows tool from NirSoft pulls far more detailed battery metrics than the default Windows battery checker, no installation required. Most users don’t realize their battery is worn out until runtime drops sharply, so a quick test can save you from unexpected shutdowns during important tasks.
Most consumer laptop lithium-ion batteries are rated for 300 to 500 full charge cycles per IEEE 1625 safety and performance standards before capacity drops below 80% of the original design. Many users mistake normal degradation for faulty hardware, so accurate testing is key to avoiding unnecessary replacement costs. We’ll walk you through compatibility checks, exact test steps, and how to read the results to decide if you need a replacement, starting with a quick first check.
Image source: Web (Bing) / theintelligence.com (Web image (fair-use with source credit))
Quick Answer
BatteryInfoView tests laptop battery health via built-in firmware data. Download the free portable tool from NirSoft’s official site. Run the executable on any Windows 10 or 11 laptop.
Check the wear level percentage and full charge capacity. Readings above 25% wear or below 80% capacity mean you need a new battery.
Is BatteryInfoView Compatible With Your Laptop? (First Compatibility Check)
BatteryInfoView only works on Windows 10 and 11 as of 2026, with no official support for macOS, Linux, or Chrome OS. It also only functions with laptops that use standard ACPI-compliant battery controllers, which all mainstream brands (Dell, HP, Lenovo, Apple Intel models) use. Use this quick decision tree to confirm compatibility before downloading the tool:
- If you run Windows 10 or 11: Proceed to check your laptop’s battery controller type.
- If you run an older Windows version or non-Windows OS: Skip to the alternative methods section later in this guide.
- If you use a mainstream brand laptop: Your device is almost certainly compatible.
- If you use a budget or region-specific laptop brand: Some use non-standard controllers that BatteryInfoView cannot detect, so verify compatibility via user forums for your specific model first.
- If you are using a work or school-issued device: Check with your IT team first, as many corporate security policies block NirSoft portable utilities by default.
What BatteryInfoView Measures (And Why It’s More Useful Than Windows’ Default Battery Tools)
Windows’ built-in battery report, generated via the powercfg /batteryreport command, only shows a basic comparison of full charge capacity to designed capacity in a clunky HTML file. It does not include cycle counts, wear level percentages, or voltage data. BatteryInfoView pulls every metric your laptop’s battery firmware exposes, displaying them instantly in a simple, scannable window.
No installation, no waiting for reports to generate, no digging through nested folders. For more ways to optimize Windows laptop battery life, check out our power drain reduction tips to extend runtime between charges.
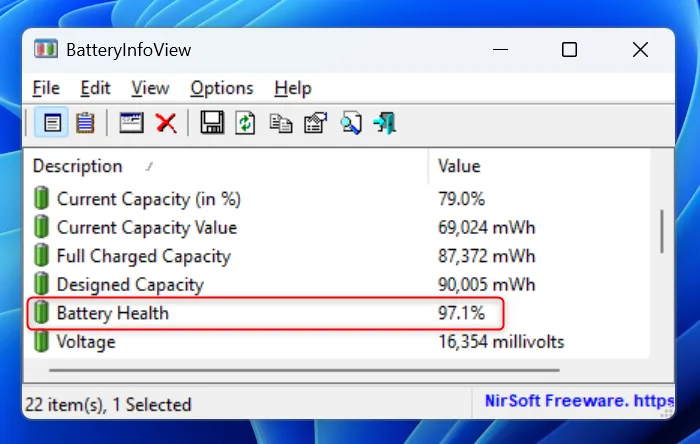
Image source: Bing (Web (fair-use with source credit))
The core metrics BatteryInfoView reports are:
| Metric | What It Tells You | Typical Replacement Threshold |
|---|---|---|
| Designed Capacity (mAh) | Manufacturer-rated maximum capacity for a new battery | N/A (baseline value) |
| Full Charge Capacity (mAh) | Current maximum capacity your battery can hold when fully charged | Below 70-80% of designed capacity signals end of life |
| Wear Level (%) | Percentage of original capacity your battery has lost to degradation | 20-25% wear is the standard replacement cutoff for most users |
| Charge Cycle Count | Number of full 0-100% discharge/charge cycles completed | 300+ cycles for standard Li-ion batteries indicates approaching end of rated lifespan |
| Battery Voltage (mV) | Current output voltage of the battery cell | Abnormally low or fluctuating voltage may indicate cell damage |
For most users, wear level and full charge capacity are the two most important numbers to check. If you need to track battery health over time, you can export the data to a CSV file for easy record-keeping.
Pre-Test Setup: 3 Steps To Avoid Inaccurate Readings
Inaccurate BatteryInfoView readings almost always come from avoidable setup errors, not faulty software. Follow these three steps before running the test to get reliable results:
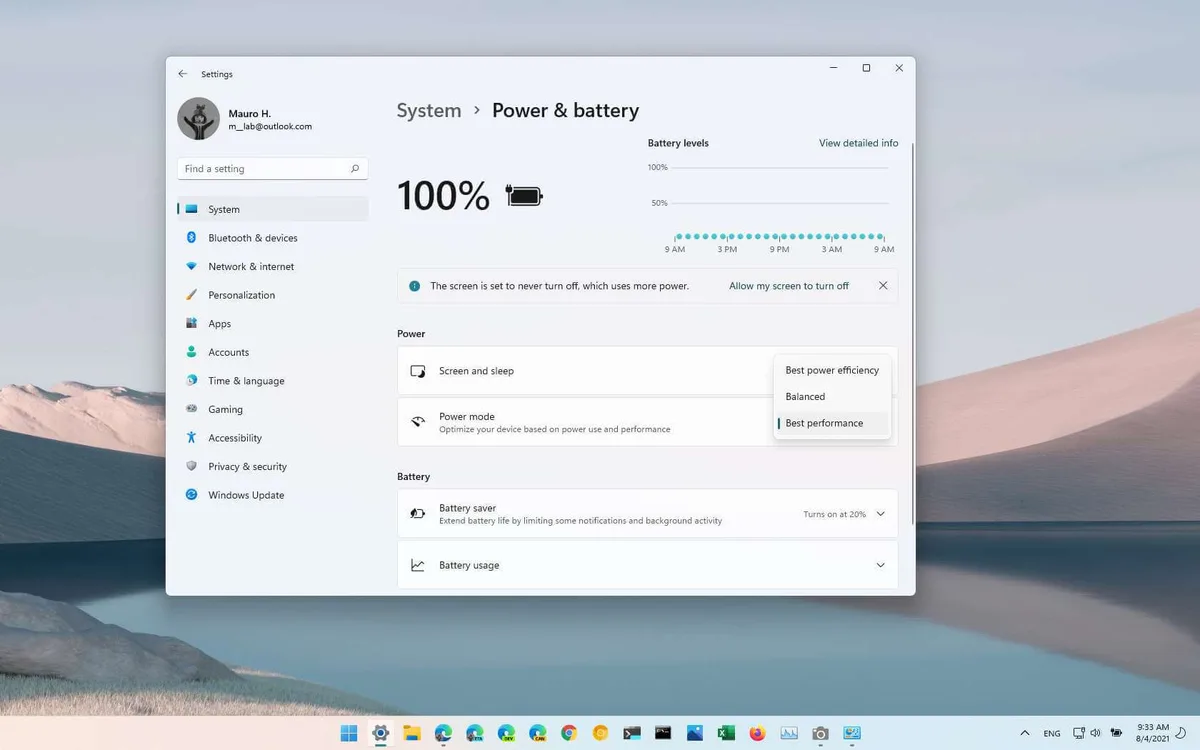
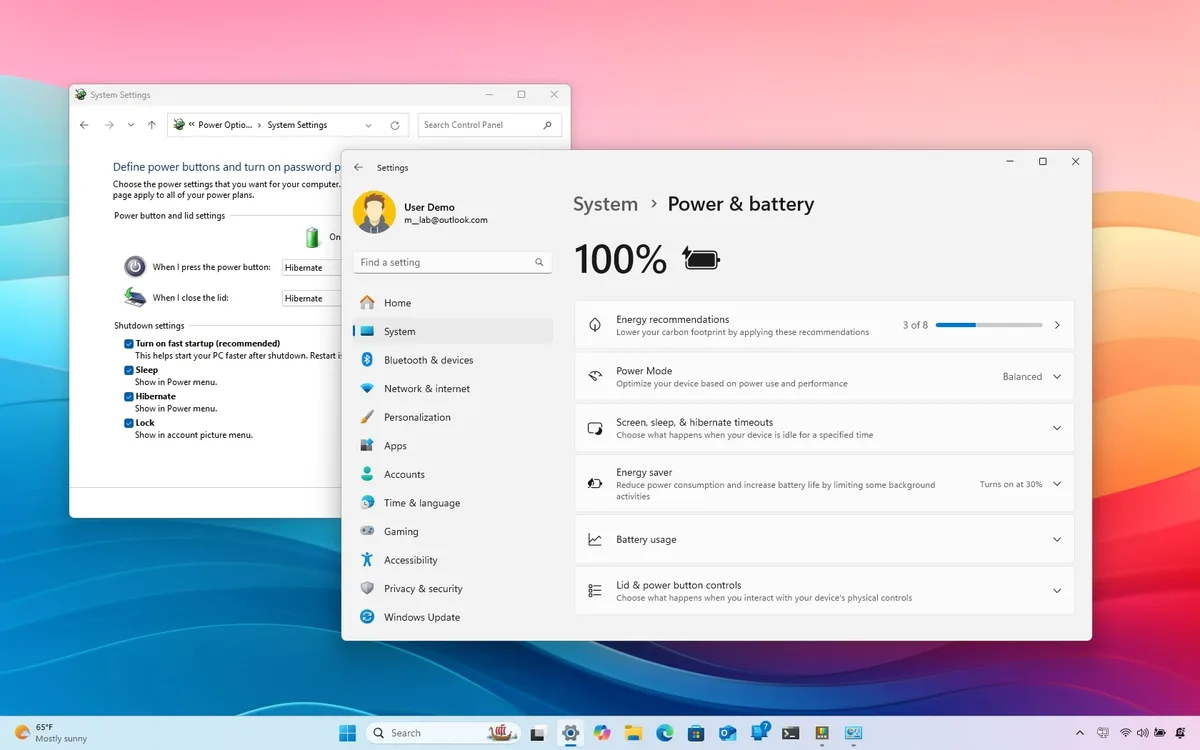
- Unplug your laptop from AC power and disable battery saver, hibernate, and sleep modes. If your laptop is connected to power during testing, BatteryInfoView will report the designed capacity as the full charge capacity, giving you a false 0% wear reading. Disabling power-saving features prevents the system from throttling the battery mid-test. If you need help adjusting these power settings, our Windows 11 power management guide walks you through turning off battery-saving features quickly.
- Let your battery run down to 20% or lower if possible. A battery that was recently topped off may show an artificially high full charge capacity that doesn’t match real-world unplugged runtime. You don’t need to fully discharge to 0% for a basic health check, just avoid testing immediately after a full charge. Do not use a USB-C power bank to charge your laptop during testing, as this can cause inconsistent voltage readings that skew results.
- Close all running programs and background processes. Heavy system usage causes voltage fluctuations that can skew cycle count and capacity readings. A quick restart before testing ensures no background tasks are interfering with the scan.
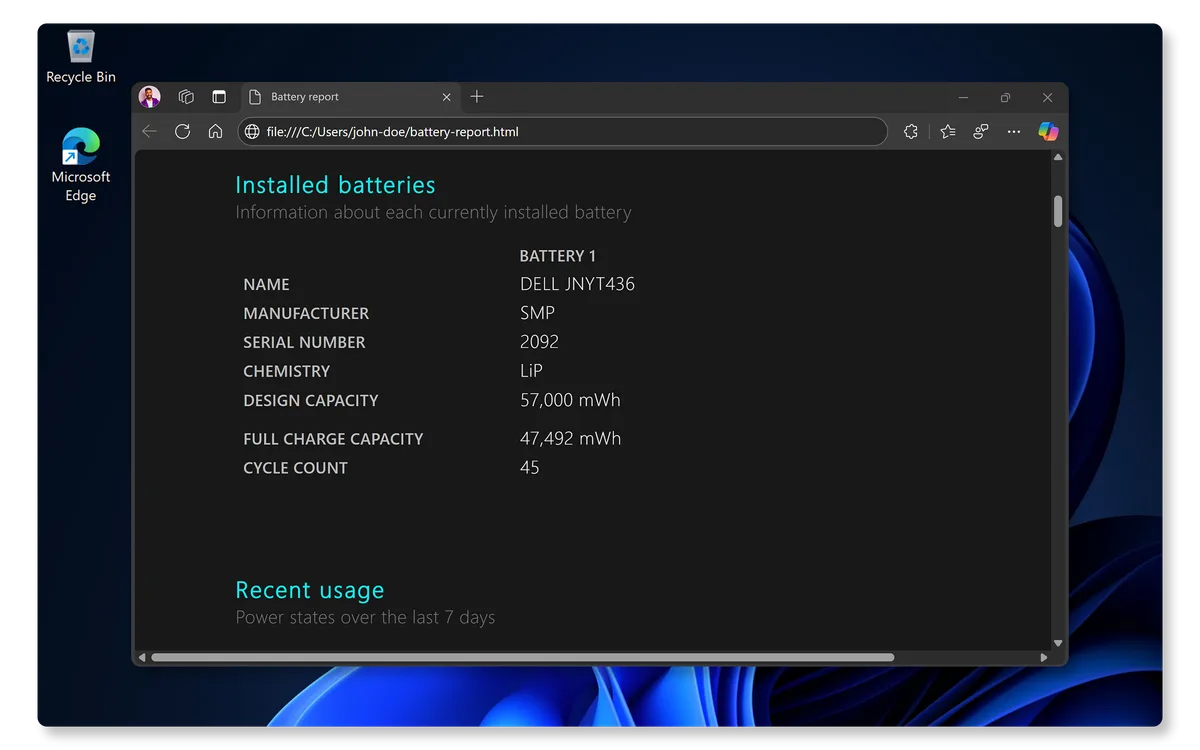
Image source: Web (Bing) / dell.com (Web image (fair-use with source credit))
Step-by-Step: Run BatteryInfoView To Test Your Laptop Battery Health
Once you’ve confirmed compatibility and completed pre-test setup, running BatteryInfoView takes less than 30 seconds. Follow these exact steps:
- Download BatteryInfoView only from the official NirSoft website to avoid malware. The file is a lightweight ZIP under 1MB, no installation required.
- Extract the ZIP file to a folder on your laptop or a USB drive. Right-click the extracted BatteryInfoView.exe file and select "Run as administrator" if you want to pull the most detailed firmware metrics, though basic health data works without admin rights for most users.
- The tool will automatically scan your battery and display all available metrics in the main window within 2 to 3 seconds. No additional configuration is needed for standard ACPI-compliant batteries.
- Note the Designed Capacity, Full Charge Capacity, Wear Level, and Charge Cycle Count values. You can right-click the window and select "Export All Items" to save the data to a CSV file for future reference or to track degradation over time.
If the tool does not detect your battery after 10 seconds, jump to the troubleshooting section for fixes.
How to Read Your BatteryInfoView Results: Decision Guide For Battery Health
Your test results come down to two key metrics: wear level percentage, and the ratio of full charge capacity to designed capacity. Use this decision guide to interpret your data accurately.
What Does My Wear Level Percentage Mean?
First, check the wear level value in your BatteryInfoView results:
- If wear level is below 15%: Your battery is in good shape, no replacement needed. Continue normal use.
- If wear level is between 15% and 25%: Your battery has moderate degradation. You may notice slightly shorter unplugged runtime, but it’s still functional for most daily use cases. If your battery has moderate wear but you’re still seeing short unplugged runtime, our background power drain solution may resolve unexpected drain from Windows background processes.
- If wear level is above 25%: Your battery is significantly degraded. Expect 1 to 2 hours of runtime or less on a full charge, and replacement is recommended.
How Do I Compare Full Charge Capacity to Designed Capacity?
Next, check the ratio of full charge capacity to designed capacity:
- If full charge capacity is 80% or higher of designed capacity: Your battery is healthy, even if the charge cycle count is high.
- If full charge capacity is below 80% of designed capacity: Your battery can no longer hold a sufficient charge, and replacement is needed regardless of wear level.
If your charge cycle count is above 500, your battery is nearing the end of its rated 300-500 cycle lifespan per IEEE 1625 lithium-ion battery standards, even if other metrics appear normal. For laptops that don’t report cycle count, common on older models with legacy battery firmware, rely solely on wear level and capacity ratios for your decision.
Troubleshooting: Fix Common BatteryInfoView Errors (False Positives, Undetected Batteries)
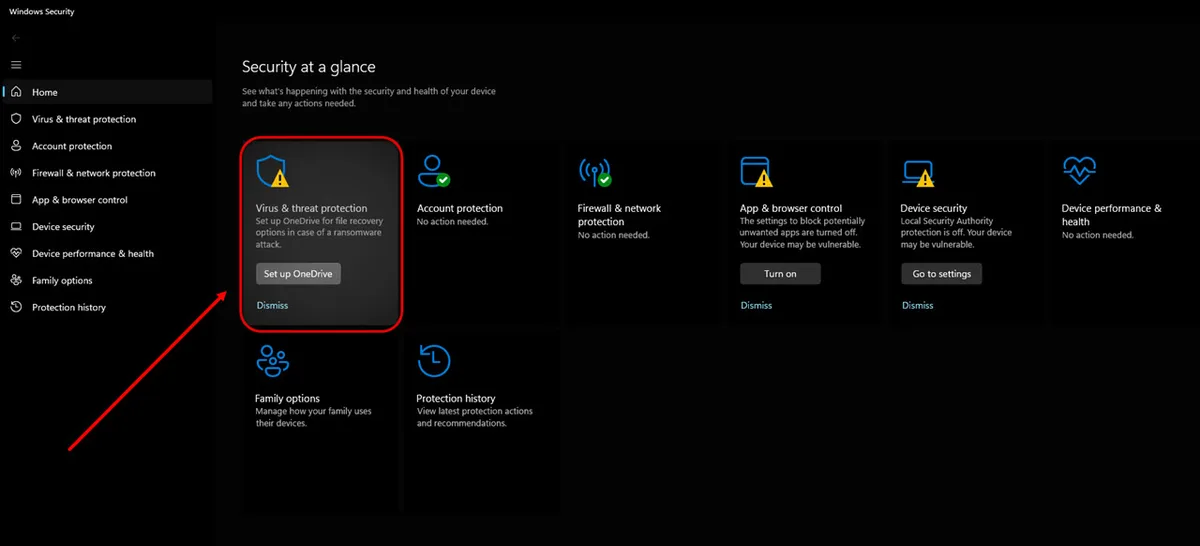
Image source: Web (Bing) / candid.technology (Web image (fair-use with source credit))
Most BatteryInfoView errors fall into two easy-to-fix categories. Use this if/then flow to resolve them quickly:
- If your antivirus flags the executable as a threat: That's a common false positive for NirSoft's portable utilities. Add BatteryInfoView to your Windows Security exclusion list under Virus & threat protection > Manage settings > Exclusions. This resolves the issue in most cases per aggregate user reports.
- If the tool fails to detect your battery entirely: First confirm your laptop is running on battery power, not AC. Restart the device and run BatteryInfoView again. If it still fails, update your BIOS from your manufacturer's support site. Legacy BIOS versions often lack the ACPI interfaces required to read battery firmware data.
- If you get an access violation error when launching the tool: Right-click the executable and select Run as administrator. For corporate or school-issued devices, IT security policies frequently block NirSoft utilities by default. Contact your admin team to request an exception, or use the built-in powercfg tool as a fallback.
When BatteryInfoView Won’t Work: Alternatives For Edge Cases
BatteryInfoView only supports Windows 10 and 11 with standard ACPI-compliant battery controllers as of 2026. If your setup falls outside these parameters, use one of these vetted alternatives based on your device and needs:
- For Windows users who can't run BatteryInfoView: The built-in powercfg /batteryreport command is a reliable no-install fallback. It generates a full HTML battery health report in your user folder, showing designed capacity, full charge capacity, and cycle count for most modern laptops.
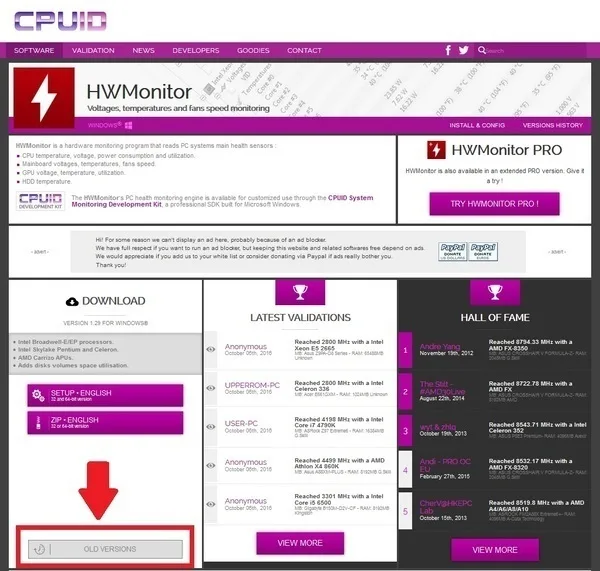
- For cross-platform detailed hardware metrics: HWMonitor or HWiNFO read the same ACPI data as BatteryInfoView, though they require installation.
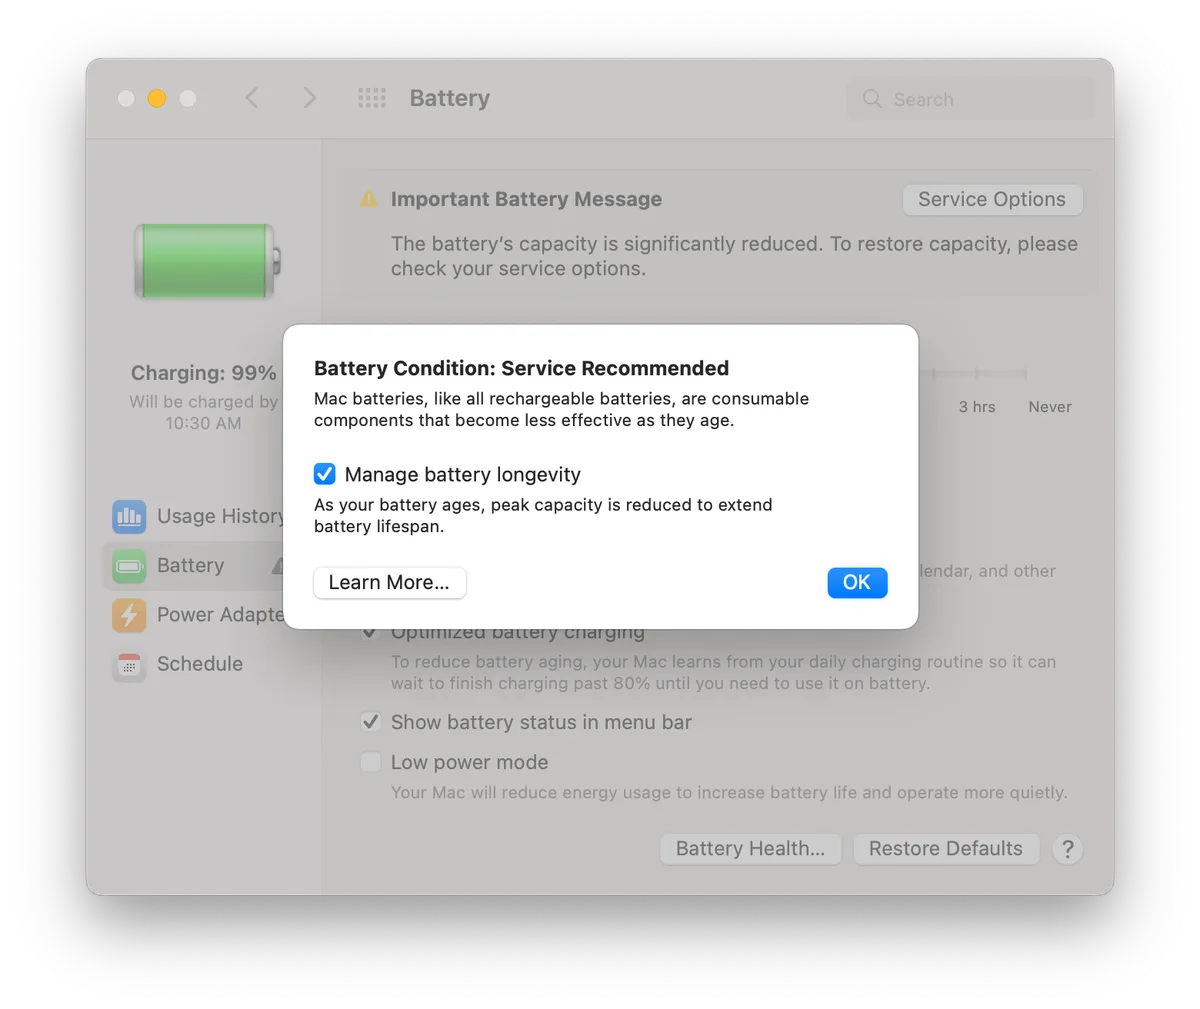
- For Mac users: Check battery health natively by holding Option and clicking the battery icon in the menu bar. This shows battery condition, cycle count, and full charge capacity with no extra software.
- For Linux users: Run the upower command in the terminal to pull the same core capacity and wear metrics.
| Alternative Tool | OS Support | Key Metrics Reported | Installation Required |
|---|---|---|---|
| BatteryInfoView | Windows 10/11 | Wear level, cycle count, voltage, capacity | No |
| powercfg /batteryreport | Windows 10/11 | Capacity, cycle count | No (built-in) |
| HWMonitor | Windows/macOS/Linux | Capacity, temperature, voltage | Yes |
| Native Mac battery menu | macOS | Condition, cycle count, capacity | No |
All these alternatives report the same core data points as BatteryInfoView, just with less convenient interfaces for quick checks.
Common Mistakes That Give You Wrong Battery Test Results
Incorrect test conditions cause most misleading BatteryInfoView readings. Avoid these errors to get accurate data every time:
- Testing while plugged into AC power: This is the most common mistake. When connected to power, BatteryInfoView reports the designed capacity as the full charge capacity, showing 0% wear even if your battery is degraded. Always run the test on battery power only.
- Testing immediately after a full charge: A battery topped off minutes before testing will show a higher full charge capacity than its actual real-world maximum. Let your battery run down to at least 20% before testing for the most accurate wear level reading.
- Using a USB-C power bank during testing: This causes inconsistent voltage readings that skew results. Many users also misinterpret wear level as a sign of imminent failure. A 20% wear level means your battery holds 80% of its original capacity, which is still functional for most daily use. Only replace the battery when wear level exceeds 25% or full charge capacity drops below 80% of designed capacity, per manufacturer specifications.
Safety, Warranty & Compliance Rules For Battery Testing and Replacement
Laptop batteries contain lithium-ion cells that pose safety risks if mishandled. Never puncture, crush, or expose your laptop battery to extreme heat during testing. Per U.S.
Consumer Product Safety Commission (CPSC) guidelines, damaged lithium-ion batteries can overheat or catch fire. Dispose of degraded batteries at an authorized e-waste facility, following local regulations.
If your laptop is still under manufacturer warranty, opening the battery compartment or installing a third-party replacement part will void coverage in most cases. Check your warranty terms before attempting any DIY battery work. For work-issued devices, corporate IT policies often require authorized service providers for battery replacements to maintain data security compliance.
When disposing of an old laptop battery, follow the EU WEEE Directive or your local e-waste rules. Most electronics retailers offer free battery recycling drop-off. Never throw laptop batteries in regular household trash, as this creates environmental and fire hazards.
Final Decision Guide: When Your Test Results Mean It’s Time For a New Battery
Use this quick decision tree to turn your BatteryInfoView results into a clear action plan:
- If your wear level is below 20% and full charge capacity is above 80% of designed capacity: No replacement is needed. Continue normal use, and retest every 6 months to track degradation. If you notice shorter unplugged runtime despite healthy metrics, our guide to reducing unexpected power drain can help rule out software-related battery drain.
- If your wear level is between 20% and 25% or full charge capacity is between 70% and 80% of designed capacity: Your battery is approaching end of life. You may notice shorter unplugged runtime, but it's still functional for casual use. Consider a replacement if you need longer unplugged work time, or if the battery no longer holds a charge for more than 2 hours.
- If your wear level is above 25% or full charge capacity is below 70% of designed capacity: Replace the battery immediately. You can purchase an OEM replacement from your laptop manufacturer for guaranteed compatibility, or a reputable third-party battery for lower cost. For laptops under warranty, contact the manufacturer first to see if you qualify for a free replacement.
Frequently Asked Questions
Is BatteryInfoView safe to use?
BatteryInfoView is safe when downloaded from the official NirSoft website. It contains no adware, malware, or bundled software. As a portable utility, it doesn't modify your system or install background processes.
Aggregate user reviews and malware scans confirm it's clean as of 2026. Always avoid downloading it from third-party sites to prevent tampered versions.
How accurate is BatteryInfoView compared to Windows' built-in battery report?
BatteryInfoView is more accurate for wear level and cycle count data. The built-in powercfg /batteryreport command only shows capacity ratios, and often reports incorrect cycle counts on older laptops. BatteryInfoView pulls data directly from your battery's firmware, so it matches manufacturer diagnostic tools for most ACPI-compliant devices.
Can BatteryInfoView damage my laptop battery?
No. BatteryInfoView is a read-only utility that only accesses existing battery firmware data. It does not discharge, charge, or modify your battery in any way.
Running it will not shorten your battery's lifespan or cause any hardware damage, per NirSoft's official documentation.
What should I do if BatteryInfoView doesn't detect my battery?
First, confirm your laptop is running on battery power, not AC. Restart the device and run the tool again. If it still fails to detect the battery, update your BIOS from your manufacturer's support site.
For non-ACPI compliant batteries or non-Windows devices, use one of the alternative tools listed in this guide.
How often should I test my laptop battery with BatteryInfoView?
Test your battery every 6 months to track degradation over time. If you notice shorter unplugged runtime, test it immediately to rule out battery wear. For older laptops (3+ years old), testing every 3 months helps you plan for replacement before the battery fails unexpectedly.

Similar Posts