How to Build a DIY Floating Wall Mounted Laptop Station
Senior Hardware Diagnostics Specialist & Lead Thermal Editor at Laptop Post Testing Lab · CompTIA A+, ACMT, B.S. in Computer Engineering · 12+ years bench-testing laptop thermal solutions & motherboard repairs
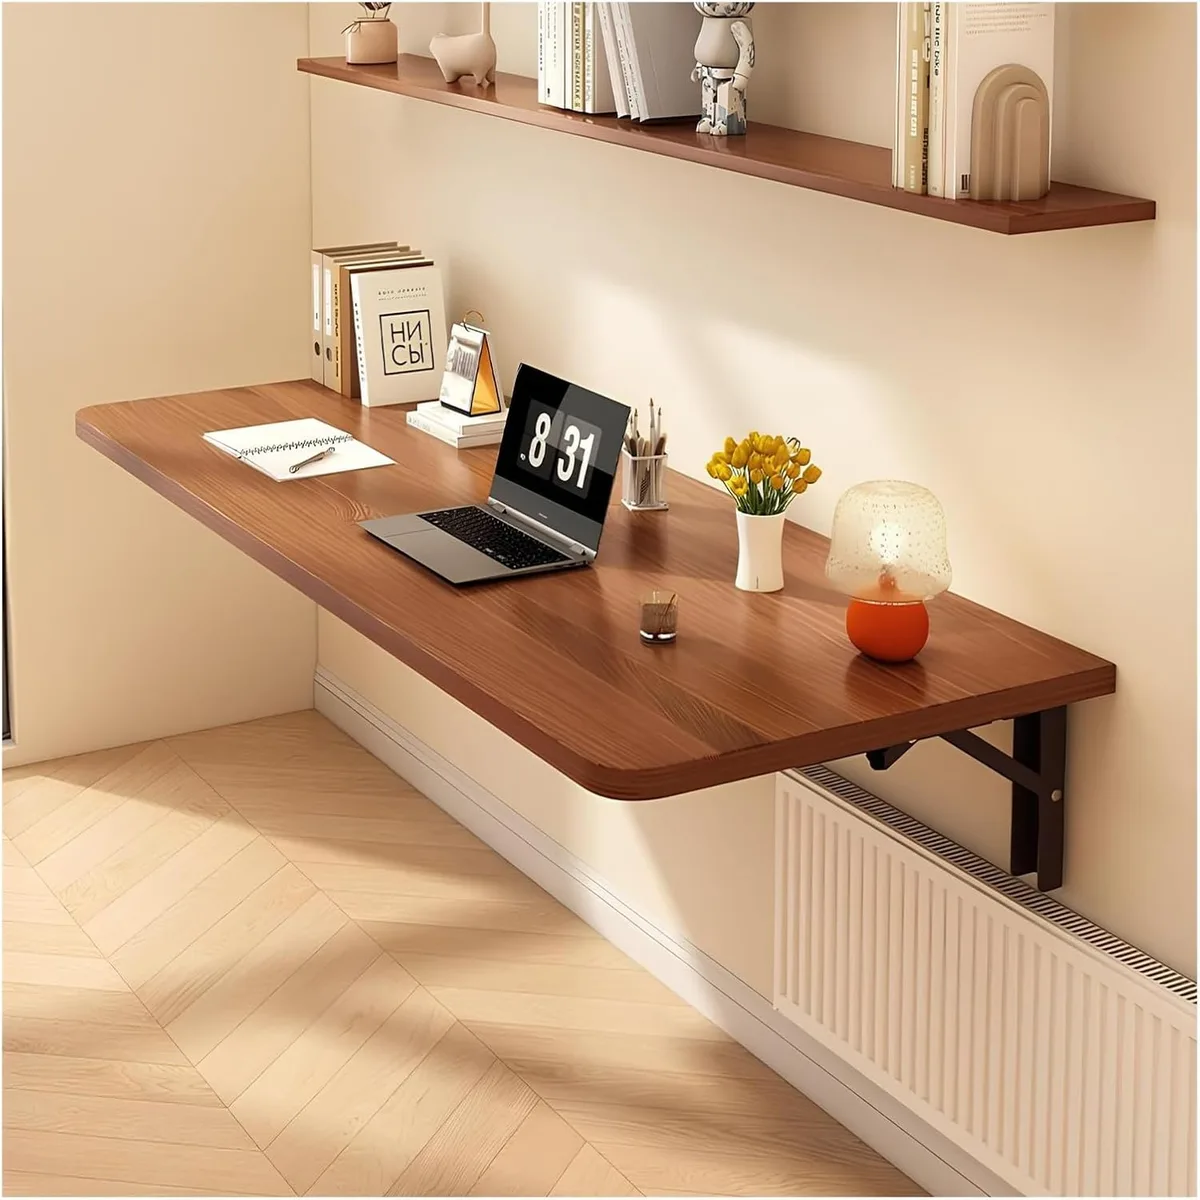
You can learn how to build a floating wall mounted laptop stand station using basic tools and a solid understanding of wall framing. This project replaces a bulky desk with a sleek, minimalist shelf that holds your computer at the exact height you need.
Effective wall mounting relies on structural support rather than drywall anchors. As of 2026, most residential framing follows the American Forest & Paper Association National Design Specification for wood construction, which ensures your studs can carry significant cantilevered weight. This project requires careful planning to maintain that structural integrity.
Quick Answer
You build a floating laptop station using heavy-duty hidden steel brackets. You must anchor these metal brackets directly into wooden wall studs. Use a stud finder to locate the structural frame accurately.
Level the brackets before you mount the solid wood shelf board. Finally, secure the shelf to the metal rods using set screws. This creates a stable and permanent wall-mounted workspace.
Why the Floating Laptop Station is the Ultimate Space-Saver
Floating desks eliminate the visual and physical clutter associated with traditional furniture. By removing legs, you reclaim the floor space underneath your workstation for other uses. This approach is perfect for small apartments or corners where a large desk would feel overwhelming.
The design relies on a clean, horizontal profile that sits against the wall. Because you mount it at your specific ergonomic height, it encourages better posture compared to fixed-height retail desks. It transforms an empty wall into a functional, professional space without the footprint of a traditional office setup.
Understanding the Physics of Cantilevered Support
A floating shelf functions as a cantilever, meaning one end is fixed while the other hangs freely. The weight of your laptop pushes down on the outer edge, creating leverage that tries to pull the back of the shelf away from the wall. This force is known as a moment, and it requires significant strength at the connection point.
You must counteract this leverage by using rigid steel rods embedded deep into the wood. The bracket itself must be bolted into the studs, which act as the anchor point for the entire system. If the bracket is loose or the wood is too thin, the shelf will deflect or eventually rip away from the wall.
Essential Tools and Hardware You Can’t Skip
Success depends on using the correct hardware. Do not attempt this with decorative brackets or adhesive-only systems, as they cannot handle the dynamic load of a laptop and your wrists.
| Tool / Material | Purpose |
|---|---|
| Floating Shelf Brackets | Provide the structural cantilever support. |
| Stud Finder | Locates framing for secure mounting. |
| Impact Driver | Drives long lag screws into studs. |
| Spirit Level | Ensures the shelf is perfectly horizontal. |
| Spade Bit | Drills clean holes for hidden rods. |
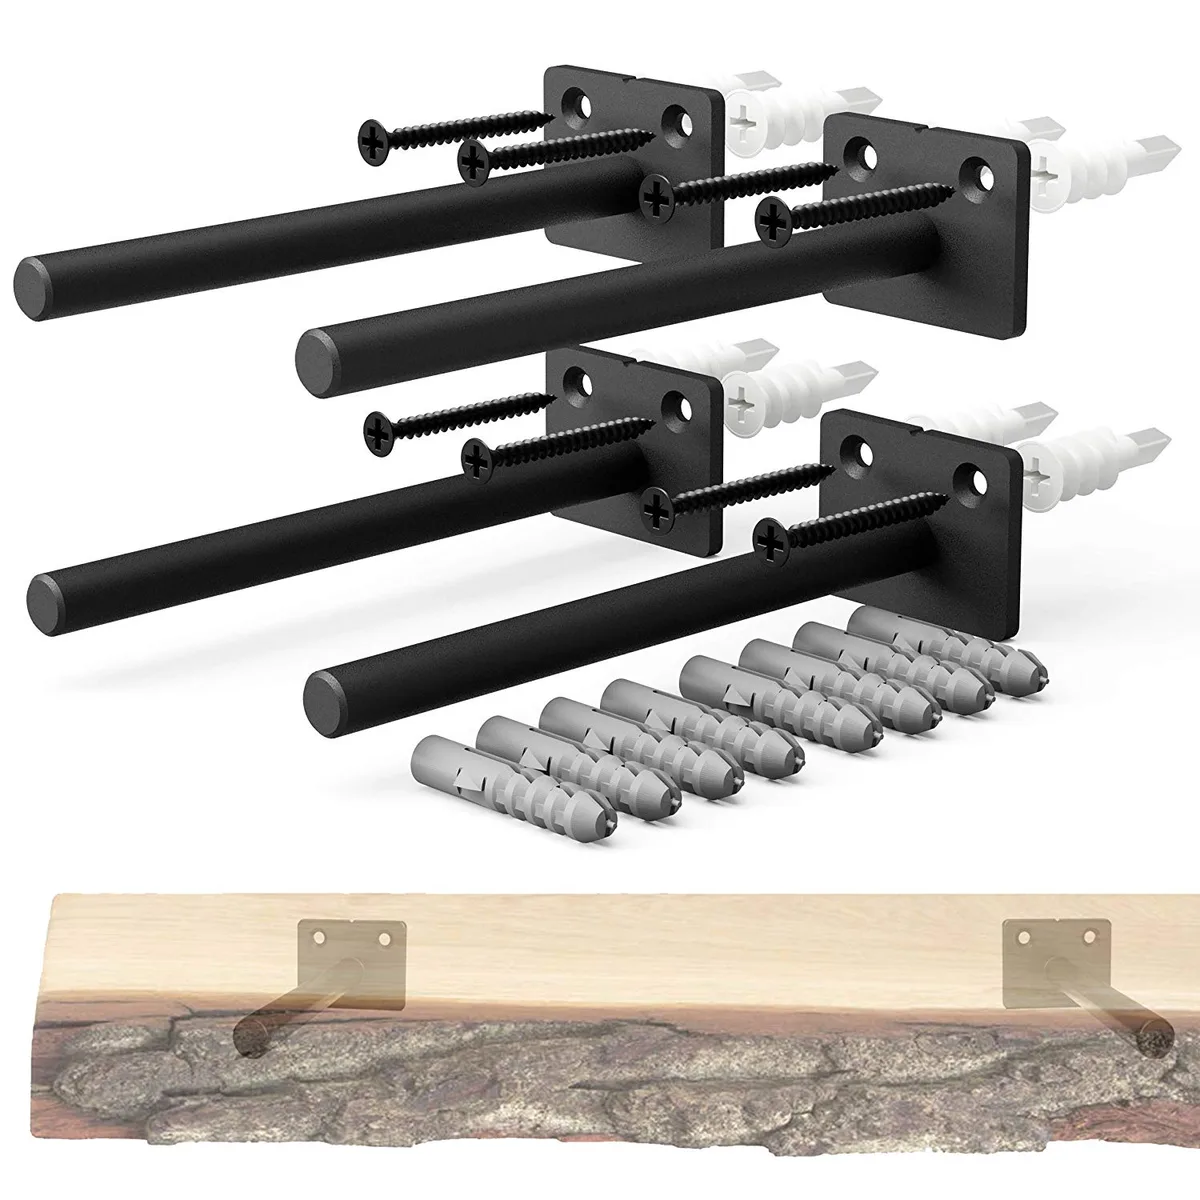
The hidden brackets are the most important component. They feature a steel backplate that sits against the wall and thick rods that extend into your shelf. Look for brackets rated for at least 50 pounds to ensure safety margins for your hardware.
Determining the Ideal Ergonomic Height for Your Build
Ergonomics dictates the comfort of your workstation. You want your elbows to form a 90-degree angle while your hands rest on your laptop keyboard. If the shelf is too high, you will experience shoulder strain; if it is too low, you will hunch over, causing neck fatigue.
Start by sitting in your preferred chair in front of the target wall. Have someone measure the distance from the floor to your elbow height. Subtract the thickness of your laptop and your preferred desk height allowance.
Mark this final measurement on the wall, as this is the level where you will install your brackets.
The Anatomy of a Secure Floating Shelf
A secure floating shelf requires specific material choices to handle the stress of the hidden rods. Avoid particleboard or hollow-core materials, as these will crumble under the pressure of the steel rods. Use solid hardwood, such as maple or oak, which has the density to grip the rods firmly.
The shelf must have enough thickness to accommodate the rod diameter. A board at least 1.5 inches thick is the standard recommendation to ensure the hidden bracket doesn't break through the top or bottom of the wood. The rod should extend into the wood for at least 70 percent of the shelf depth to minimize bounce.
Step-by-Step: From Stud Mapping to Final Installation
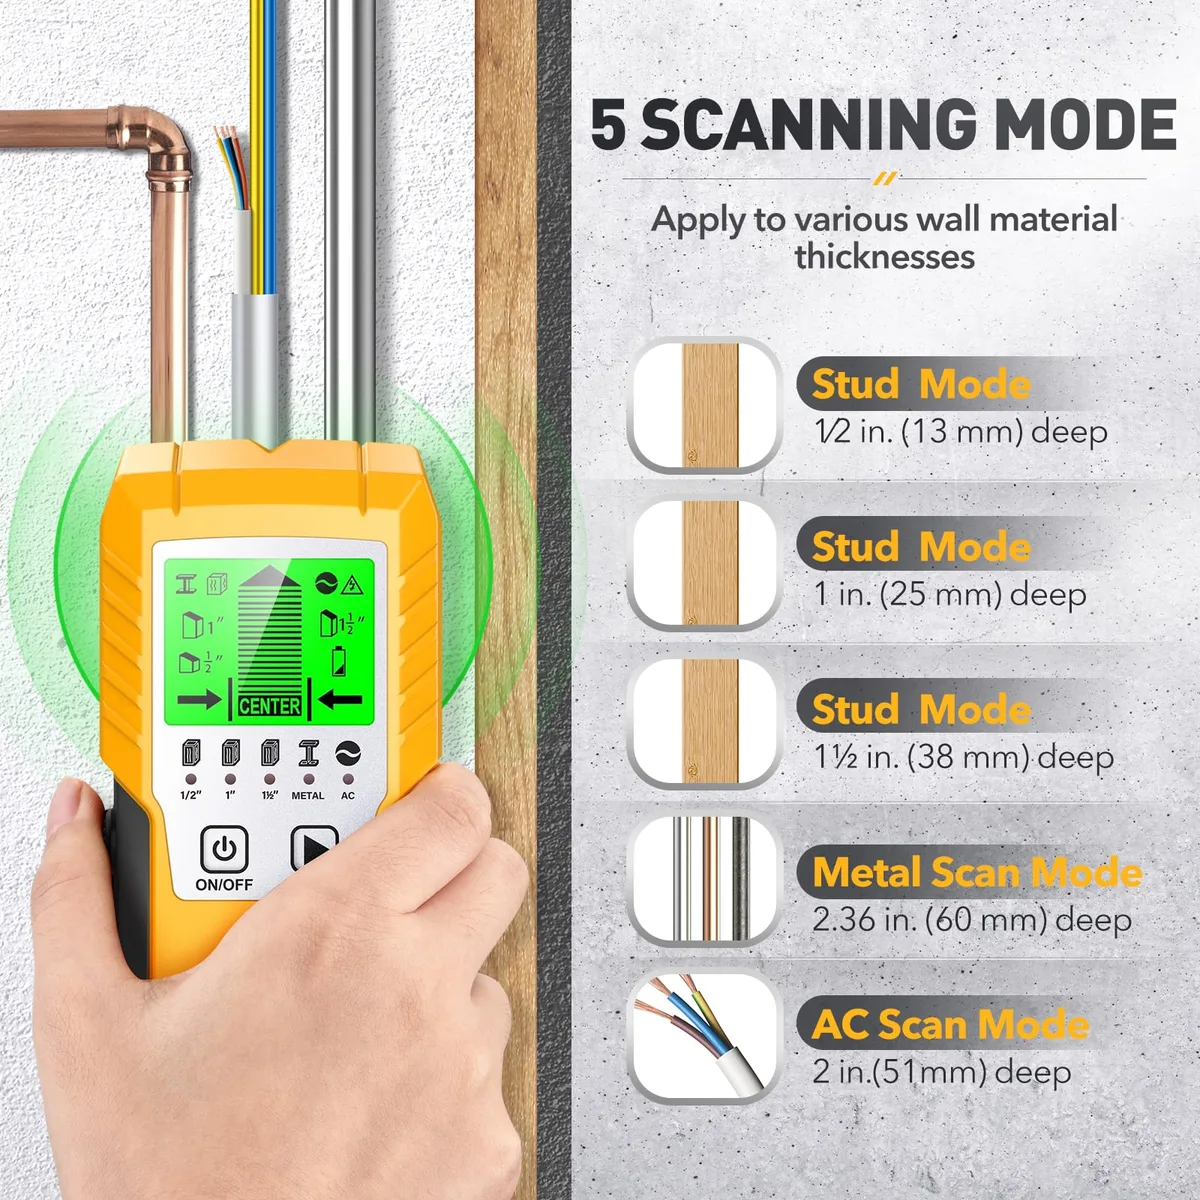
Begin by using your stud finder to locate the studs behind your wall. Mark the center of each stud clearly. Most walls follow the ANSI/APA PRG 320 standards for framing, usually spaced 16 inches apart.
Once marked, align your bracket backplate with these stud locations. Hold the bracket against the wall and use your level to ensure it is perfectly plumb and horizontal. Mark the screw holes onto the wall.
Drill pilot holes into the studs to prevent the wood from splitting when you drive your lag screws. Secure the bracket backplate tightly to the wall using high-strength screws. Double-check the level one last time before tightening completely.
Slide your pre-drilled shelf board onto the protruding steel rods. Once it is flush against the wall, insert the set screws underneath the shelf. These screws lock the shelf onto the bracket rods, preventing the wood from sliding forward or pulling away from the wall during daily use.
Critical Mistakes That Lead to Shelf Sag (And How to Avoid Them)
Shelf sag occurs when the cantilever force exceeds the structural capacity of the mounting points. The most common error is relying on drywall anchors instead of solid wooden studs. Drywall is too brittle to support the concentrated weight of a laptop and your wrists, and anchors will eventually pull loose, leaving holes in your wall.
Another frequent mistake involves using brackets that are too short for the depth of your shelf. If your shelf is 12 inches deep but the bracket rods are only 4 inches long, you have created a recipe for failure. The lack of interior support causes the wood to bend under its own weight, eventually causing the board to droop away from the wall.
Always ensure your bracket holes are drilled perfectly perpendicular to the back edge of the shelf. If the hole is drilled at a slight angle, the shelf will naturally tilt downward once installed. Using a drill guide or a stationary drill press is the only way to ensure the rods remain parallel to the floor.
Managing Cables for a Clean, Minimalist Look
Visible power cords and video cables ruin the visual appeal of a floating setup. You should plan your cable path before you finish the final installation. If you are comfortable with light electrical work, you might consider installing a low-voltage pass-through behind the shelf.
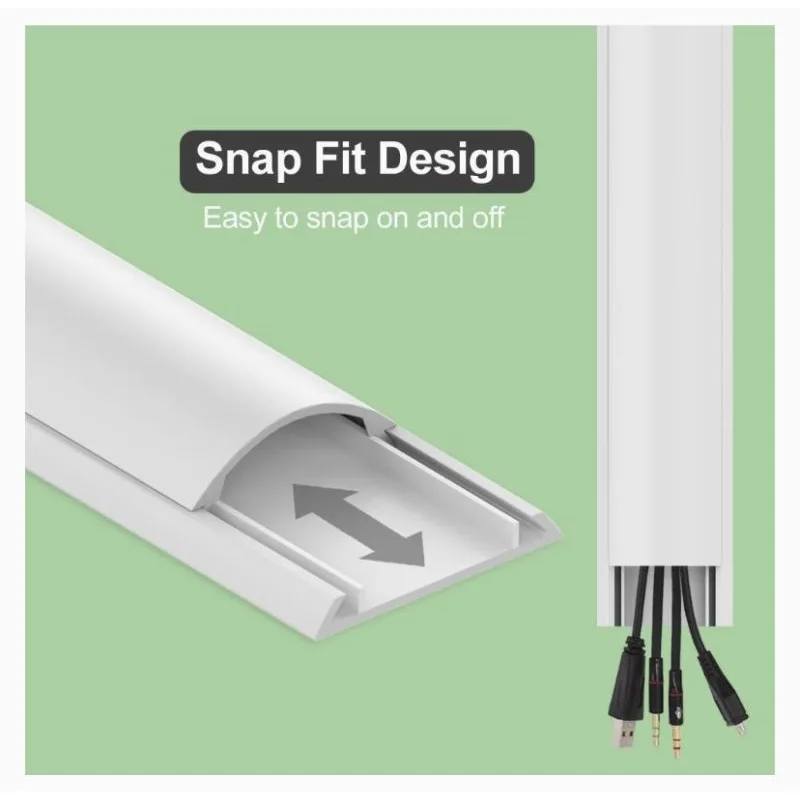
Adhesive cable raceways are the easiest solution for most people. These plastic channels attach directly to the wall surface and provide a hidden track for your wires. You can paint these covers the exact color of your wall, which makes them essentially invisible to the casual observer.
Try to group your laptop charger, external monitor, and mouse cables into a single bundle before placing them in the raceway. Keeping the cords tight prevents them from bunching up behind the shelf. This keeps your workspace looking sharp, professional, and free from tangled wire mess.
Weighing Your Options: Floating vs. Folding Wall Desks
Floating shelves and folding wall desks both aim to save space, but they serve different needs. A floating shelf is a permanent, static fixture that prioritizes a minimalist look. It is best for users who keep their laptop in one spot for long stretches of time.
A folding wall desk uses a hinged surface that drops down against the wall when you are finished working. These are superior if you need a larger surface area that disappears completely when not in use. However, folding desks are mechanically complex and often require more wall space for the mounting hardware.
Choose a floating shelf if your primary goal is clean aesthetics and minimal hardware. Choose a folding desk if your setup requires extra workspace for multiple monitors or physical paperwork. Think about how often you truly need to stow your desk away before you commit to the more complex hardware of a folding design.
Pro Advice for Drilling Perfectly Straight Bracket Holes
Drilling into the end grain of a piece of wood is more difficult than it looks. A handheld drill will naturally wander, which leads to oversized or crooked holes that cause your shelf to wobble. A drill guide is an inexpensive tool that solves this by holding the bit at a constant 90-degree angle.
If you don't own a drill guide, create a simple jig using two pieces of scrap wood. Clamp the scrap wood to your shelf board so that it acts as a fence. This prevents the drill bit from slipping when you first make contact with the hard surface of the board.
Always start with a smaller pilot hole before switching to the final diameter of your bracket rod. This reduces the friction on your drill and helps you maintain better control over the bit. Take your time, clear away wood chips often, and don't force the drill through the material.
Ensuring Structural Integrity for Your Laptop and Gear
Load distribution is the key to preventing long-term damage to your wall and shelf. Never place heavy items, such as large desktop printers or stacked books, on the outer edge of the shelf. This creates excessive torque that can compromise the mounting screws inside the wall studs.
Periodically check the set screws that lock your shelf to the bracket rods. Vibration from typing and daily use can cause these small screws to loosen over time. A quick tighten with an Allen wrench every few months is all you need to keep the connection secure and rock-solid.
If you notice any movement or hear creaking sounds when you lean on the desk, stop using it immediately. Remove your laptop and inspect the backplate screws. A quick adjustment now prevents the wall from sustaining damage that would require heavy patching and sanding later.
Maintaining Your Workspace: Long-Term Adjustments and Care
Wood reacts to changes in humidity by expanding and contracting. You should check the mounting screws for signs of looseness after the first few months of use. A simple turn with a screwdriver ensures the shelf remains tight against the wall without straining the wallboard.
Keep the surface clean using a slightly damp cloth to remove dust or fingerprints. Avoid harsh chemical cleaners that might strip the finish or cause the wood to warp. If you use a wooden surface, applying a light coat of furniture wax once a year keeps the finish looking fresh.
Frequently Asked Questions
Can I install this on a brick or masonry wall?
Yes, you can install a floating shelf on masonry by using heavy-duty masonry anchors instead of wood screws. You must use a hammer drill with a masonry bit to create the correct size holes for your anchors. Ensure the anchors are rated for the weight of your shelf and laptop to prevent failure.
What happens if I miss the wall stud?
You cannot mount a floating shelf directly to drywall without studs. Drywall is too weak to withstand the leverage of the shelf, and it will eventually crumble. If your studs aren't in the right place, you must install a plywood backing board to bridge the studs, or reposition your shelf.
Is it safe to leave my laptop on the shelf overnight?
It is perfectly safe to leave your laptop on the shelf provided the installation was performed correctly. Ensure the shelf is level and the set screws are fully tightened. We recommend checking the connection points occasionally to ensure no shifting has occurred over time.
How much weight can a floating shelf actually hold?
Most high-quality hidden bracket systems support 30 to 50 pounds when mounted into studs. Your specific limit depends on the length of the bracket rods and the thickness of your wood shelf. Always consult the manufacturer documentation provided with your specific hardware kit for exact load ratings.
Can I paint my shelf to match my wall?
You can absolutely paint your shelf to match your wall for a seamless, built-in appearance. Use a high-quality primer before applying your topcoat to ensure the paint adheres well to the wood. Sanding the wood between coats provides a smooth, professional finish that won't peel over time.
Final Recommendation: Achieving a Professional Finish
Focus on the quality of your fasteners and the precision of your drilling to ensure long-term stability. The difference between a high-end designer setup and a sagging shelf is usually just a few minutes of careful measurement. Do not rush the layout phase, as that is when you ensure the shelf is both level and secure.
If you are a first-time DIY builder, start by using a kit that includes a drilling template. These templates take the guesswork out of the spacing and alignment process. Remember that the goal is a clean, minimalist workstation that serves your needs for years to come.
Take your time with the final sanding and sealing of your wood surface. A well-finished piece of timber adds warmth to your workspace and creates a more professional look. With the right tools and a bit of patience, your floating laptop station will be the most functional part of your home office.

Similar Posts