Best Laptop Stands for Video Editing with Color Grading
Senior Hardware Diagnostics Specialist & Lead Thermal Editor at Laptop Post Testing Lab · CompTIA A+, ACMT, B.S. in Computer Engineering · 12+ years bench-testing laptop thermal solutions & motherboard repairs
Choosing the best laptop stand for video editing with color grading panels is a common challenge for post-production professionals. You need a setup that balances precise screen positioning with the physical demands of control surface hardware.
Color grading demands long hours of exact color evaluation and repetitive fine-tuning of image parameters. As of 2026, industry standards for workstation ergonomics, such as those recommended by OSHA, emphasize the importance of neutral posture and eye-level screen placement.
Quick Answer
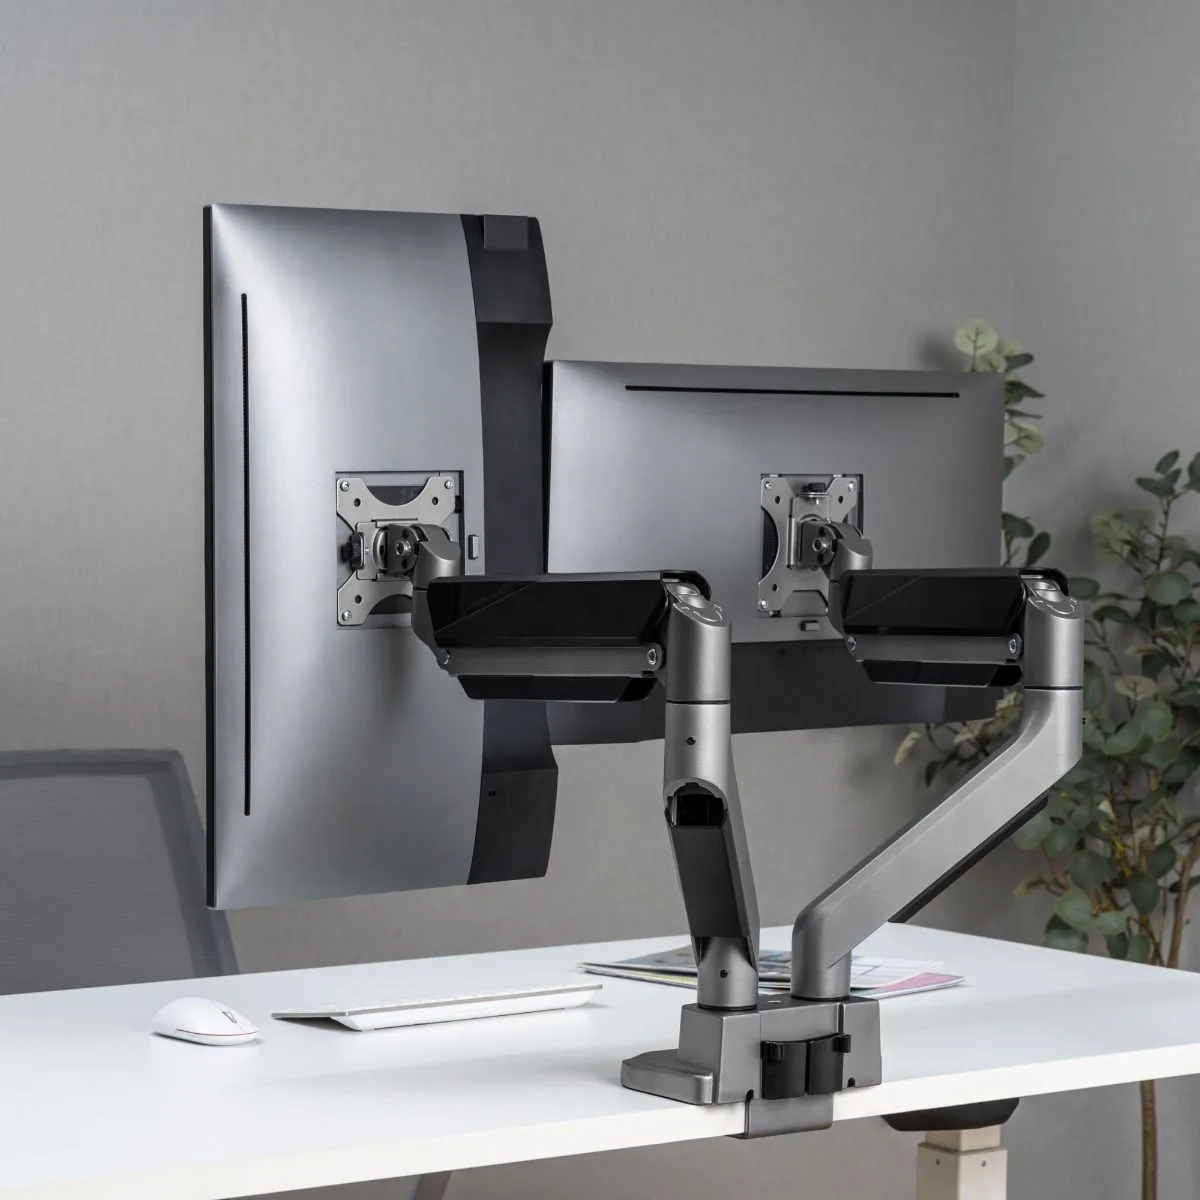
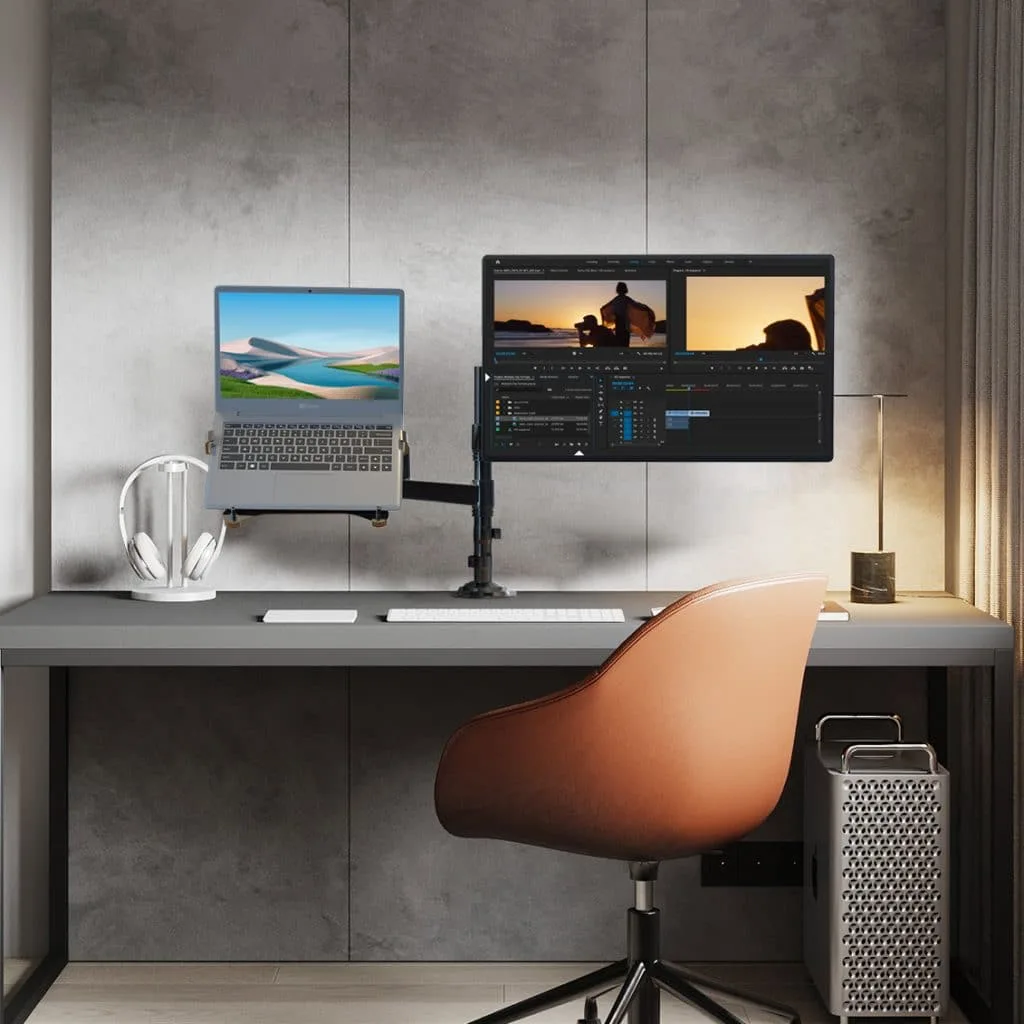
The best laptop stand for video editing with color grading panels is an articulating monitor arm with a VESA-mounted tray. This setup clears your desk surface for your control hardware. It provides maximum stability for intensive grading sessions.
It also allows precise vertical height adjustments for your screen. You gain vital desk space for your panel.
The Real Challenge: Why Grading Panels Don't Play Nice with Standard Stands
Professional color grading requires a specialized input device like a Tangent Ripple or DaVinci Resolve Speed Editor. These panels feature a bulky footprint that often conflicts with standard laptop stand bases. A typical aluminum riser is designed for a mouse and keyboard, not a dedicated control console.
When you attempt to place a grading panel in front of a traditional stand, you usually encounter two main issues. First, the stand base blocks the panel from sliding close to your body. This forces you to reach forward, which quickly causes shoulder fatigue.
Second, the structural integrity of basic stands often fails under the pressure of professional work. When you are adjusting wheels or trackballs, you might bump the desk or lean on your workspace. If your laptop stand is a lightweight, non-locking model, your screen will shake.
Stability is a non-negotiable requirement for accurate color decisions.
Defining Your Workspace Requirements
Before you select a support system, you must map your desk surface. Measure the exact footprint of your grading panel. Ensure your chosen stand base leaves at least two inches of clearance on all sides of the device.
You should also verify the weight capacity of your support system. A modern 16-inch laptop is significantly heavier than a thin ultrabook. Check the manufacturer specifications for the maximum weight load of any stand or arm.
| Feature | Low-Stability Riser | Professional Arm |
|---|---|---|
| Desk Space | Consumes surface area | Zero footprint |
| Adjustability | Fixed or limited | Full articulation |
| Stability | Low (potential wobble) | High (tension-locked) |
| Best For | Casual editing | Pro color suites |
The Ergonomic Cost of Improper Screen Height
Poor display height is the primary cause of neck strain in video editing suites. When your laptop screen is too low, you naturally hunch over the grading panel. This posture compresses your cervical spine over long sessions.
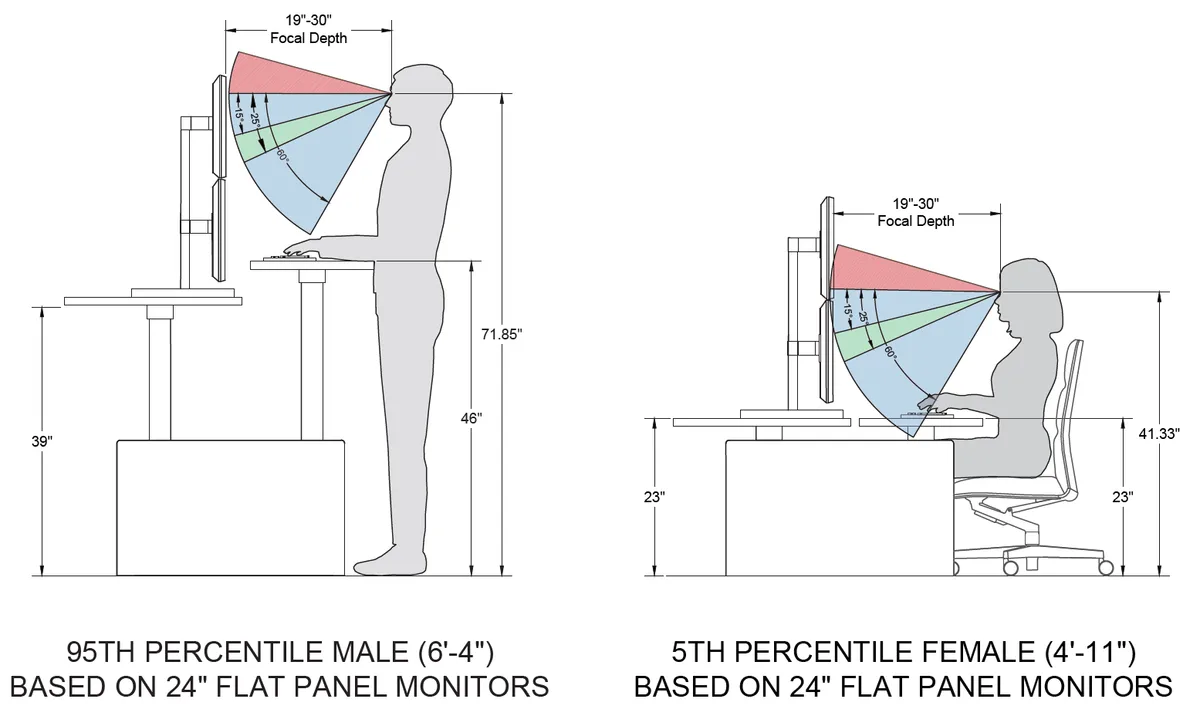
The American National Standards Institute provides guidelines for office workstation setup that apply directly to post-production. You should align the top third of your display with your eye level. If you use a secondary reference monitor, the screens must align perfectly to avoid visual fatigue.
When your laptop is correctly elevated, your neck remains neutral. You can maintain this posture for hours without the need for constant stretching. If your stand forces you to look down, the height is insufficient for a professional workflow.
Option 1: Fixed-Height Risers for Minimalist Studios
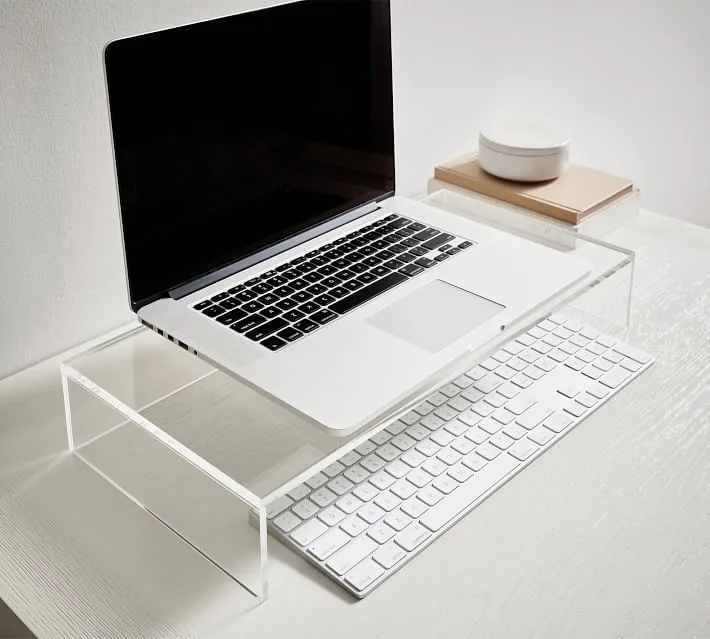
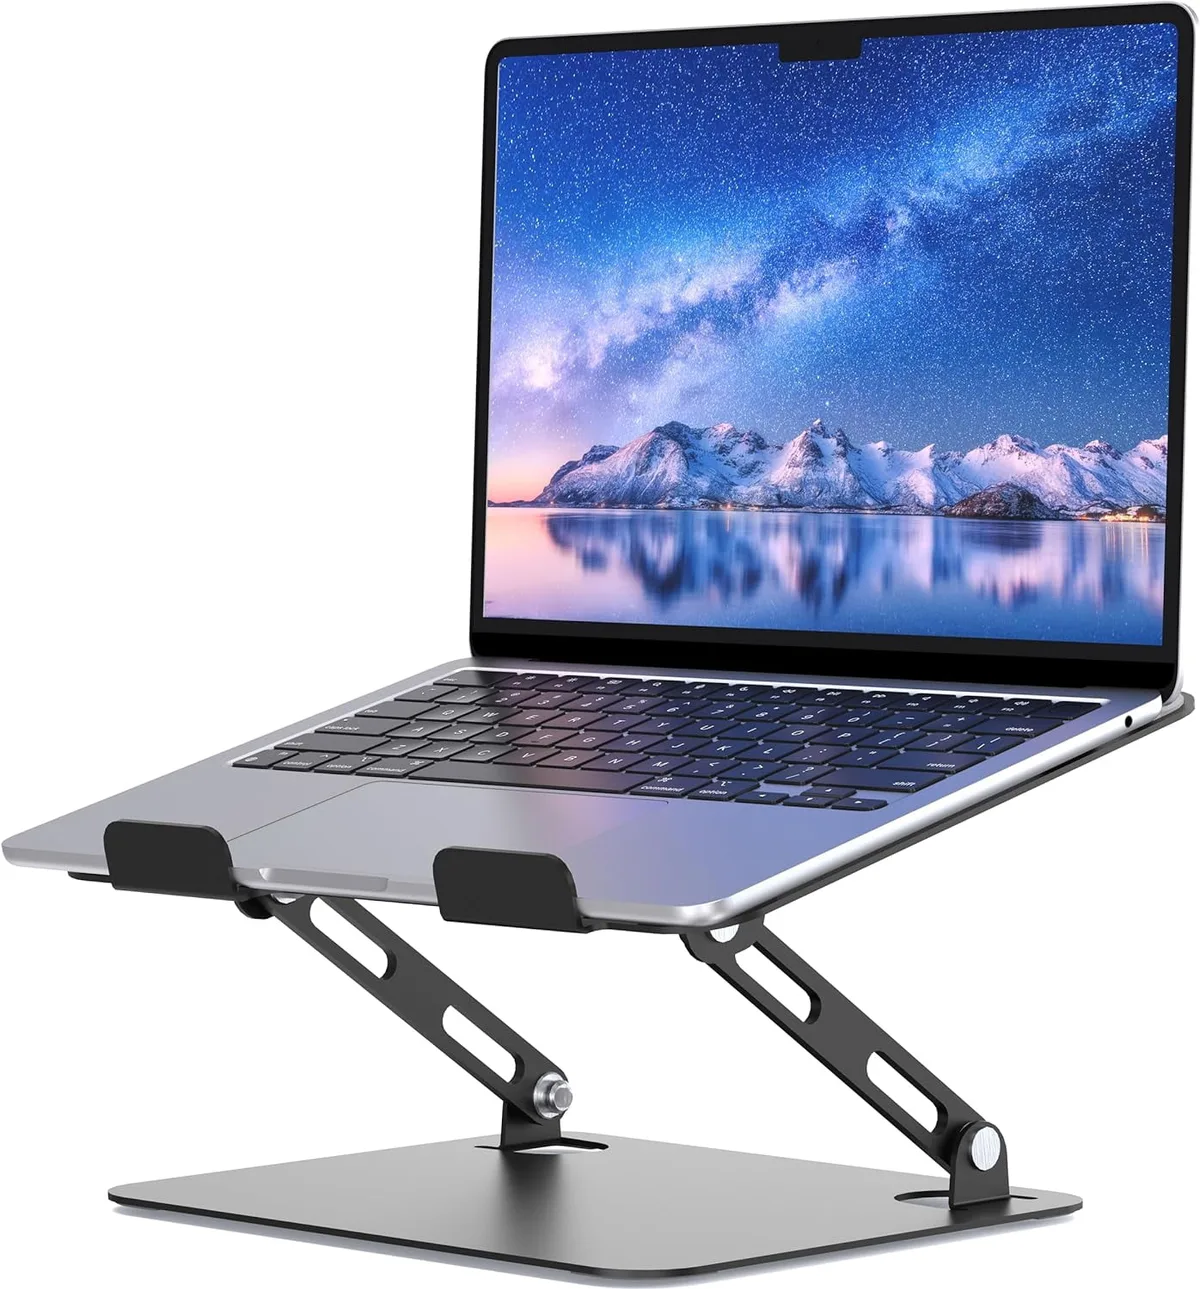
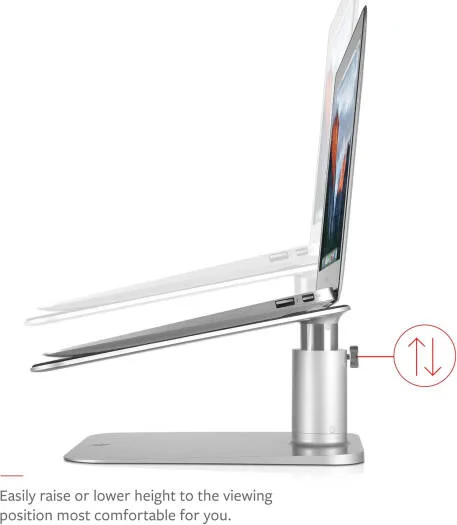
A fixed-height riser is the simplest form of support for your laptop. These stands use a static aluminum or steel pillar to lift the screen. They are highly stable because they lack moving joints or tension springs that might fail.
These stands are ideal if you have a very stable desk and do not need to adjust your setup frequently. However, they lack the flexibility to adapt to different desk heights or chairs. You must verify the height measurement before buying to ensure it aligns with your reference monitor.
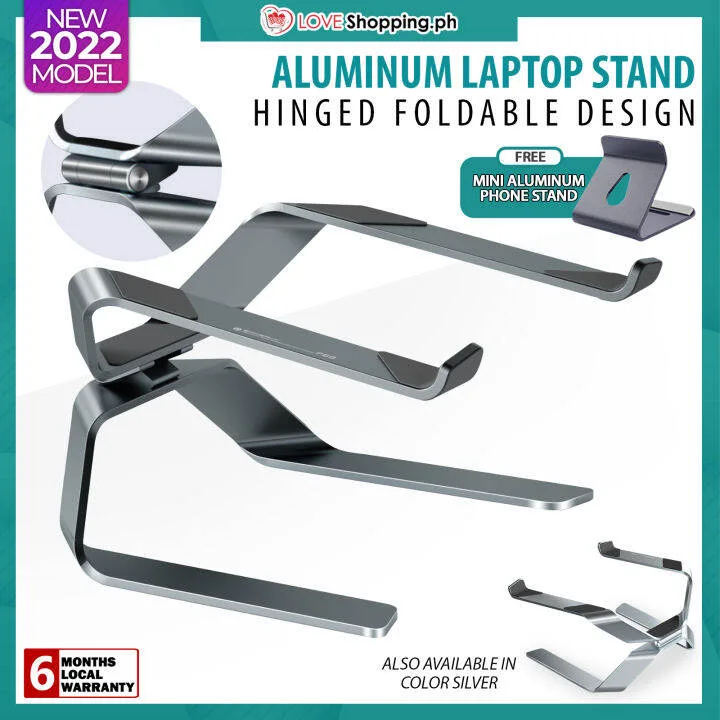
If you choose this path, look for a model with an open, H-shaped base. This shape allows you to tuck the rear of your grading panel underneath the stand. You will save valuable inches of desk space that would otherwise be wasted by a solid metal tray.
Option 2: Articulating Z-Stands for Flexible Desk Layouts
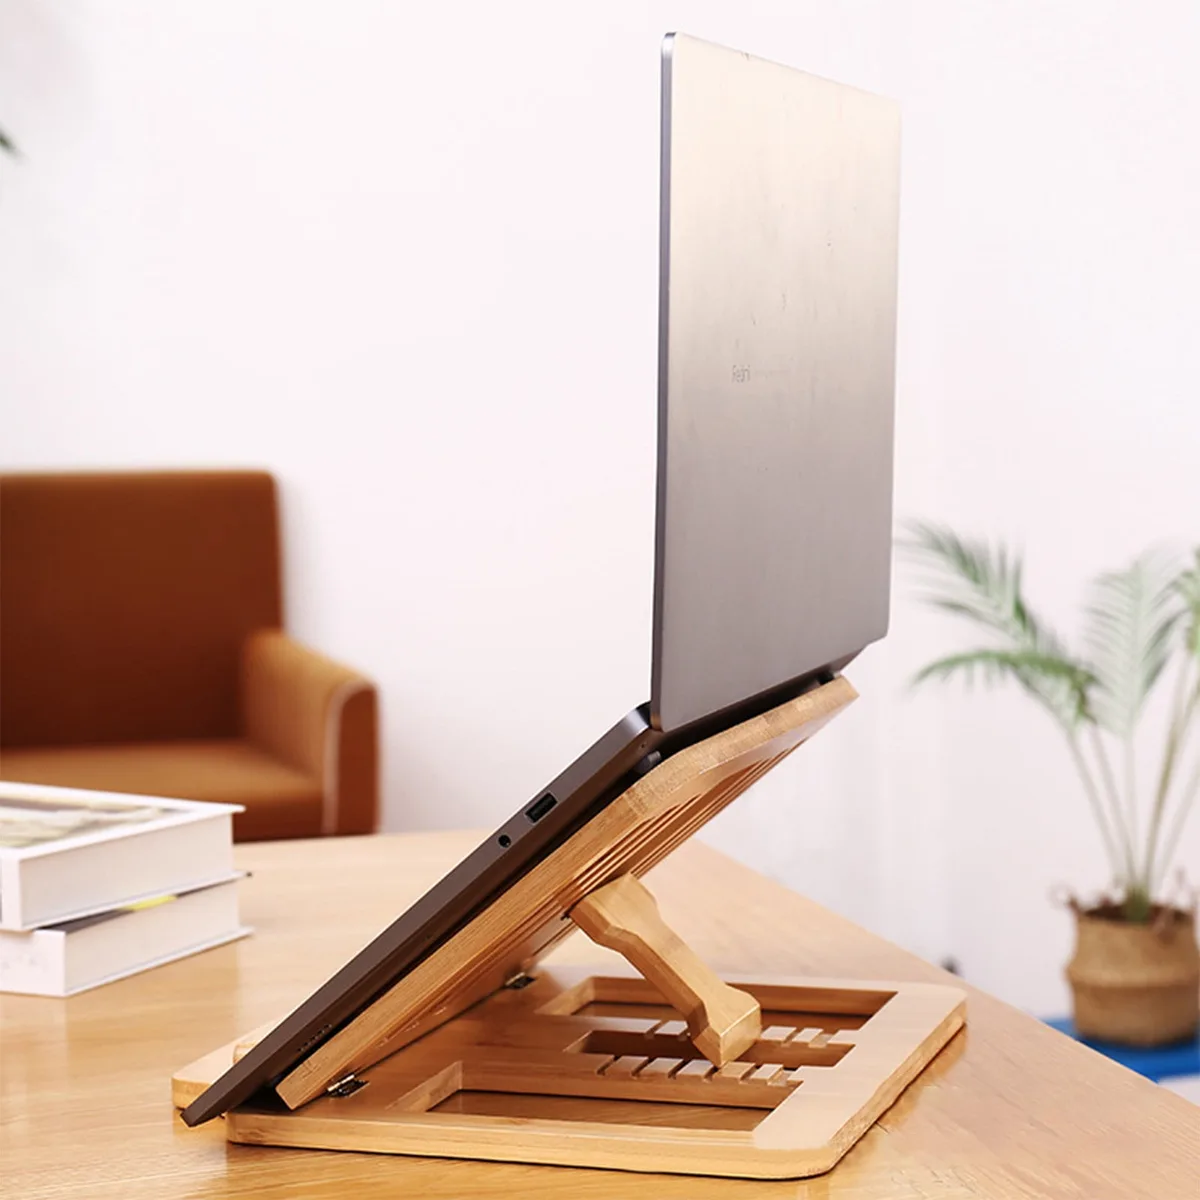
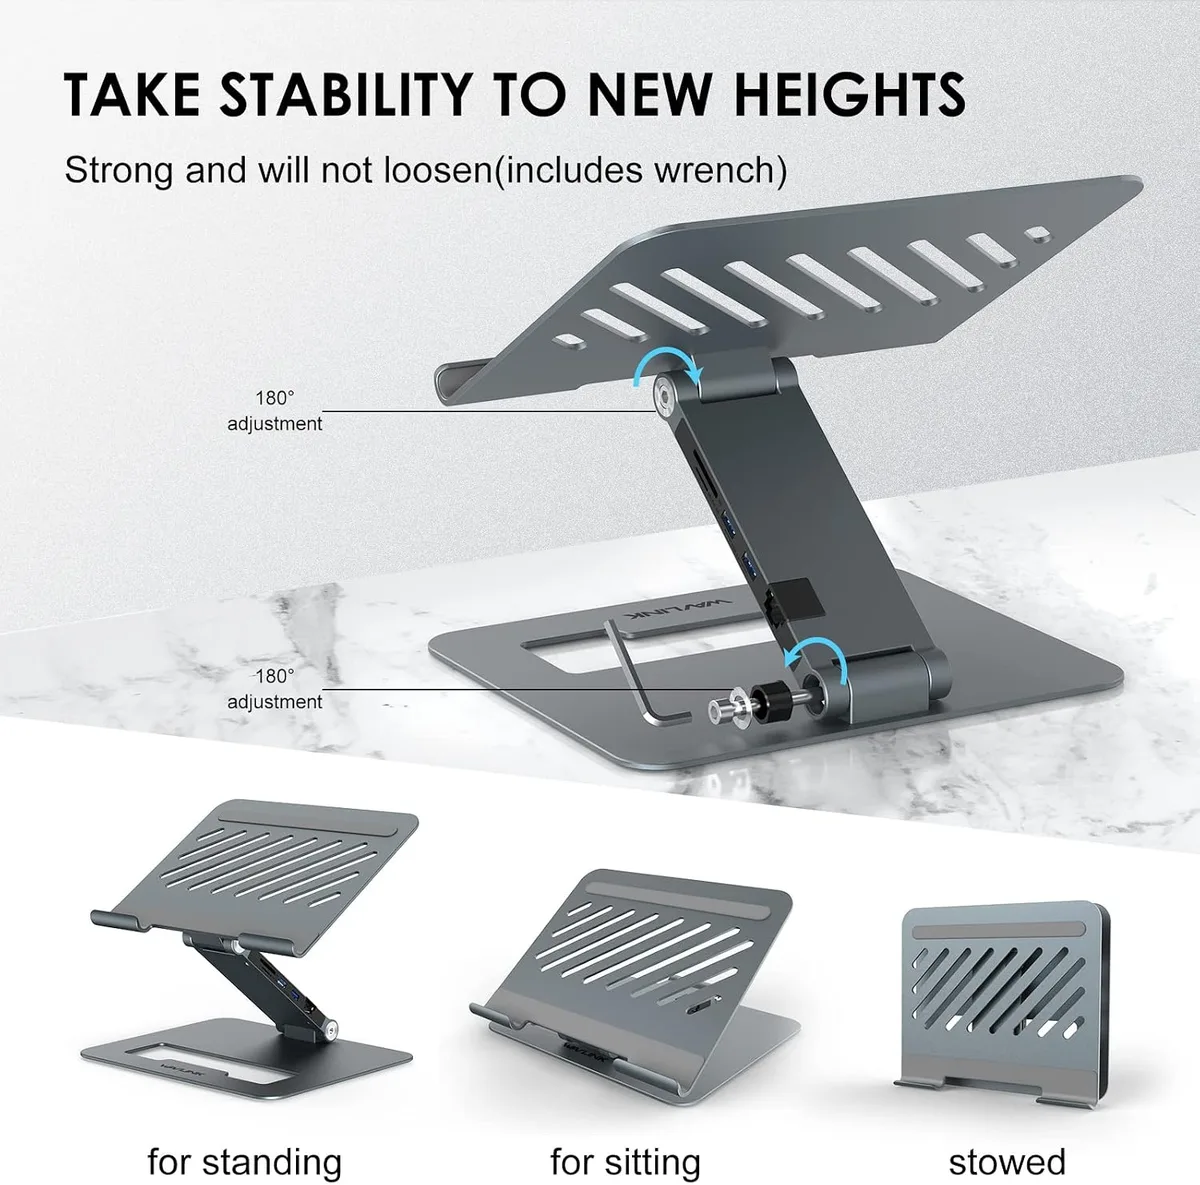
Z-stands offer a hinge-based design that allows you to adjust the height and angle of your laptop. They act as a bridge between simple fixed risers and more complex mounting arms. By loosening the tension bolts, you can change the screen position to match your seated height.
This option is useful if you share your workspace or alternate between standing and sitting desks. The Z-fold mechanism allows you to push the laptop closer to the back of the desk when you need more room for your grading panel. However, this flexibility comes with a trade-off.
The hinge points are potential failure spots. Over time, the weight of a heavy workstation laptop can cause these hinges to sag. You must ensure the model you pick has high-quality locking mechanisms.
If you choose a Z-stand, keep a hex key nearby to tighten the joints periodically as part of your workstation maintenance.
Option 3: Monitor Arms with VESA Trays (The Gold Standard)
A monitor arm with a VESA-compatible laptop tray is the most effective way to optimize a color grading suite. By attaching the arm to the back of your desk, you remove the base entirely from the surface area. This configuration allows you to float your laptop directly above your grading panel.
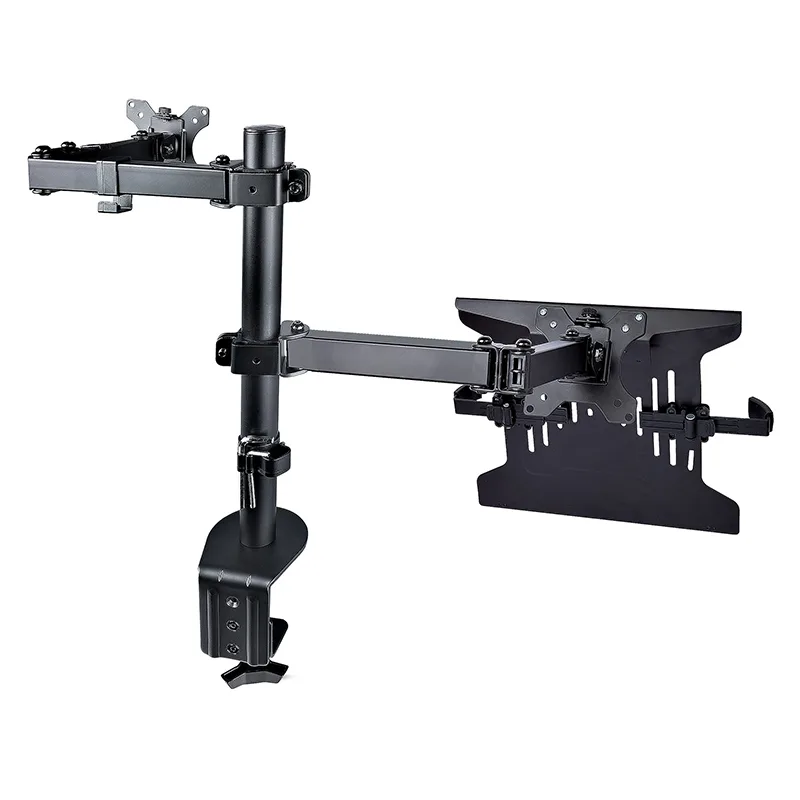
This setup is the preferred choice for professional colorists because it offers total control over screen position. You can move the laptop aside when you need to access hardware or bring it forward when you need to focus on fine details. It is the only option that creates a truly custom cockpit.
Most arms use gas springs to maintain their position. These systems allow you to set the tension once and then adjust the screen height with a light touch. Look for an arm that supports at least 15 pounds to ensure it can handle a 16-inch laptop without drifting.
Side-by-Side Comparison: Which Setup Fits Your Workflow?
Choosing the right hardware depends on how much you prioritize desk space and movement. A fixed riser is the most budget-friendly, but it provides the least utility in a professional grading environment. A monitor arm offers the highest level of performance at a greater initial setup effort.
| Stand Type | Stability | Desk Footprint | Adjustability |
|---|---|---|---|
| Fixed Riser | High | Large | None |
| Z-Stand | Medium | Moderate | Vertical/Tilt |
| Monitor Arm | High | Zero | 360-Degree |
Your decision should align with your studio layout. If you have a permanent, large-format desk, the monitor arm is almost always the superior choice. If you work from a smaller desk or need to relocate your setup frequently, a folding Z-stand might be more practical.
Crucial Stability Metrics: Avoiding Screen Bounce
Screen bounce occurs when the support structure flexes while you are using your grading panel. This is more than a minor annoyance. Constant vibration from your hands passing through the desk surface to the screen can make subtle color adjustments difficult to track.
To minimize bounce, always prefer steel or high-grade aluminum over plastic. Check for a reinforced base that uses a C-clamp or grommet mount rather than a simple friction-based plate. A grommet mount, which bolts through the desk, provides the most rigid connection available.
Finally, check the weight rating of your stand against the manufacturer specifications of your laptop. Manufacturers often list the weight of the device without the power brick or accessories. Add an extra 20 percent to your calculation to account for the added mass of the screen and the cables connected to your ports.
Avoiding the "Base Conflict" with Your Control Panel
The primary cause of workflow frustration is a base that overlaps with your grading panel controls. If your stand is too wide, it will force you to place the panel further away than is comfortable for your wrists. This position causes you to overreach, leading to repetitive strain in your forearms.
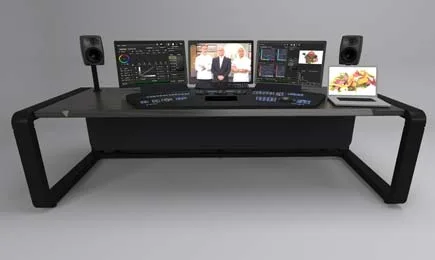
Always place your control panel on the desk first. Measure the distance from your chest to the dials. If you have to bend your elbows at an awkward angle to reach the controls, your laptop stand base is too deep.
Look for stands with a single central pillar design. These models occupy the smallest possible footprint. If you are using a monitor arm, the base conflict is resolved entirely because the pole mount is located at the extreme rear of the desk.
Step-by-Step: Configuring Your Grading Cockpit
- Clear your desk surface completely to start with a fresh layout.
- Position your grading panel in the center of your primary reach zone.
- Mount your laptop support system at the rear-center of the desk.
- Attach your laptop tray or riser and adjust for initial height.
- Set your reference monitor to the correct viewing angle.
- Align your laptop screen so the top third meets your eye level.
- Check cable length to ensure they do not pull on the stand or the panel.
- Tighten all tension screws once the ergonomics feel correct.
Expert Tips for Managing Cables and Desk Clutter
Cable management is the secret to a professional grading environment. With a laptop, a grading panel, and a reference monitor, you will have several high-speed data cables and power cords on your desk. Use hook-and-loop fasteners to group these cables together.
Run your cables through the arm channels if you are using a monitor arm. This keeps the cords hidden and prevents them from interfering with your screen adjustments. Always leave enough slack in the cables so you can move your laptop without disconnecting a port.
If your grading panel uses a dedicated power supply, hide the brick under the desk using a mount. This prevents the heavy brick from pulling on the panel controls. A clean desk surface allows you to maintain focus on the color grade rather than the hardware logistics.
Common Pitfalls When Choosing Laptop Support Hardware
The most common mistake is ignoring the specific ports on the sides of your laptop. Some tray-based stands have raised lips that block access to Thunderbolt or USB-C ports. If you rely on external hubs, this can be a major issue.
Always check the tray design to ensure it has cutouts or an open layout. Another common error is assuming that all VESA mounts are compatible with every laptop tray. Standard VESA mounts are usually 75mm or 100mm, so check your tray’s mounting plate before you buy the arm.
Finally, do not skimp on the desk surface thickness. If you have a hollow-core or lightweight desk, a heavy-duty arm might crush the surface over time. Use a steel reinforcement plate on the underside of your desk to distribute the weight of the C-clamp.
Final Verdict: Choosing the Best Stand for Your Editing Suite
The right stand for your grading setup is one that stays out of your way. Your priority must be the interaction between your hands and the grading panel. If your laptop stand forces you to compromise on your seating position or reach, it is not serving its purpose.
If you have the budget and the desk structure, move to an articulating arm. It provides the best combination of stability, ergonomics, and spatial efficiency. If you are restricted by desk construction, choose an H-base fixed riser to minimize the interference with your control surface.
Focus on creating a cockpit that fits your body proportions. Once your eye level and arm position are locked in, your grading precision will improve significantly. Your hardware should facilitate your process, not fight against it.
Safety Considerations for Heavy Equipment Mounts
Safety standards for office hardware involve more than just weight capacity. If you bolt a heavy laptop to a desk-mounted arm, the torque applied to your desk surface can be significant. Always use a steel reinforcement plate if your desk is made of composite material to prevent the clamp from crushing the wood or laminate.
Check that your VESA mount follows the standard MIS-D mounting patterns found on most professional hardware. If you are using a non-standard tray, ensure the connection to the arm is secured with locking washers to prevent loosening over time. Periodically check all bolts for signs of fatigue or slippage during your monthly maintenance.
Understanding Desk Surface Material Limits
Not all desks are built to withstand the pressure of a clamped monitor arm. A solid wood desk handles concentrated weight well, but hollow-core or particle board desks can fail under stress. If your desk feels soft or flexible, avoid clamping heavy hardware in the center of the surface.
Mount your hardware as close to the desk legs as possible to maximize stability. This reduces the lever effect that occurs when a heavy laptop is extended far away from the desk edge. If you find your desk bowing, add a secondary support leg beneath the clamp area to redistribute the load.
Optimal Cable Management for High-Intensity Grading
Cable management keeps your workspace from becoming a tangled mess during long color sessions. Use heavy-duty sleeves to bundle your power, HDMI, and USB-C cables into a single conduit. This prevents cables from snagging on the corners of your grading panel when you shift your screen position.
Keep enough slack in the cables to reach the full extension of your arm without putting tension on the ports. High-quality braided cables are better at resisting wear than standard plastic-coated ones. Use self-adhesive clips along the underside of your desk to route cables directly to your power strip or docking station.
Testing Your Configuration for Stability
Once your setup is fully assembled, perform a stability check. Gently tap the corner of your laptop tray to see how long the vibration lasts. A professional-grade mount should dampen these vibrations within one second.
If the screen continues to oscillate, re-check the tension on the main joint. Most articulating arms have a hex screw adjustment to increase the resistance of the gas spring. Fine-tuning this tension is the most effective way to eliminate bounce during your grading work.
Long-Term Maintenance and Optimization
Your grading workstation requires occasional attention to stay at peak performance. Every six months, perform a full safety inspection of your hardware. Tighten all joints and verify that the mounting clamps are still flush against the desk surface.
Keep your laptop tray free of dust, as debris can interfere with the cooling intake on some models. If you frequently change your setup, use a label or a marker to note the optimal tension settings for your current gear. This makes it easy to restore your preferred ergonomics if the hardware gets bumped or rearranged.
Real Scenarios: Adapting to Limited Workspace
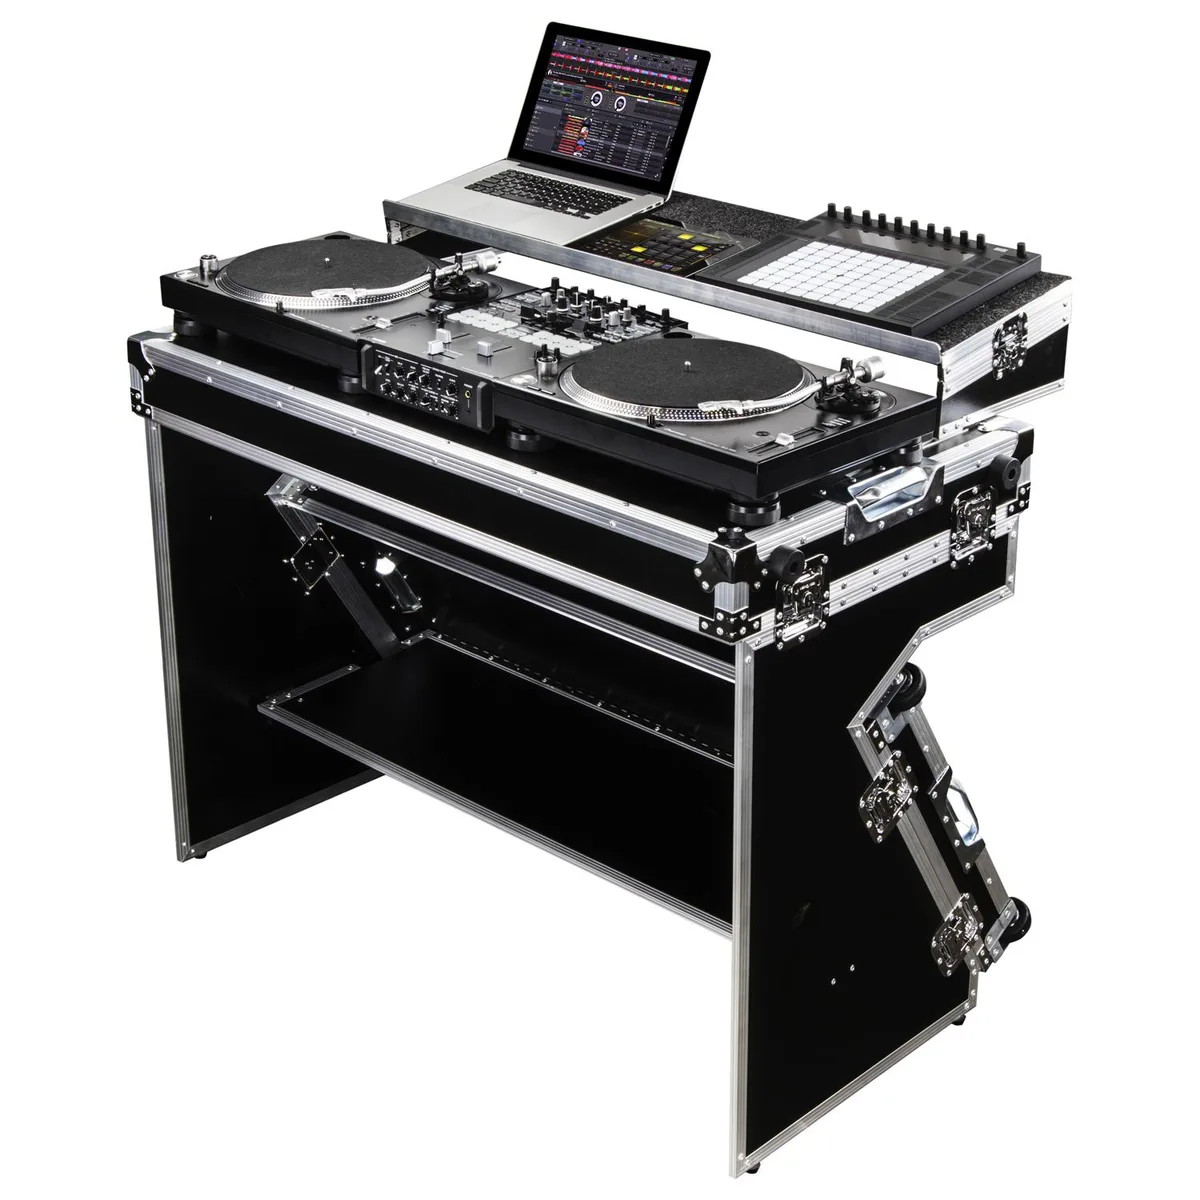
If you work in a tight studio, you must prioritize verticality. Use a gas-spring arm to mount your laptop above your grading panel, effectively turning your desk into a two-tier workstation. This prevents your grading hardware from encroaching on your mouse or keyboard area.
Many professional colorists working in smaller suites report that a floating display reduces the mental clutter of a crowded desk. Keep your most-used tools within the lower-tier reach, while reserving the laptop screen for playback and monitoring.
Frequently Asked Questions
How do I troubleshoot screen wobble?
Check your desk clamp first to ensure it is tightened fully. If the arm itself is shaking, tighten the primary tension screw found at the top joint.
Can I mount a laptop tray to any monitor arm?
Most monitor arms support the VESA standard, but you must ensure the arm weight capacity exceeds your laptop weight. Confirm the VESA hole pattern matches your tray before attempting installation.
Is a wall-mounted arm better than a desk clamp?
Wall mounting offers the most stable support by eliminating desk vibration entirely. It is the best choice if you have a permanent workstation and want to clear your desk surface completely.
Does the tray affect laptop cooling?
Ensure your tray has an open or vented design to allow air to flow through the intake vents. Avoid trays with solid metal bases that cover the bottom of your laptop.
Are there specific stands for large grading panels?
Use a heavy-duty arm designed for large monitors to support the footprint of a bulky grading console. If the console is exceptionally wide, consider mounting your laptop to the side rather than directly above.

Similar Posts