Can You Clamp a Laptop Stand to a Desk Edge? Space-Saving
Senior Hardware Diagnostics Specialist & Lead Thermal Editor at Laptop Post Testing Lab · CompTIA A+, ACMT, B.S. in Computer Engineering · 12+ years bench-testing laptop thermal solutions & motherboard repairs
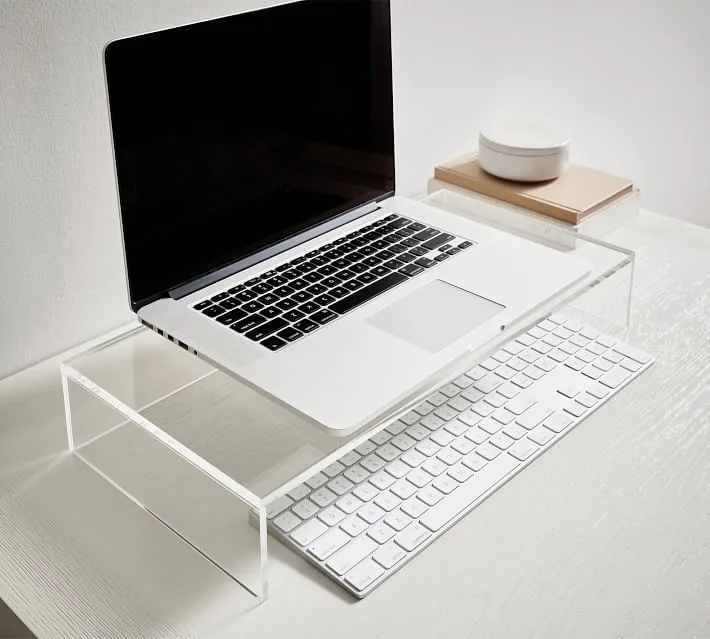
You can clamp a laptop stand to a desk edge to save desk space if your furniture meets specific structural requirements. This setup removes the laptop from your primary work area while creating a more ergonomic, elevated viewing position.
Many users find this approach effective for managing cable clutter and increasing available surface area. As of 2026, most office furniture is designed with standard dimensions, but checking your specific desk thickness and edge clearance is vital for a safe installation.
Quick Answer
You can clamp a laptop stand to a desk edge. This method saves significant desk surface area. Ensure your desk has enough clearance for the clamp.
Avoid clamping onto hollow-core or glass surfaces. Always verify the weight capacity of your desk mount.
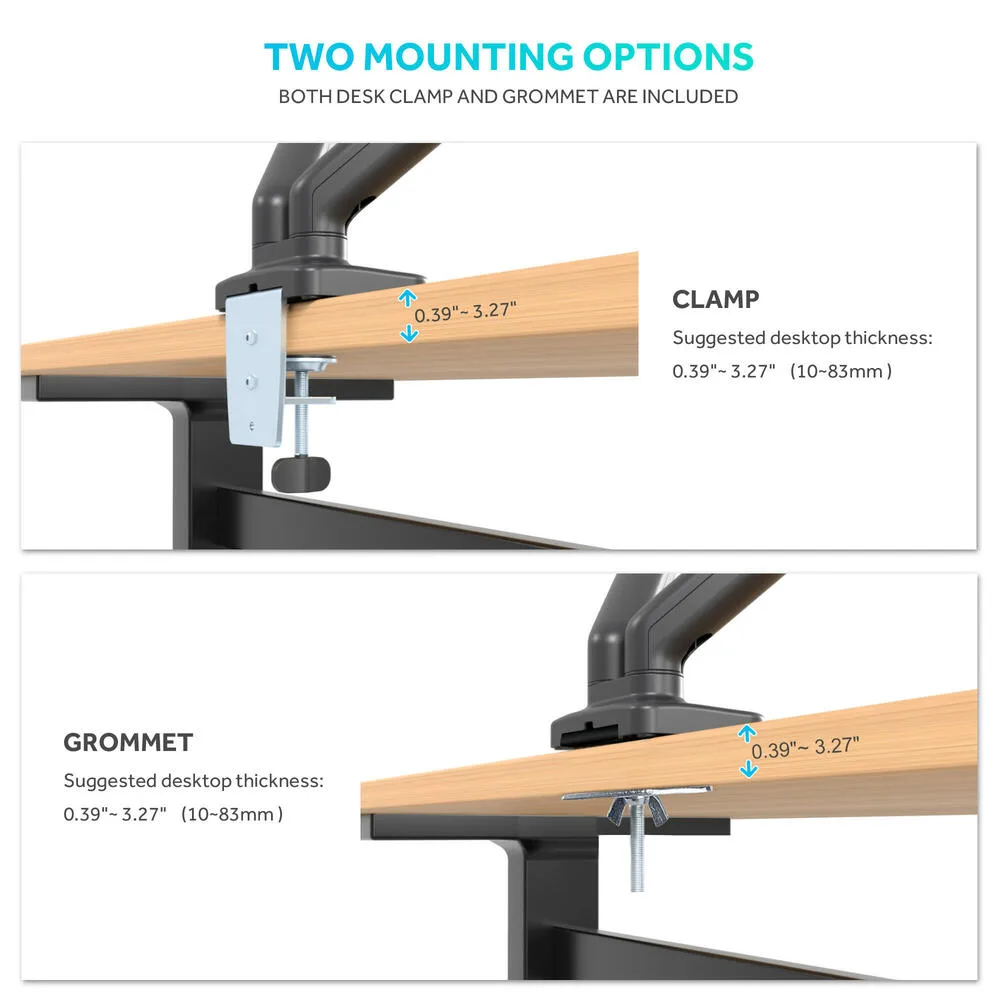
Image source: Bing (Web (fair-use with source credit))
Reclaiming Your Desk Surface: Why Clamping is a Game Changer
Clamping a laptop mount to your desk is one of the most efficient ways to reorganize a cramped workspace. By moving the laptop base off the desk, you gain immediate access to the area underneath where the computer previously sat.
This transformation creates room for documents, writing pads, or secondary peripherals. Beyond simple space gains, using a mount helps align your screen with your natural line of sight. According to guidelines from the Occupational Safety and Health Administration (OSHA), proper monitor height is critical for reducing neck and shoulder strain during long hours of work.
Mounts often come with integrated cable management channels that hide power bricks and video cables. This keeps your desktop visually clean and prevents snagging. Most units offer full 360-degree rotation and height adjustment, giving you a degree of flexibility that standard flat risers cannot provide.
The Will It Fit? Assessment: Checking Your Desk Geometry
Before you purchase a mounting system, you must physically inspect the underside of your desk edge. Many modern desks feature structural supports, metal frames, or modesty panels that block the clamping mechanism.
A clamp requires a clear, flat surface both above and below the desk edge to distribute pressure evenly. If you have an overhang of less than two inches, or if there is a support beam running directly along the edge, the clamp may not open wide enough to lock securely.
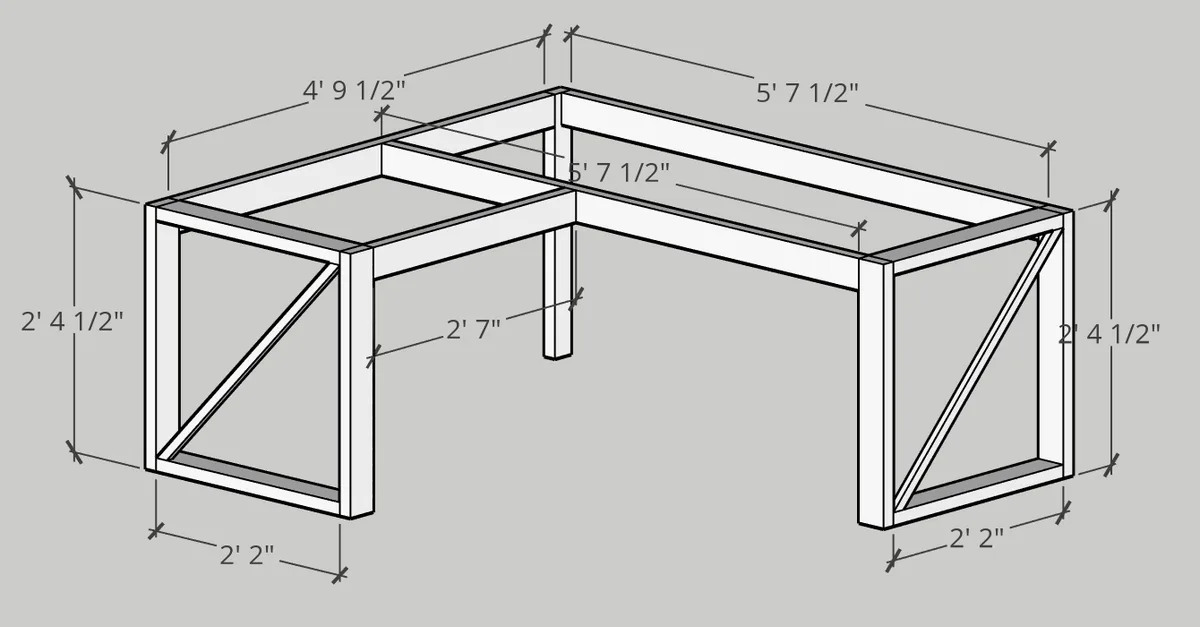
Image source: Bing (Web (fair-use with source credit))
Check for these common obstructions:
- Pull-out keyboard trays that use the same desk edge space.
- Metal support beams that prevent the clamp from sliding back far enough.
- Decorative trim or rounded edges that prevent a flush fit for the clamp base.
Why Desk Material Matters (Before You Clamp)
The composition of your desk surface is the most important factor for long-term safety. Solid wood or metal desks handle the tension of a clamp with ease. However, many budget-friendly desks are made of hollow-core or honeycomb particleboard.
These materials are essentially thin layers of veneer glued over cardboard. A clamp will exert extreme pressure on a small surface area, which can crush the internal structure of these desk types. This leads to wobbling, sagging, or catastrophic failure of the desktop material over time.
If you suspect your desk is hollow, you can tap on the underside. A solid sound indicates a dense material, while a hollow, echoing sound suggests you should use a protective plate. A large steel or wood plate placed between the clamp and the desk underside helps distribute the pressure across a wider surface, saving your furniture from damage.
Anatomy of a Secure Clamp-On Laptop Arm
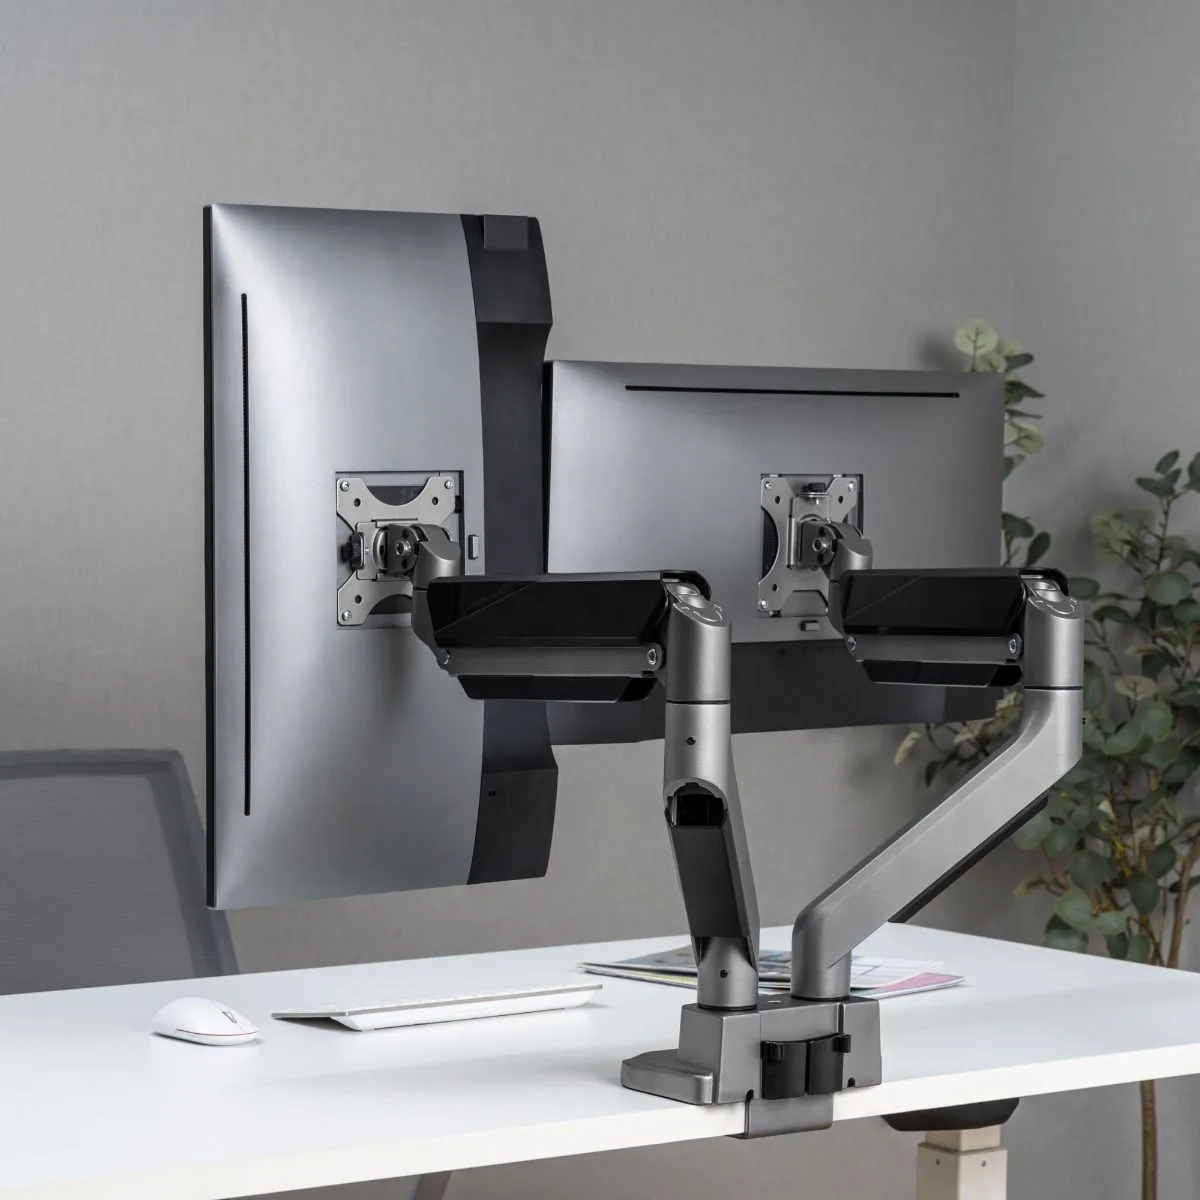
A typical clamp-on laptop mount consists of three primary sections that work in tandem. The base includes the C-clamp assembly, which features a threaded tension screw. The arm acts as the articulation point, allowing for vertical and horizontal movement.
Finally, the laptop tray serves as the platform for your hardware. High-quality arms often utilize gas-spring technology, which allows for smooth height changes without requiring manual knobs or tools.
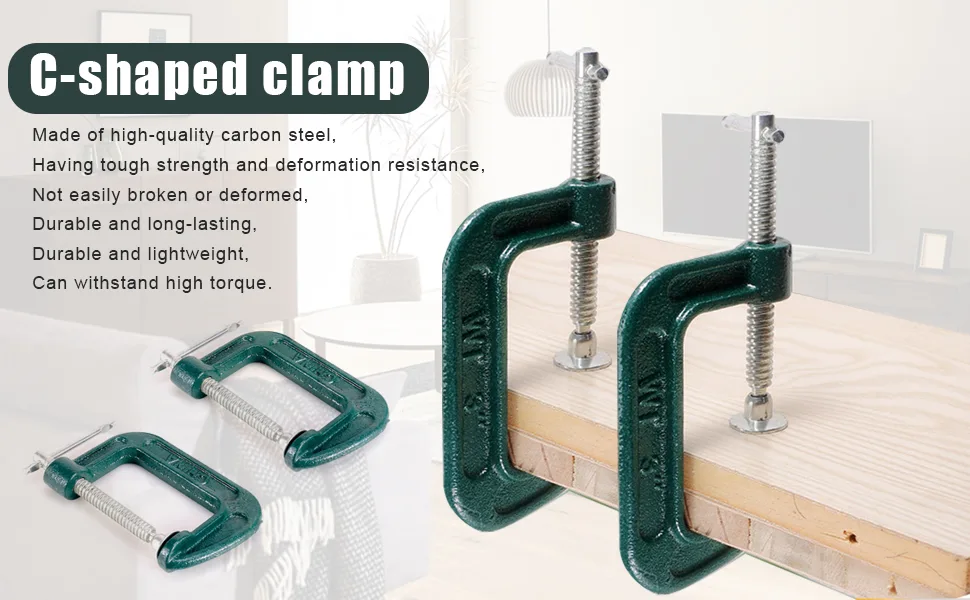
Image source: Bing (Web (fair-use with source credit))
When evaluating a mount, pay attention to the pivot points. Steel or high-grade aluminum components provide better stability than plastic alternatives. Most manufacturers provide a maximum load capacity rating.
Always ensure your laptop, combined with any heavy external hard drives, remains well under this limit to prevent the arm from drooping or drifting.
| Component | Function | Material |
|---|---|---|
| C-Clamp | Anchors to desk | Steel/Aluminum |
| Gas Spring | Adjusts height | Internalized Nitrogen |
| VESA Bracket | Holds laptop tray | Steel |
| Rubber Pads | Protects surface | Silicone/Rubber |
Measuring for Success: Key Specs to Verify First
Before you finalize your purchase, you must take three specific measurements to ensure compatibility. First, measure the thickness of your desk. Most clamps are adjustable, but they typically operate within a range of 10mm to 80mm.
If your desk is outside this range, the clamp will either not open wide enough or will bottom out before achieving a tight grip. Second, determine your required reach. Measure how far the arm needs to extend from the clamp base to place the laptop comfortably in front of you.
Third, check the clamping depth. This is the distance from the very edge of the desk to the back of the clamping bolt. If your desk has a thick frame, you need to ensure the clamp's jaw is deep enough to clear that frame and grip the desk surface behind it.
Accurate measurements prevent the frustration of receiving a mount that is physically impossible to install on your specific workstation configuration.
Step-by-Step Installation: Getting a Stable Grip
Begin by positioning the clamp base at your desired location along the desk edge. Ensure that you are aligning the bracket with a solid section of the desk that is free from obstructions underneath.
Slide the clamp over the edge until the back of the bracket sits flush against the desk edge or the supporting structure. Use one hand to hold the assembly in place while you begin to rotate the tension screw with your other hand.
As you tighten, check the alignment of the base plate on top of the desk. You want the pressure to be distributed evenly, so ensure the plate is not angled or sitting partially off the surface. Tighten until the mount feels firm, then stop before applying excessive torque that could crack the desk finish.
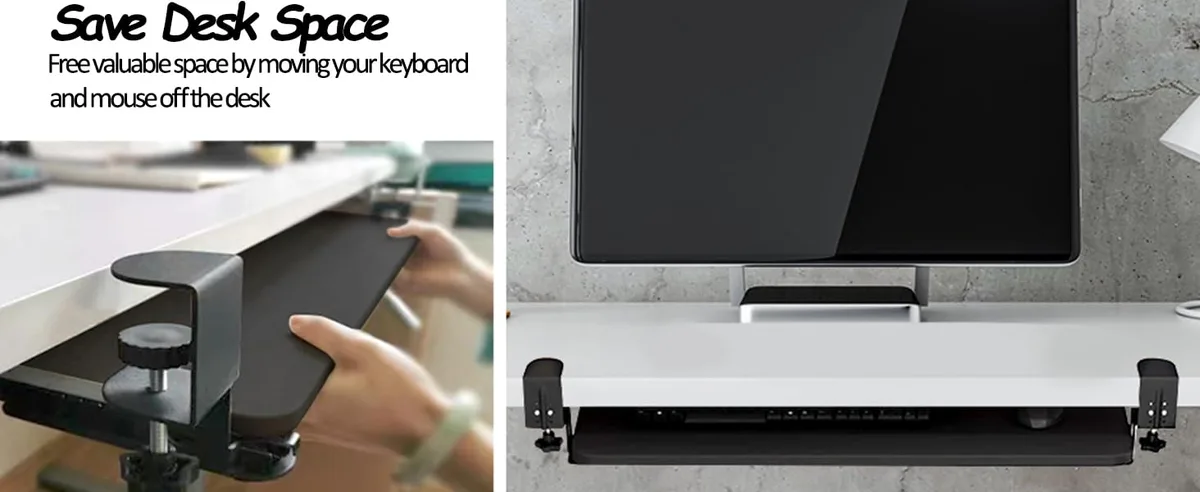
Image source: Bing (Web (fair-use with source credit))
Protecting Your Furniture: Avoiding Scratches and Dents
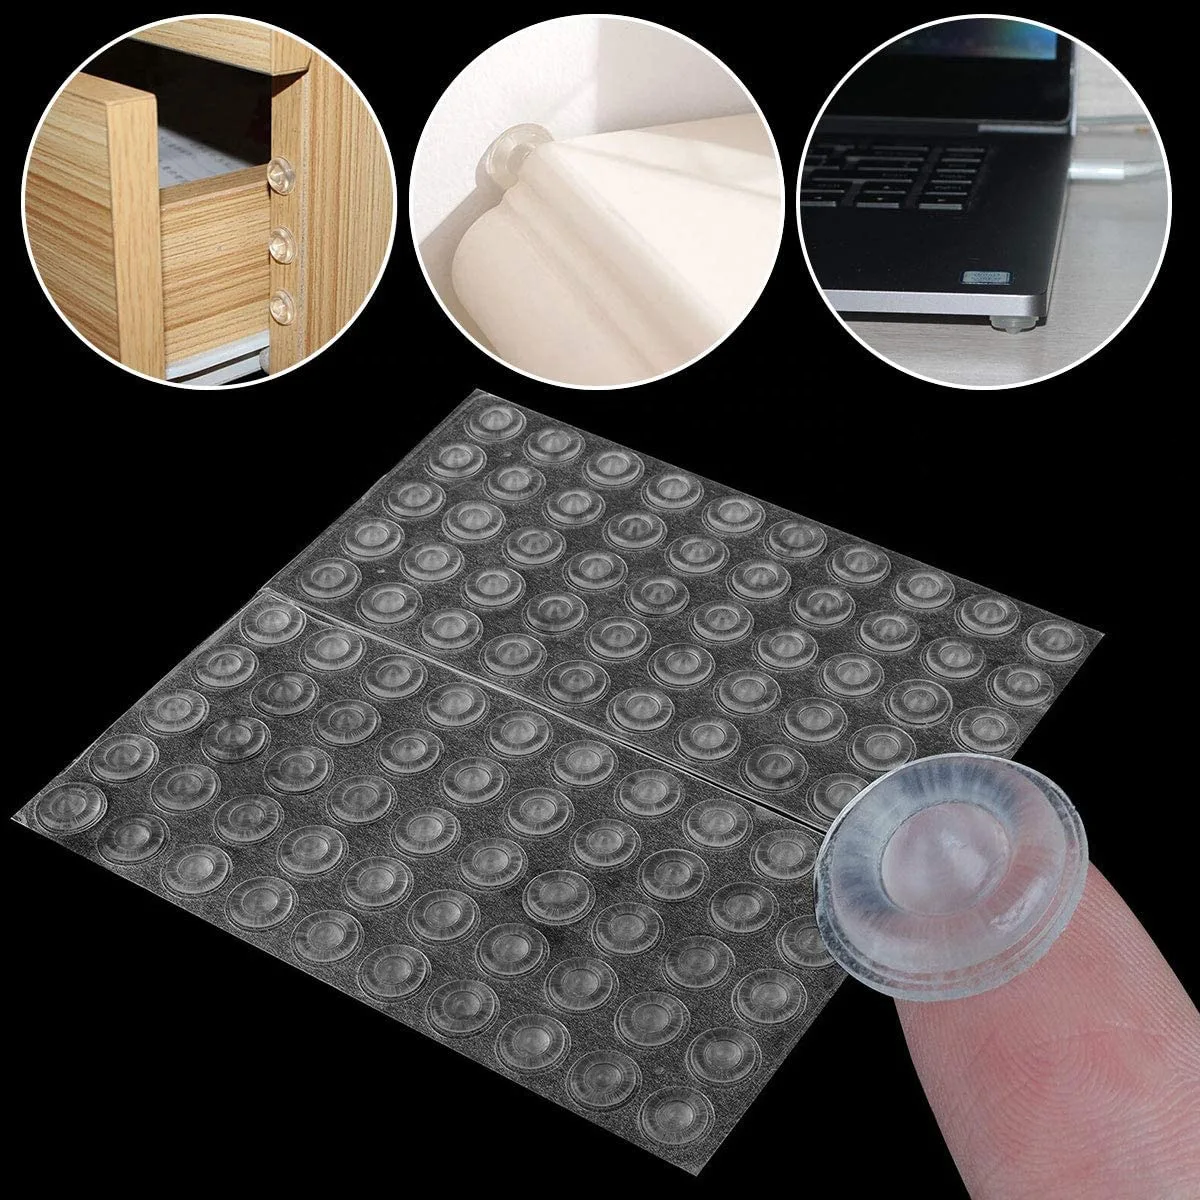
Your desk finish is vulnerable to the concentrated metal-on-wood contact typical of high-tension clamps. Most reputable mounts include pre-applied adhesive rubber pads on the contact points, but these can wear thin after several adjustments.
Enhance this protection by adding a small piece of thin, dense rubber matting or a felt furniture slider between the metal clamp and the underside of your desk. This creates a friction-enhancing barrier that prevents the clamp from sliding or marring the finish.
Avoid using materials that are slippery or too soft, like thin paper or thick foam, as these can lead to the clamp slipping during use. A simple silicone coaster often works perfectly as a DIY shim if your kit did not come with adequate padding.
Common Clamping Mistakes That Damage Desks
The most frequent error is overtightening the tension screw. Users often assume the mount needs to be locked down with maximum force to remain stable, but this creates extreme stress points that can warp or split materials like particleboard.
Another common mistake involves ignoring the weight distribution of the laptop. If you mount an arm too far to one side, you create a rotational force that can pull the clamp loose or cause the desk edge to flex unevenly.
Always balance the load by centering the laptop on the arm whenever possible. If your desk edge is rounded or beveled, the clamp will not have a flat surface to grip, which forces the clamp to tilt. This tilt reduces the surface contact area and significantly increases the chance of the mount slipping off the edge during a minor bump.
When to Choose a Grommet Mount Instead
Grommet mounting serves as the secondary, more permanent option if your desk edge is not suited for a C-clamp. This method requires a hole in your desk, usually where a cable management grommet is already located.
A long bolt passes through the hole and secures the arm base with a large metal plate underneath the desk. This style is significantly more stable than a clamp because it centers the load directly through the structure of the tabletop.
Consider a grommet mount if your desk has a deep back frame or a metal modesty panel that makes clamping physically impossible. While it requires you to either use an existing hole or drill a new one, the trade-off is a much cleaner aesthetic with superior structural rigidity.
Pros and Cons of Elevating Your Laptop
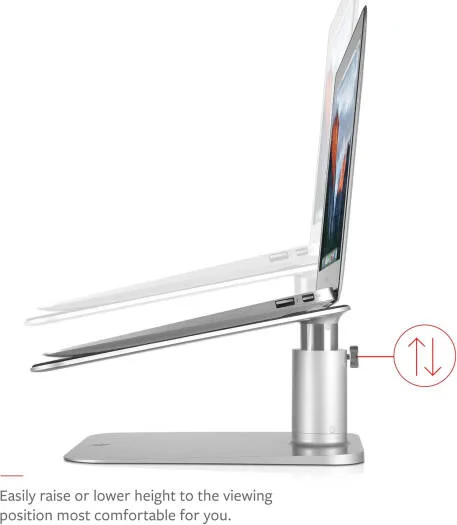
Elevating your device via a clamp-on arm offers undeniable ergonomic benefits, but it also alters your workspace habits. By raising the screen, you encourage a more neutral neck posture that aligns with your eyes.
This adjustment typically requires the use of an external keyboard and mouse to keep your hands at a comfortable height. Without these peripherals, you would be forced to reach up, which causes shoulder fatigue.
The major benefit remains the physical clearing of desk space, which is ideal for small-room setups. The primary downside is the increased wobble that comes with any arm-based system. Even with rigid mounts, typing directly on a laptop keyboard while it is on an arm will cause the screen to bounce slightly.
Maintenance: Keeping Your Mount Tensioned
Check your mounting hardware every few months to ensure the clamp has not vibrated loose. Temperature fluctuations in your office can cause wood to expand or contract, which often leads to the clamp losing its grip over time.
A simple maintenance routine involves testing the arm's movement for any unexpected play or drift. If the laptop tray begins to sag downward, you likely need to adjust the tension on the gas-spring arm.
Consult your manual to find the specific adjustment bolt for the gas spring. This is usually located at the primary elbow of the arm, requiring a standard Allen key to increase or decrease the internal tension.
Safety Warnings: Avoiding Glass Desk Disasters
Avoid using clamp-on mounts on any desk surface made of tempered or plate glass. While some manufacturers claim their clamps are safe for glass, the localized pressure exerted by a steel clamp can cause microscopic stress fractures.
Tempered glass is designed to handle distributed weight rather than the focused, vertical tension of a mounting bolt. A sudden impact or uneven weight distribution on a mounted arm can result in the glass shattering unexpectedly.
If you have a glass desk and must use a mount, opt for a weighted, free-standing base that sits on top of the surface. This spreads the weight across a large footprint and avoids the structural risks associated with clamping directly onto a glass edge.
Verdict: Is a Clamp Mount Right for Your Workspace?
A clamp mount is an excellent solution if you have a sturdy, solid-core desk and a clear edge for installation. It provides a clean, professional aesthetic while giving you the height adjustability needed for long-term comfort.
However, you should stick to a standard desk-top riser if your furniture is fragile, hollow-core, or made of glass. The best mount for your situation is one that respects the structural limits of your specific desk.
Evaluate your desk material and frame clearance before committing to a purchase. When in doubt, a simple measurement of your desk thickness and a look at the underside will confirm if you are ready for a clamp-based setup.
Frequently Asked Questions
Can I install a clamp mount on a desk with a cable tray?
Yes, but you must remove or relocate the section of the cable tray where the clamp will sit. Most cable trays are mounted with screws and can be easily shifted a few inches to the left or right to make room for the arm base.
What should I do if my desk edge is rounded?
A rounded edge is difficult to clamp securely because the bracket cannot sit flush against the surface. You can use a small block of hardwood as a custom shim to create a flat contact point for the clamp jaws.
How much weight can a typical clamp-on laptop arm support?
Most standard consumer arms are rated to handle between 5kg and 10kg, which covers almost all laptops on the market. Always verify the manufacturer's specific load rating to ensure the gas spring can support the weight of your specific device.
Can I move the clamp mount later?
You can move it, but be aware that the clamp may leave visible indentations or scratches on the desk finish. Using a thin piece of rubber or felt between the clamp and the wood surface prevents these marks and keeps your desk looking new.

Similar Posts