How to Set Up a Laptop Stand for a Pro DJ Club Performance
Senior Hardware Diagnostics Specialist & Lead Thermal Editor at Laptop Post Testing Lab · CompTIA A+, ACMT, B.S. in Computer Engineering · 12+ years bench-testing laptop thermal solutions & motherboard repairs
Getting your laptop stand dialed in for a live DJ performance requires careful attention to stability and sightlines. The right setup keeps your gear safe and your workflow smooth during high-energy club sets.
Poor placement often leads to wobbling stands and disconnected cables. Industry standards for equipment safety, as outlined by OSHA regarding workplace hardware stability, emphasize securing electronics to prevent tipping or accidental drops. Here is how you can ensure your rig stays secure and functional for your next show.
Quick Answer
Properly setting up your laptop stand requires securing the base to a stable surface. You must place the laptop at an ergonomic height for clear visibility. Use cable ties to secure all cords to the stand frame.
Always test for vibrations before you start playing music. These steps ensure your gear remains safe throughout your set.
Why Your Laptop Stand Setup Can Make or Break Your Set
The physical stability of your laptop stand dictates how reliably your software performs in a club. A stand that wobbles can cause a mechanical shock to your hard drive or, in extreme cases, disconnect a USB interface. Reliable, stationary gear allows you to focus entirely on your transitions and track selection.
Your laptop screen acts as your primary dashboard during a performance. If the stand height forces you to look down, you break your connection with the audience. Proper height adjustment keeps your head up and improves your posture during long sets.
Effective setup is the difference between a seamless mix and a technical breakdown.
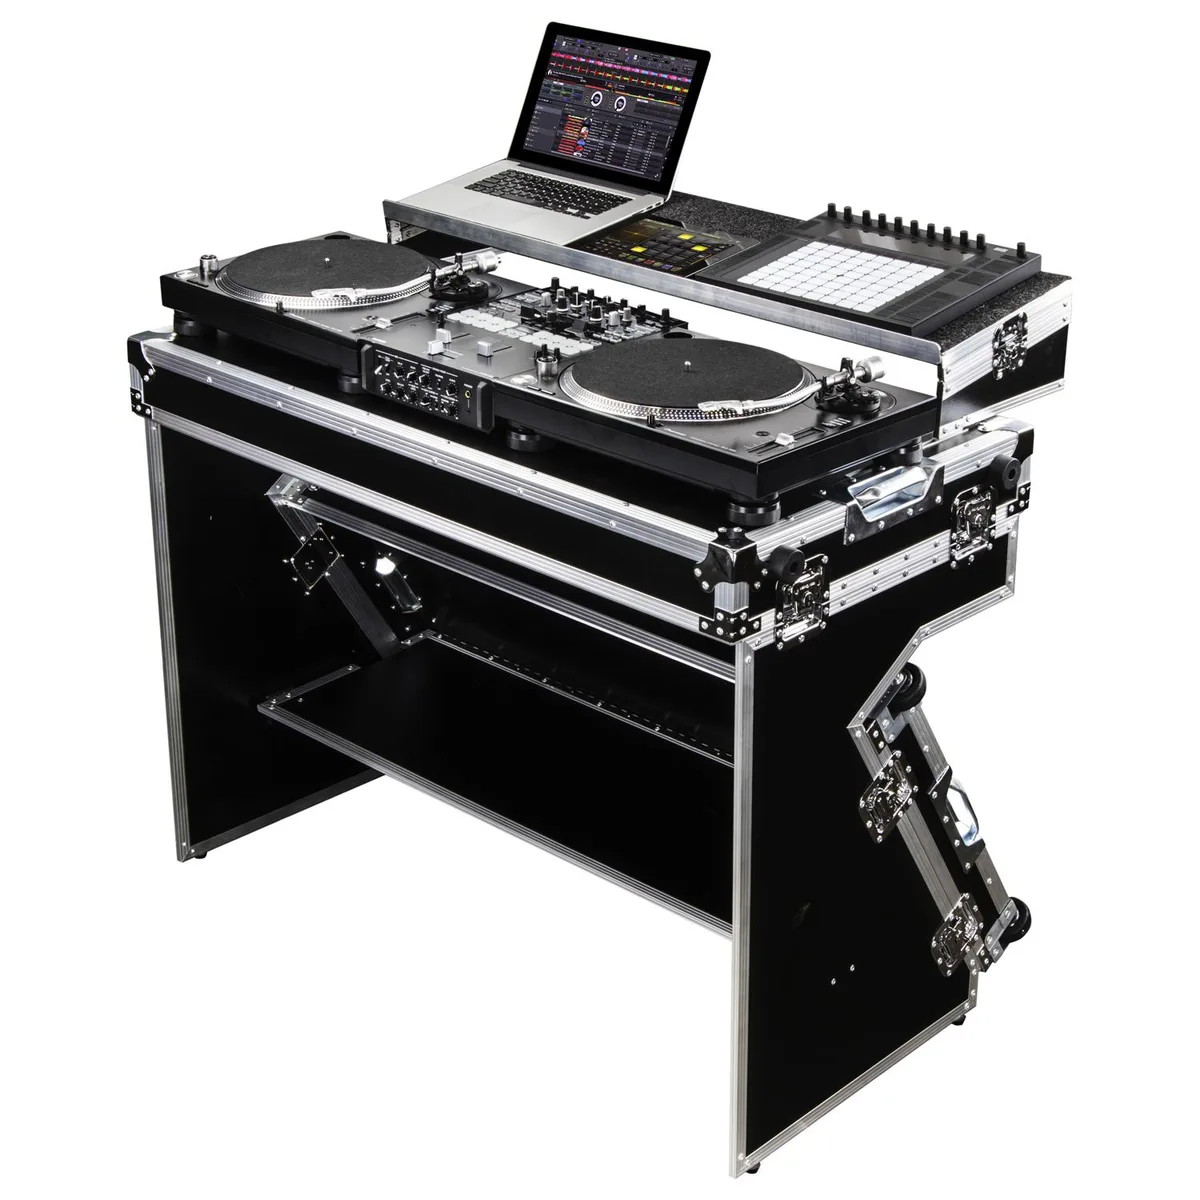
Understanding the Club Environment: Vibrations and Space Constraints
DJ booths are often cramped and subject to heavy mechanical vibration. Subwoofers located directly beneath the booth table generate low-frequency energy that travels through solid structures. This vibration can cause laptop hard drives to skip or digital connections to fail.
Before you set your gear down, perform a physical inspection of the table. A table that feels loose or hollow will amplify floor vibrations. If you notice significant movement, consider repositioning your stand toward a corner or a structural support beam.
The goal is to isolate your hardware from the highest energy points in the booth.
Choosing the Right Stand: Clamp-Style vs. Tripod Bases
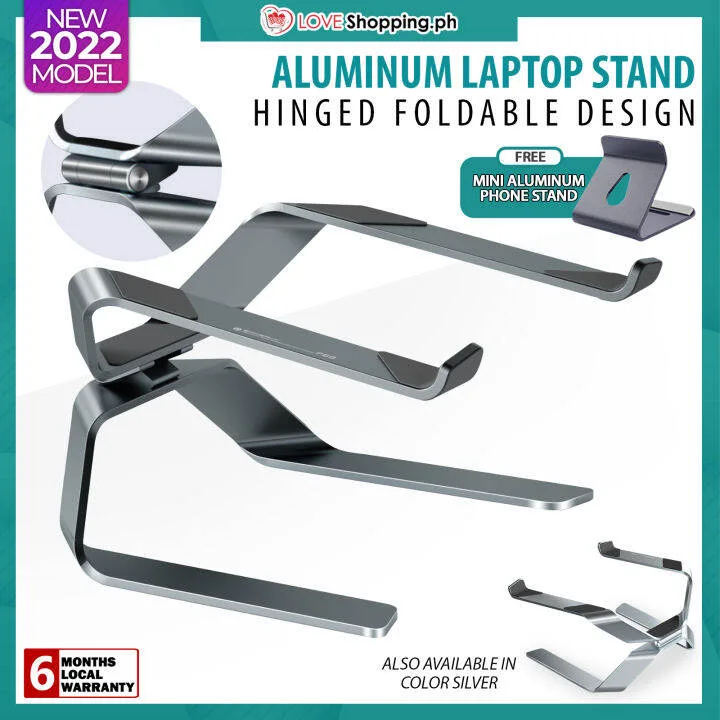
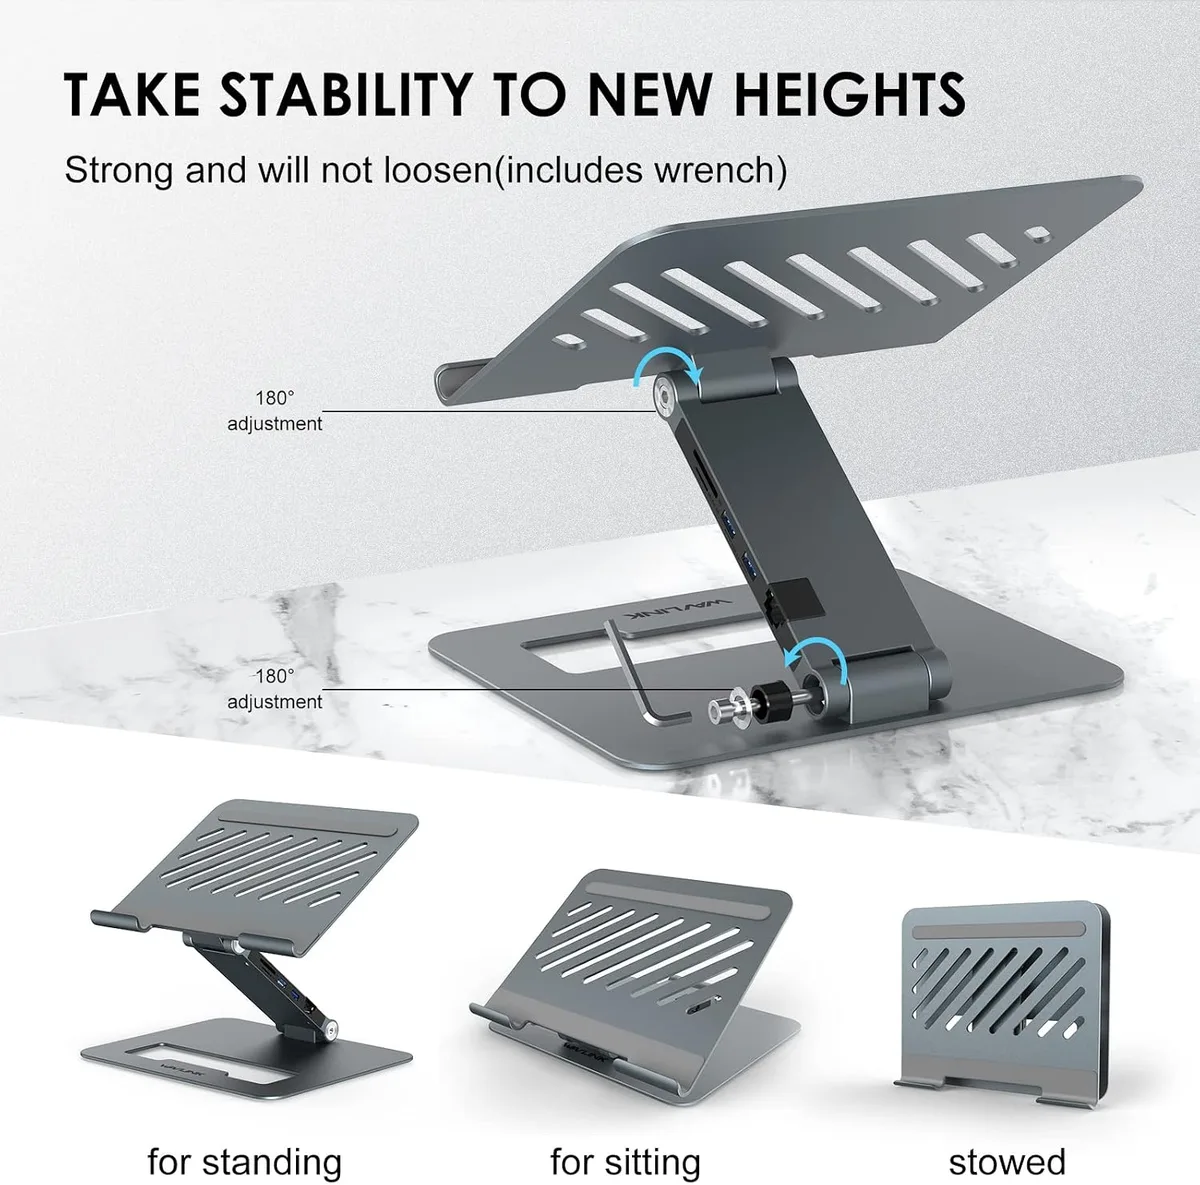
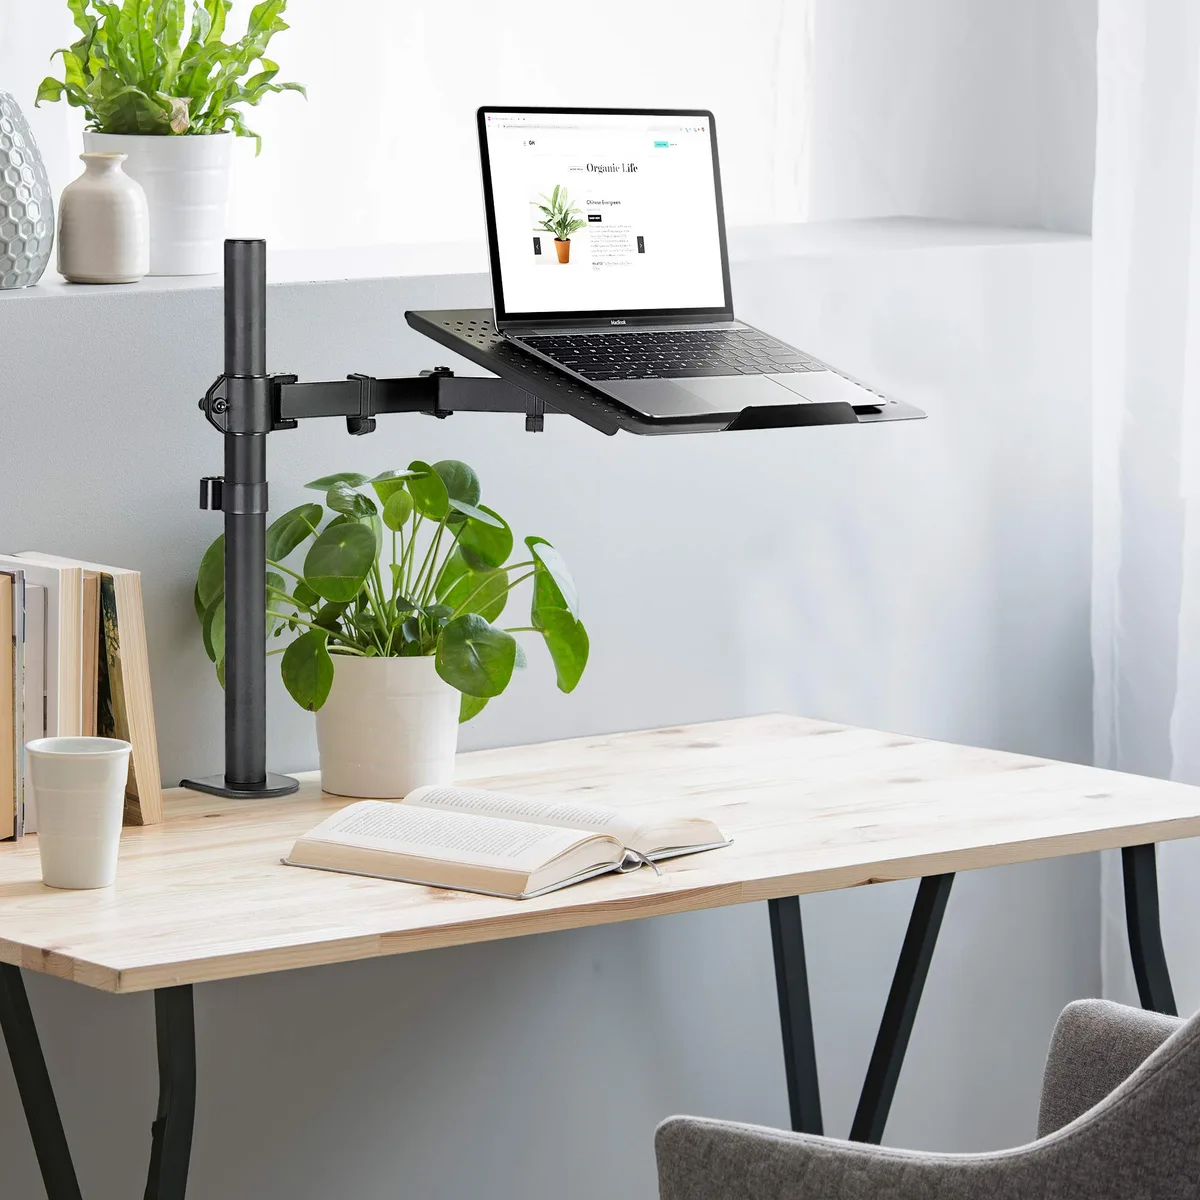
Your choice of stand hardware determines how well your setup survives a busy club environment. Clamp-style stands are generally superior for professional booths because they bolt directly to the table edge. They occupy minimal surface area and are nearly impossible to tip over if bumped.
Tripod stands provide more flexibility if you are playing in various venues with thick or non-standard tables. However, they are prone to being knocked over by dancers or passing staff. If you must use a tripod, ensure the base is wide and the feet have high-friction rubber pads.
| Feature | Clamp-Style Stand | Tripod Stand |
|---|---|---|
| Stability | High | Medium |
| Footprint | Minimal | Wide |
| Compatibility | Table edges required | Any flat surface |
| Portability | Requires assembly | Quick folding |
Step-by-Step: The Perfect Placement for Ergonomics and Sightlines
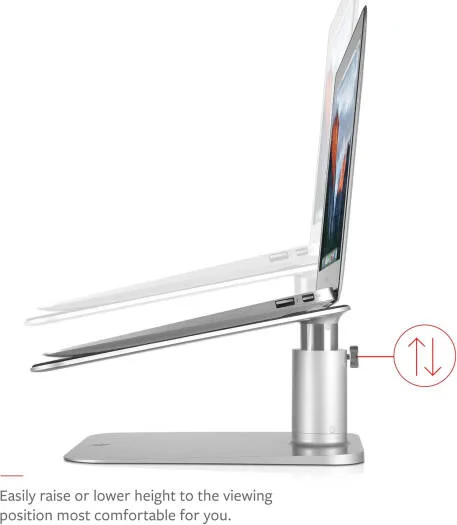
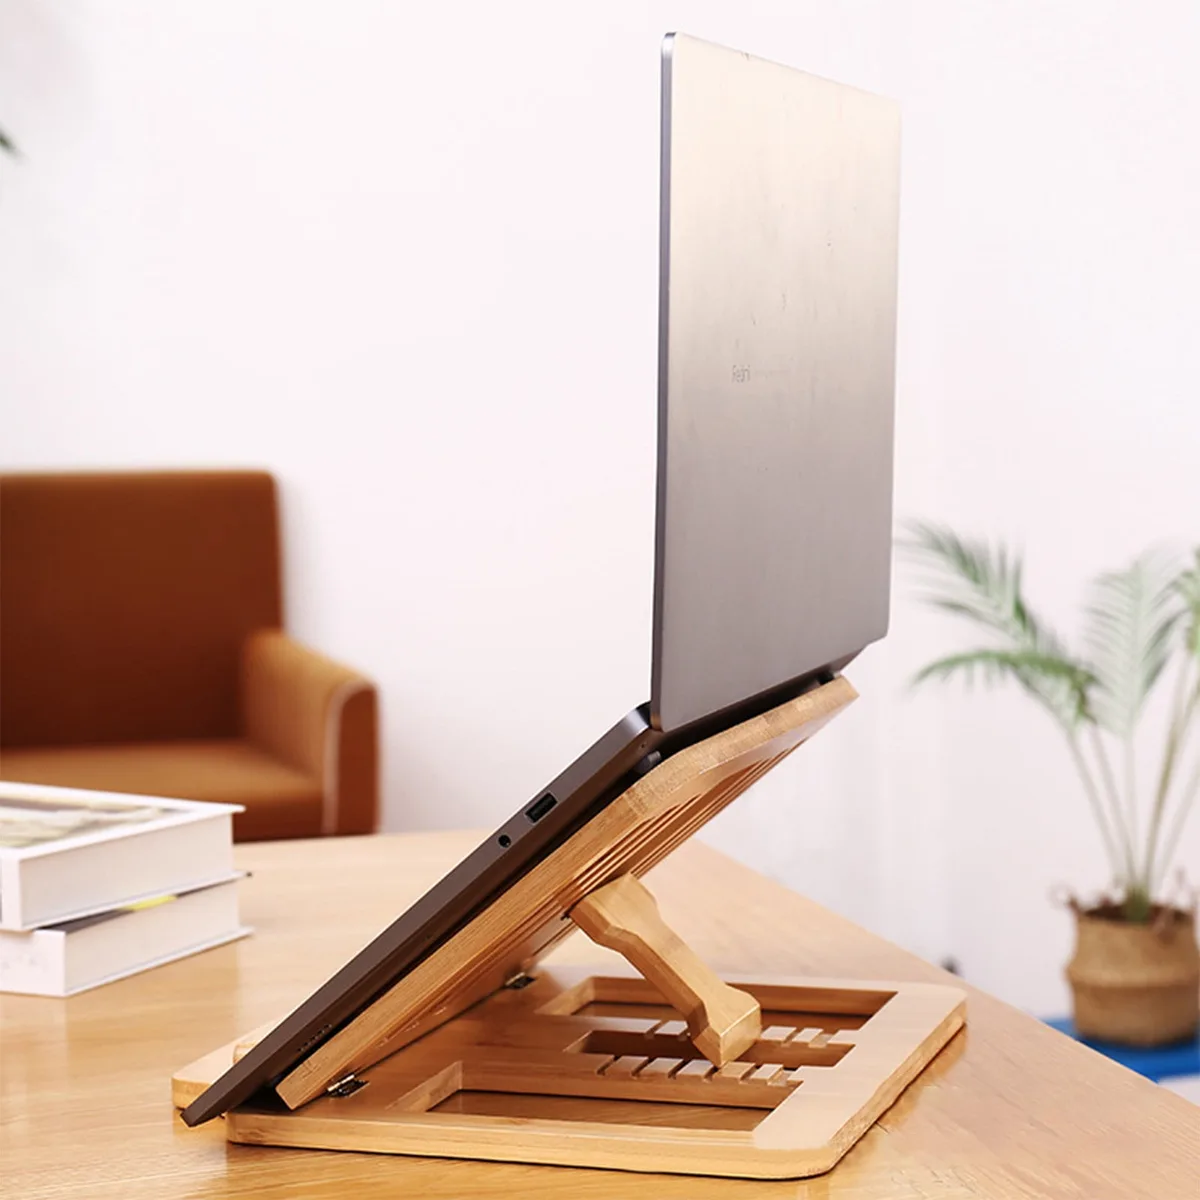
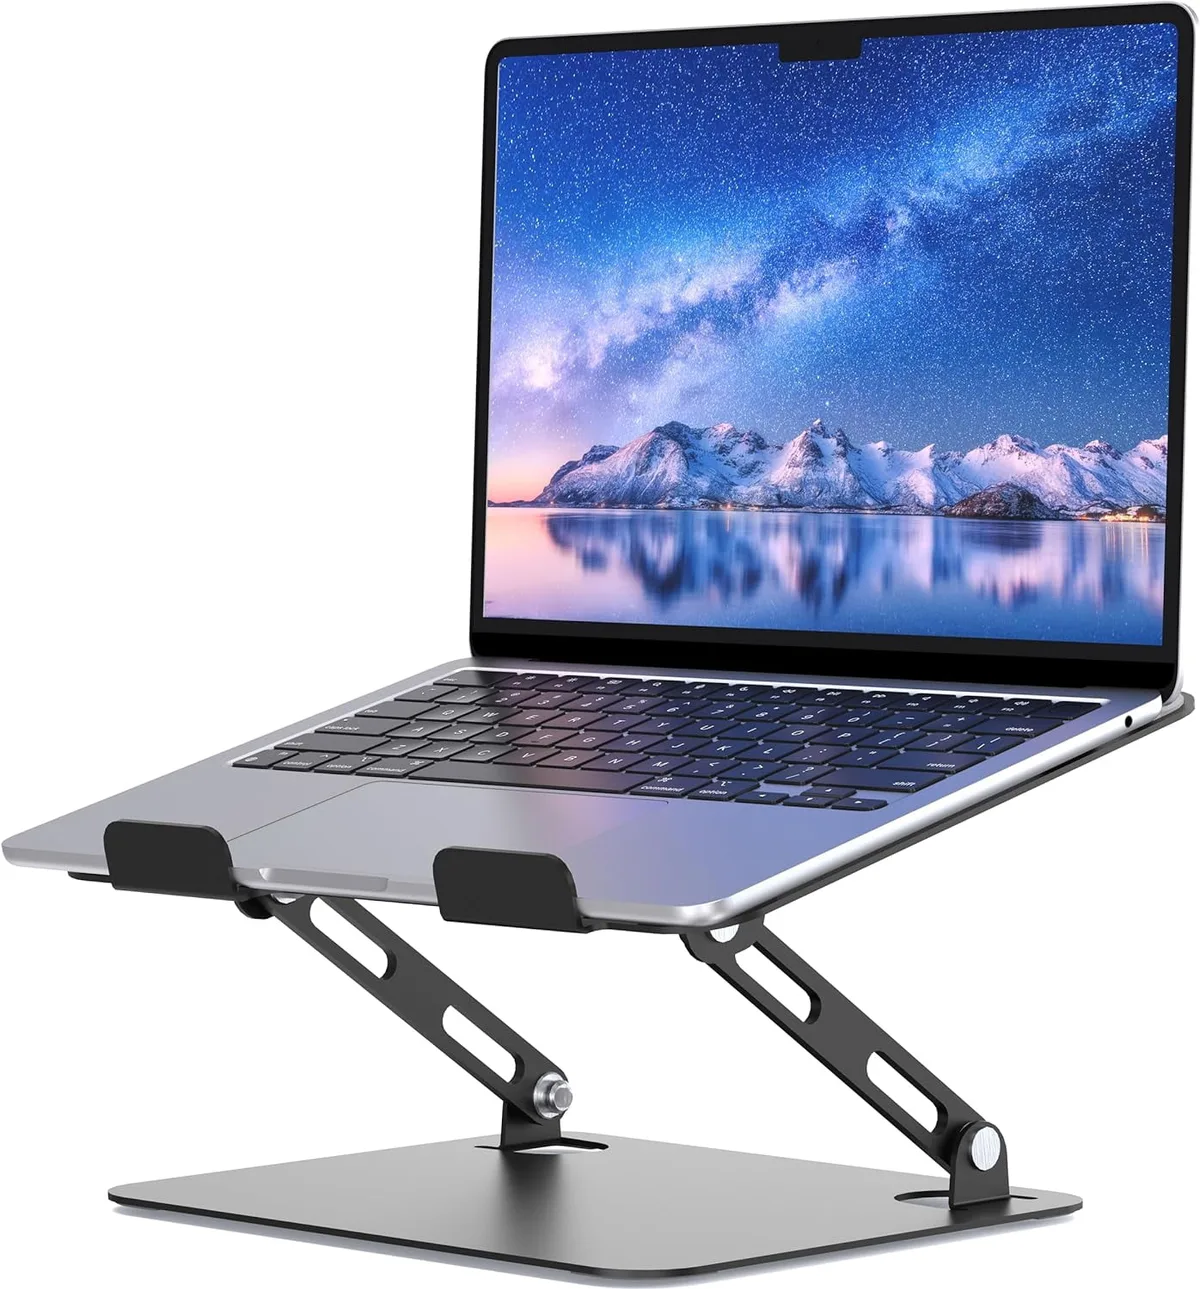
Start by positioning the stand base so the laptop screen sits just below your eye level. This height minimizes neck strain while allowing you to monitor the waveform display easily. You should be able to reach your controller and laptop without leaning your torso forward.
Align the stand so your laptop is slightly angled toward your natural line of sight. Avoid placing the laptop directly in front of your chest to keep your mixer access unobstructed. Once the height is set, tighten every tension knob firmly to lock the position.
A quick check after assembly ensures no components shift during the night.
Mastering Cable Management: Preventing Mid-Set Disasters
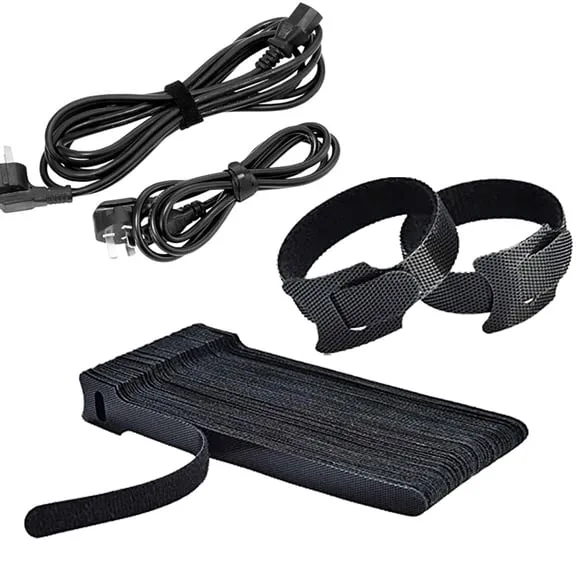
Cable management is the most overlooked aspect of professional DJ setups. A stray USB cable can easily catch on a sleeve or a shoulder during a mix. Use reusable Velcro ties to bundle your power and data cables along the stand’s vertical arm.
Secure the excess cable length to the stand frame or the underside of the booth table. This creates a strain-relief loop that prevents a sudden pull from yanking the plug out of your port. If you are using a controller, keep the data cable path clear of any drink storage areas.
Protecting Your Gear: Vibration Dampening and Spill Prevention
Protecting your hardware from liquid spills and floor vibrations involves layering simple safety measures into your setup. Club booths are high-risk zones where condensation, sweat, and spilled drinks can migrate toward your sensitive electronics. Elevating your laptop is the primary defense against surface-level spills.
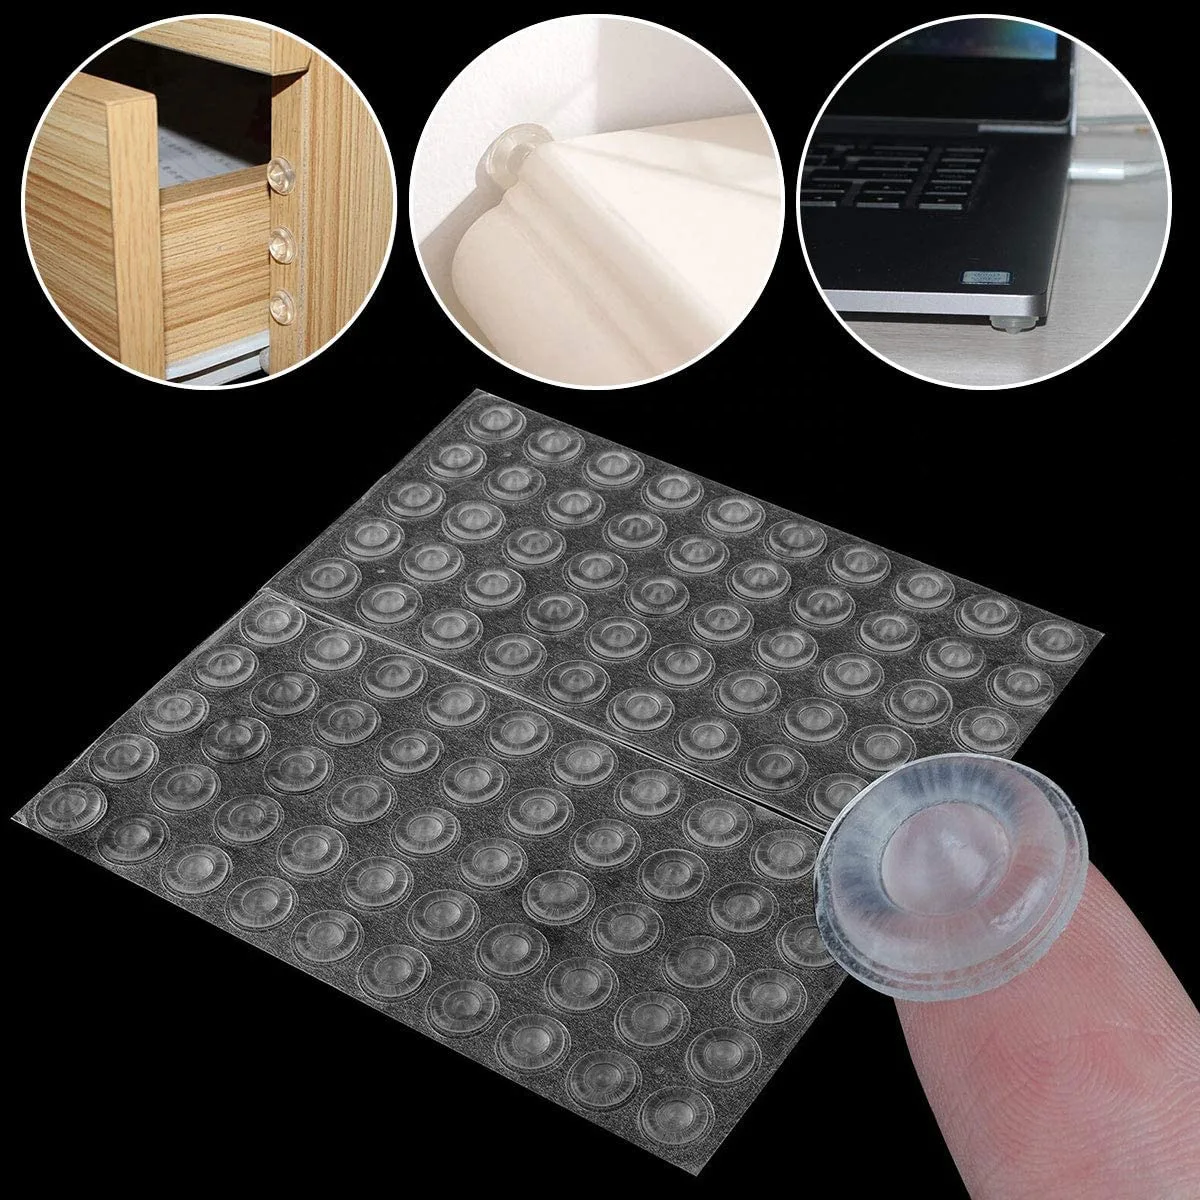
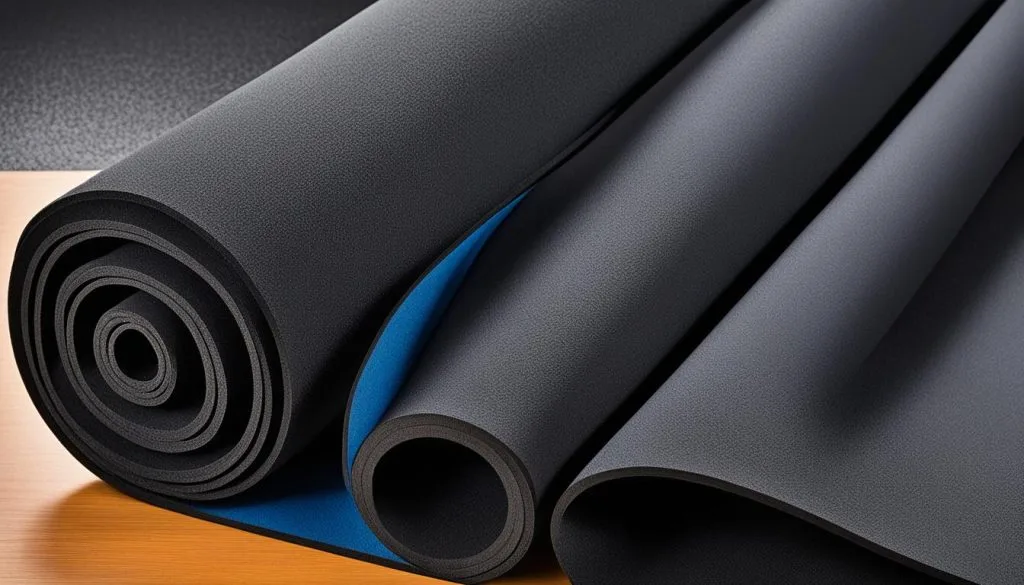
If your stand base sits directly on the booth, use a neoprene or dense foam pad to isolate the equipment. This material acts as a mechanical dampener that absorbs high-frequency energy from nearby subwoofers. It also prevents the stand from sliding on smooth, wet, or uneven DJ tables.
Visual Cues: Identifying a Ready to Perform Rig
A ready-to-perform rig looks organized, balanced, and physically separate from the club environment. You should identify your setup as a self-contained island within the booth space. Every cable must follow a logical, tension-free path from the laptop to your audio interface or mixer.
Your screen should be positioned to show only the information you need, such as waveforms and track metadata. If you have to lean or squint to see your library, the setup is not yet optimized. A properly prepared rig feels solid when you gently push against the stand frame.
Common Setup Mistakes That Lead to Crashes
Many DJs inadvertently cause performance issues by failing to account for the physical constraints of the venue. Placing the stand base too close to the mixer often results in accidental cable tugs during energetic sets. Overloading the stand with external hard drives or heavy audio interfaces can also compromise the center of gravity.
Failing to lock every hinge and tension bolt is another common error. Vibrations from the club’s PA system will gradually loosen unsecured joints over several hours. Always double-check your pivot points and clamps during your final pre-show sweep.
A rig that seems stable at soundcheck might become dangerous once the bass begins to resonate through the furniture.
Essential Add-ons for a Bulletproof Booth
You should carry a small kit of professional-grade accessories to handle unexpected setup challenges in different venues. Gaffer tape is an essential tool for securing loose cables to the table surface without leaving adhesive residue. It provides a clean, professional finish that keeps the floor and table clear of trip hazards.
A spare set of high-quality, braided USB cables should always be in your gear bag. These cables offer better shielding against electromagnetic interference in crowded booths. A small bubble level can also help you confirm the stand is perfectly balanced before you load your expensive hardware.
Safety Checks Before You Plug In
Performing a brief safety check ensures your electrical path remains grounded and stable. Confirm that your power supply has enough slack to prevent accidental disconnections if the laptop is nudged. Keep all liquid containers at least two feet away from your laptop, mixer, and signal cables.
Check the booth table for structural damage or loose segments before placing your stand. If the booth surface is uneven, use thin shims or gaffer tape to create a level base. Following these precautions minimizes the risk of sudden signal loss or hardware damage.
Consult NIST guidance on electrical safety and grounding if you ever suspect the club’s power lines are causing interference with your audio equipment.
Pro Advice: Handling Subwoofer Bleed and Tight Booths
Subwoofer bleed is the most frequent cause of intermittent digital signal dropouts in professional club environments. Large low-frequency waves create resonance that can vibrate your laptop's mechanical components or even loosen cable connections over time.
If you are stuck in a booth with massive bass cabinets beneath your gear, you need to decouple the stand from the table. Use dense rubber, foam, or even folded towels to create a barrier between your stand feet and the surface. This simple layer stops the energy from traveling up the stand legs and into your device.
Quick Troubleshooting: What to Do When the Stand Feels Unstable
A stand that feels loose mid-set requires immediate, calm intervention. First, check your tension knobs for any movement or vibration-induced loosening. If a knob is stripped or broken, use gaffer tape to lock the position in place until your set concludes.
If the instability comes from the booth surface itself, look for ways to brace the stand against a fixed object. You can use zip ties to tether the stand frame to the mixer housing or the table legs. Always keep a roll of high-strength tape in your kit, as it is the fastest solution for emergency stabilization.
Final Checklist for Every Live Performance
Your pre-show ritual should include a physical audit of your gear before you start the music. Confirm the stand is level and that every adjustment point is fully tightened. Check that no cables are under excessive tension or resting near drink areas.
Verify your laptop screen orientation for maximum visibility and ensure the air vents have sufficient clearance. A reliable, well-checked rig lets you focus entirely on your performance rather than technical maintenance. Performing these steps as a standard habit prevents nearly every common gear-related failure.
Frequently Asked Questions
How long does setup take?
A professional setup usually takes five to ten minutes when you are prepared. This includes securing the stand, managing your cables, and verifying your connection to the mixer. Practice at home until your workflow becomes muscle memory.
Speed comes from repetition rather than rushing the physical process.
Can I leave my stand in the booth between shows?
Most venues require you to clear your gear immediately after your set concludes. Leaving a stand behind risks theft and creates liability issues for the venue. Always pack your equipment completely to ensure your gear remains secure.
Treat your setup as a temporary, mobile office for every performance.
What should I do if a cable port feels loose?
If a port feels loose, avoid moving the cable once it is connected to prevent a full disconnection. Secure the cable near the port using gaffer tape to eliminate any strain or movement. This creates a temporary anchor that protects the connection until you can get the laptop serviced.
Is a heavy-duty stand worth the extra weight?
A heavy-duty stand offers superior protection against accidental bumps and low-frequency vibrations. While the added weight can be a nuisance for travel, the increased stability is essential for high-energy club environments. Invest in a stand that balances portability with rugged construction to ensure your peace of mind.

Similar Posts