What Comes in the Box? Nulaxy & Soundance Stand Tools Guide
Senior Hardware Diagnostics Specialist & Lead Thermal Editor at Laptop Post Testing Lab · CompTIA A+, ACMT, B.S. in Computer Engineering · 12+ years bench-testing laptop thermal solutions & motherboard repairs
If you’re wondering what tools are included with Nulaxy and Soundance laptop stands, you aren’t alone. Many users expect a full assembly kit, but these brands focus on a simplified, user-friendly design that requires minimal hardware.
Most of these stands ship as pre-assembled units or basic modular components. As of 2026, manufacturer documentation confirms that both companies include only the specific hardware required for occasional hinge maintenance.
Quick Answer
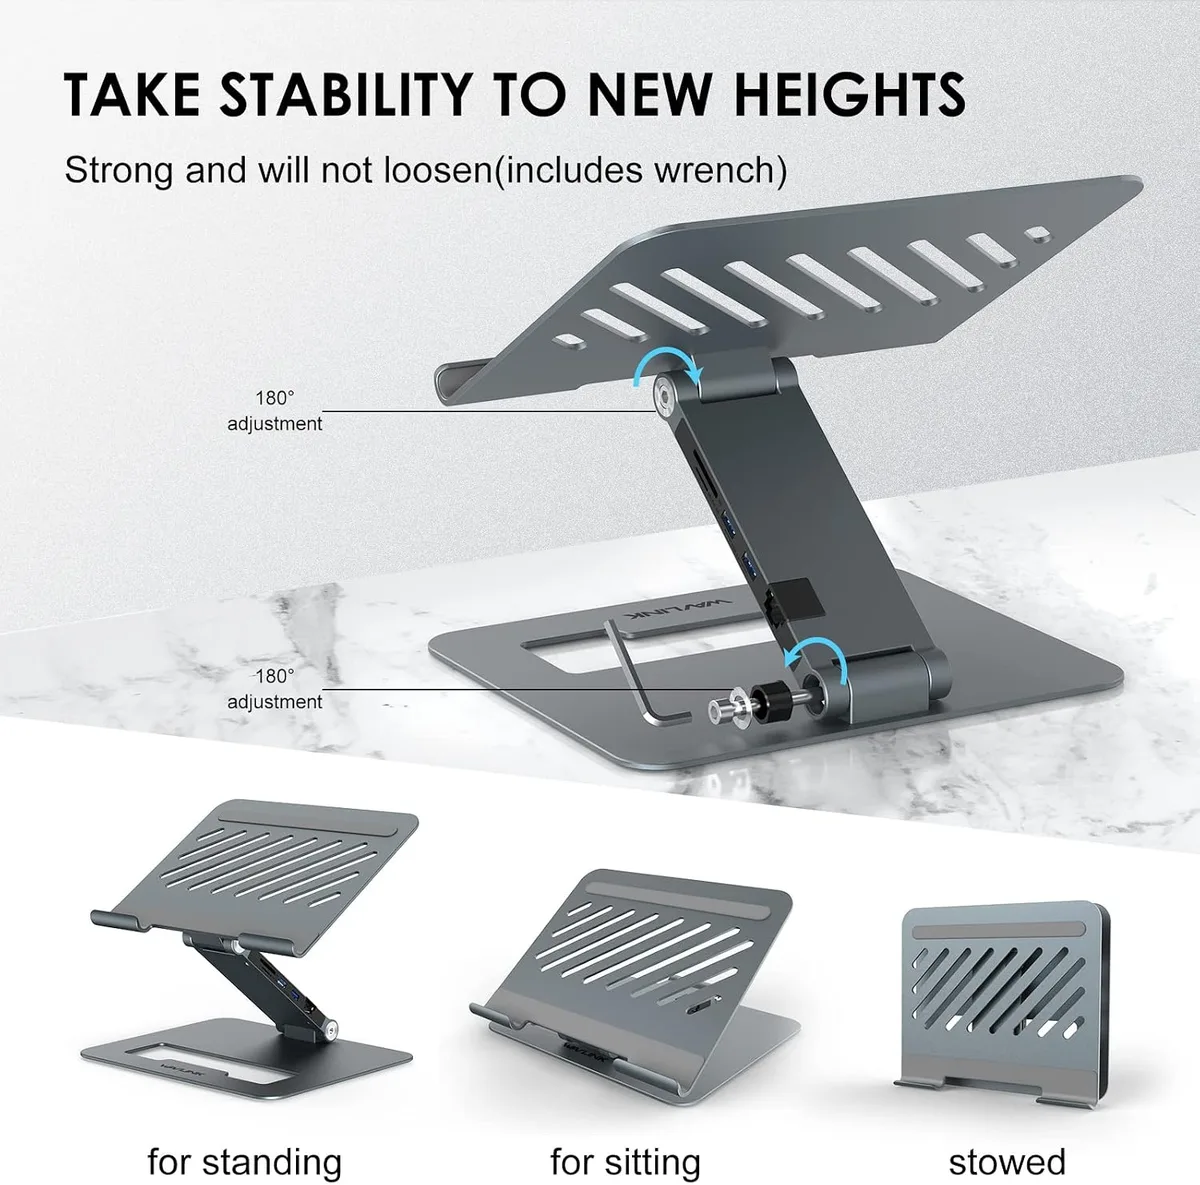
Nulaxy and Soundance laptop stands include one small L-shaped hex key. This wrench tightens the tension hinges on your stand. No other tools are required for assembly.
Some units include a single spare screw. The stands arrive mostly pre-assembled in the box.
Why the What’s Included Question Matters
When you order an adjustable laptop riser, the contents of the package directly impact your initial setup experience. You need to know if you should clear a space for a full construction project or if the device is ready for use within seconds.
Most consumers prioritize a simple, plug-and-play experience for desk accessories. Since these stands use aluminum alloy, the weight and structural integrity are managed through high-tension friction joints. Understanding the included hardware ensures you don't discard the small wrench that keeps your stand functional over time.
Quick Insight: The Standard Accessory Kit
The accessory kit for these stands is famously sparse by design. You should not expect a multi-head screwdriver or a complex assembly manual. The goal is to provide a single, universal tool that handles every adjustment point on the device.
| Included Item | Purpose | Frequency |
|---|---|---|
| L-Shaped Hex Key | Hinge tension control | Always included |
| Spare Screws | Potential replacement | Varies by model |
| Rubber Pads | Pre-installed protection | Always present |
What You Actually Get in the Box
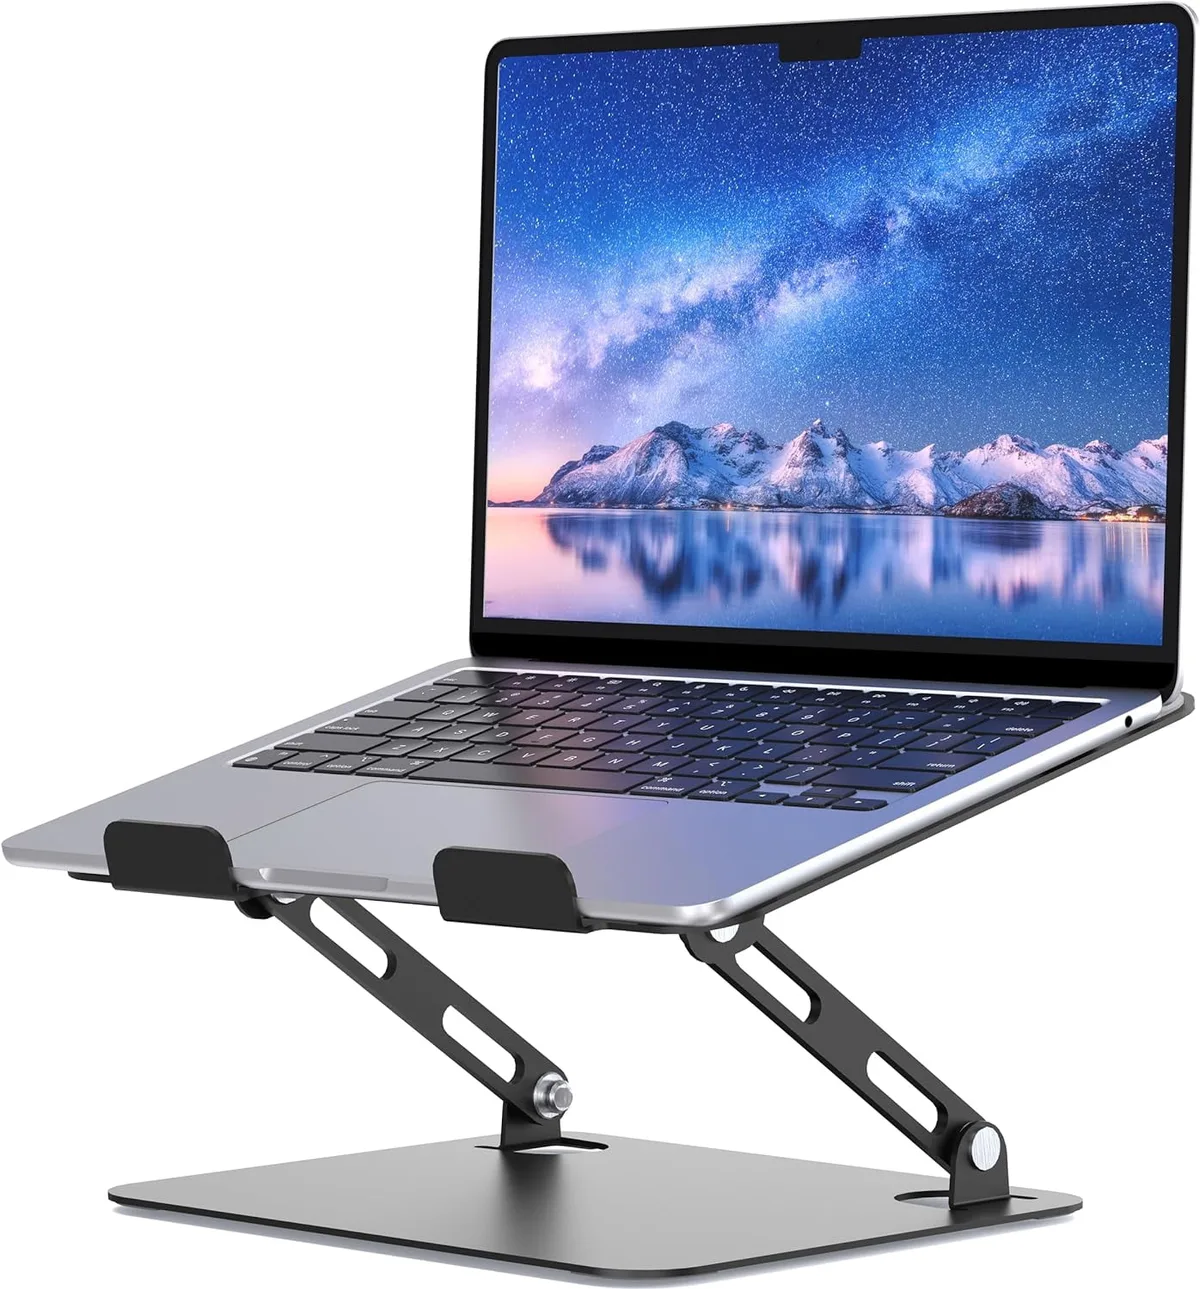
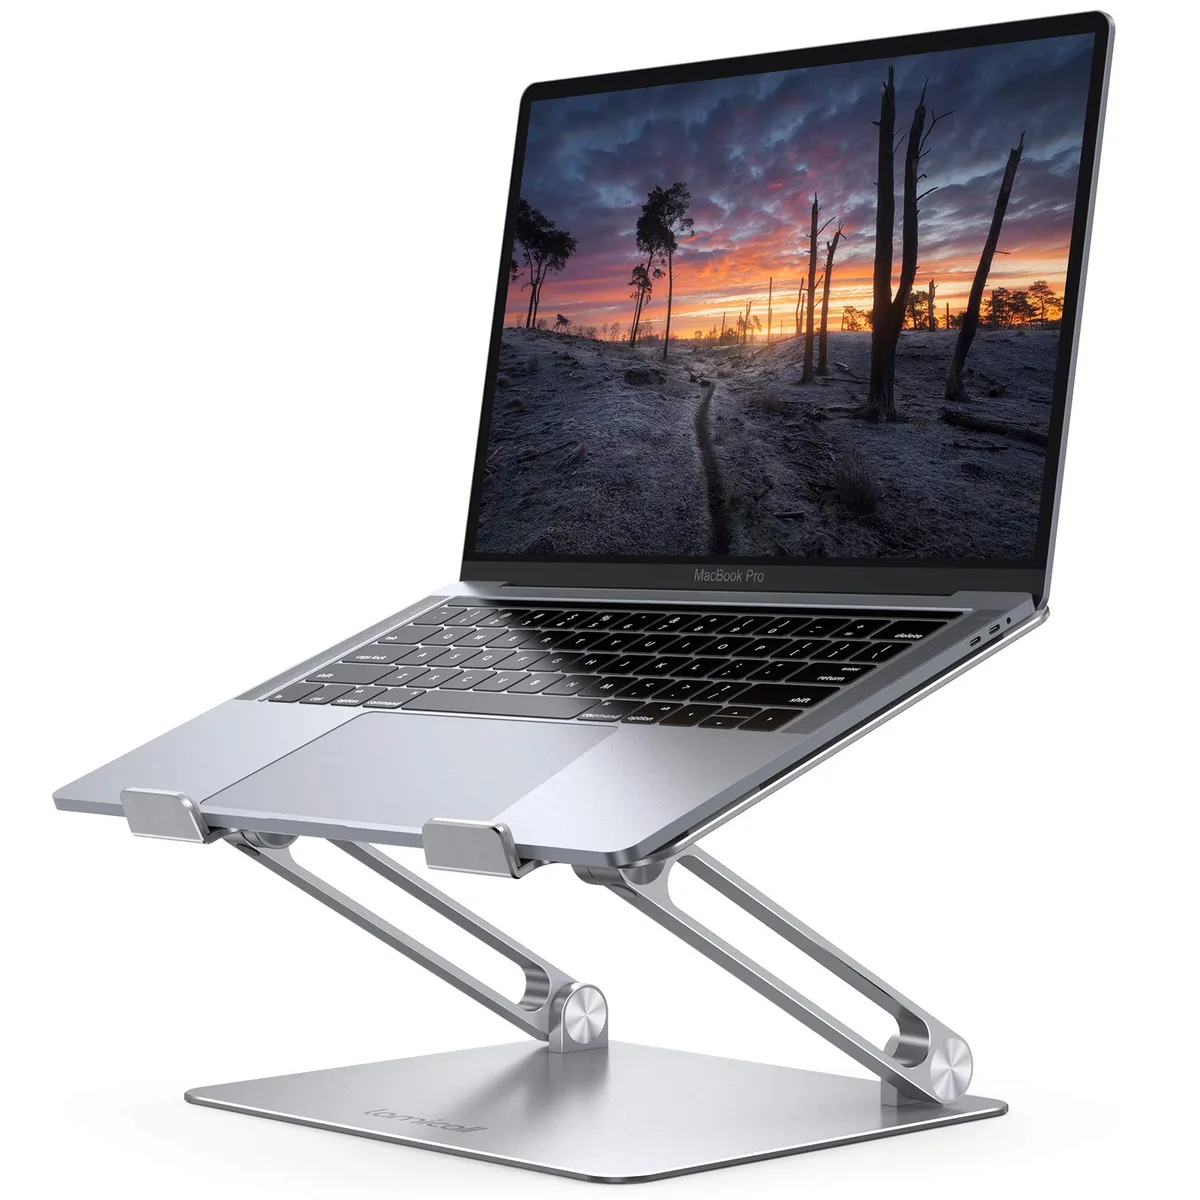
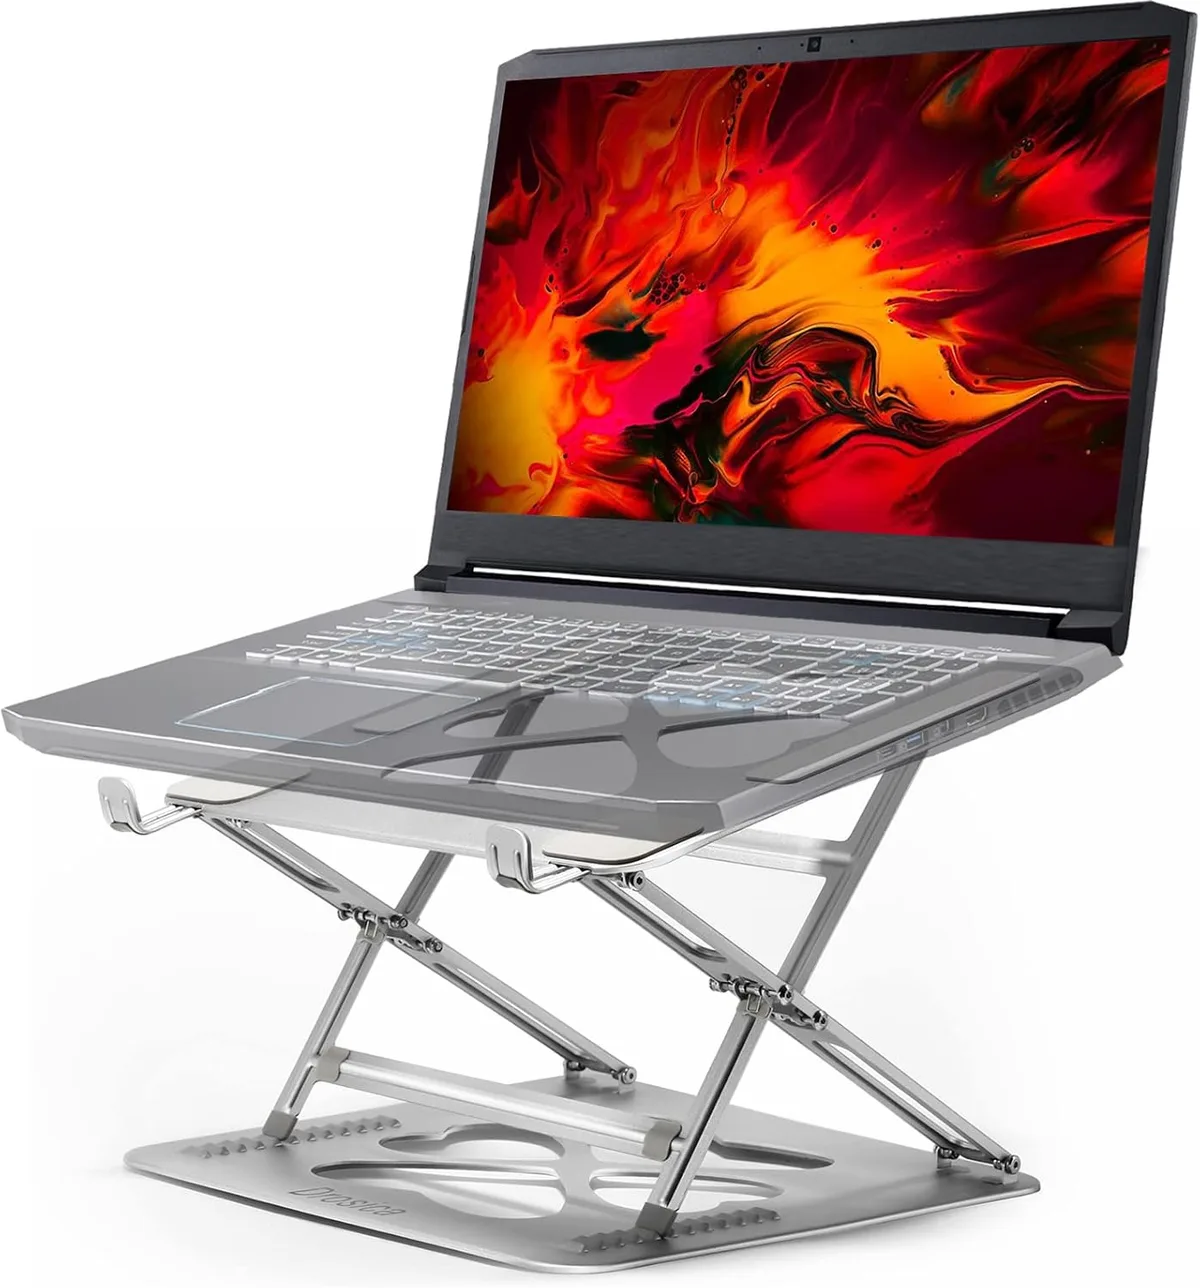
The box typically contains the aluminum stand frame and a small plastic bag. This bag holds your hex key, often referred to as an Allen wrench. These units avoid complex fasteners to keep the profile slim and the desk footprint minimal.
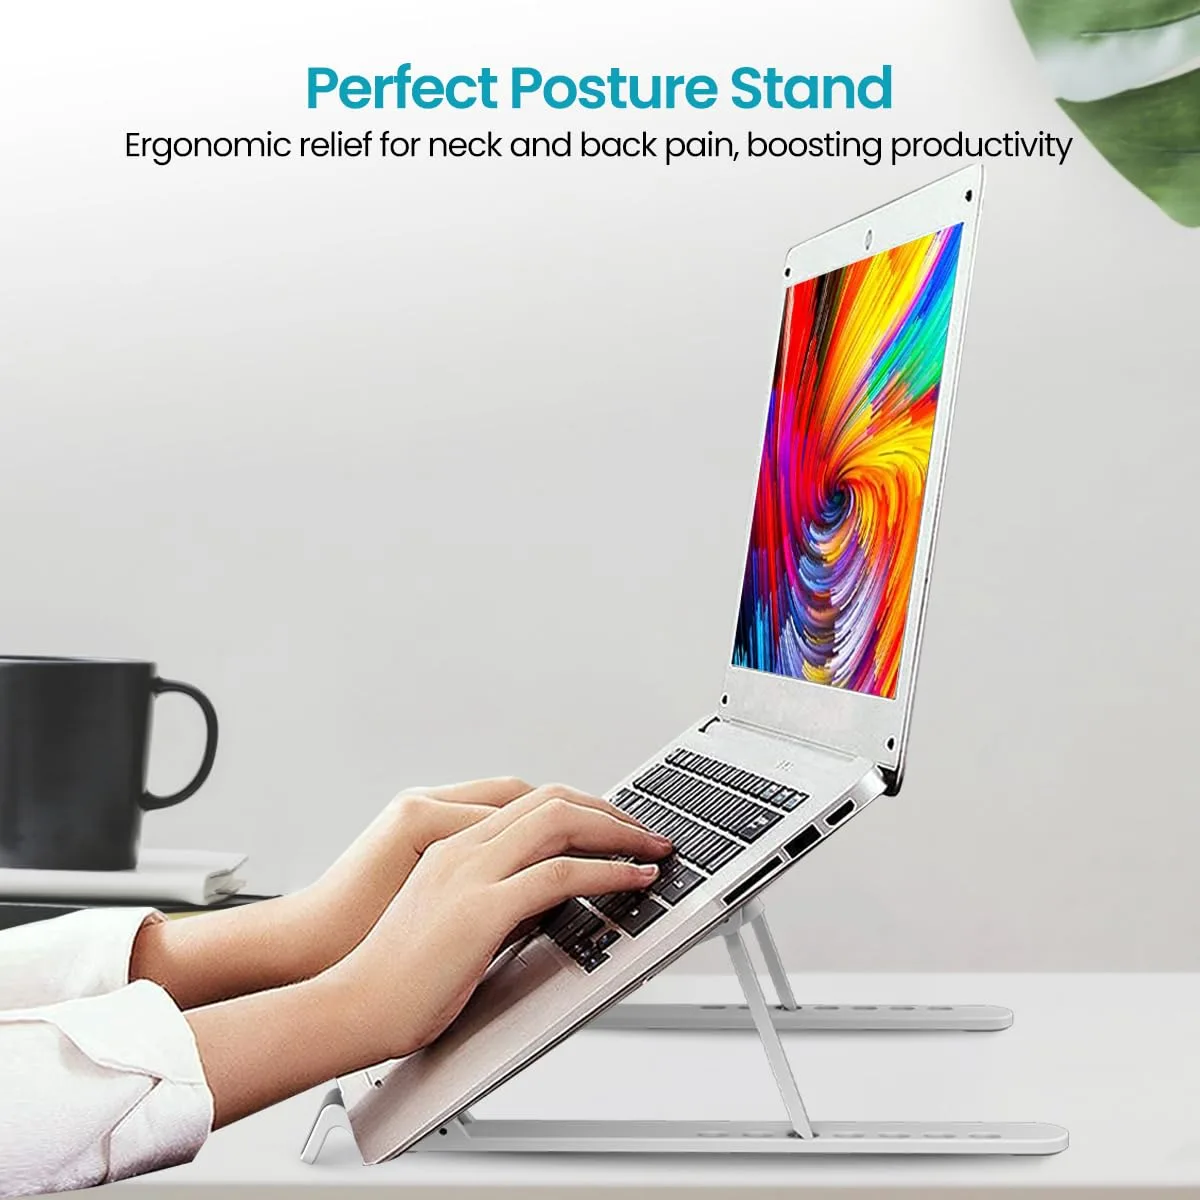
You will find the rubber anti-slip pads pre-applied to the contact points of the stand. These silicone or rubberized strips prevent your laptop from sliding off the metal surface. These are not tools, but they act as essential functional components of the stand assembly.
The Essential Hex Key (Allen Wrench)
The hex key is the only tool you will ever need to manage a Nulaxy or Soundance stand. It is a simple, bent piece of hardened steel designed to fit the hexagonal sockets of the tension bolts.
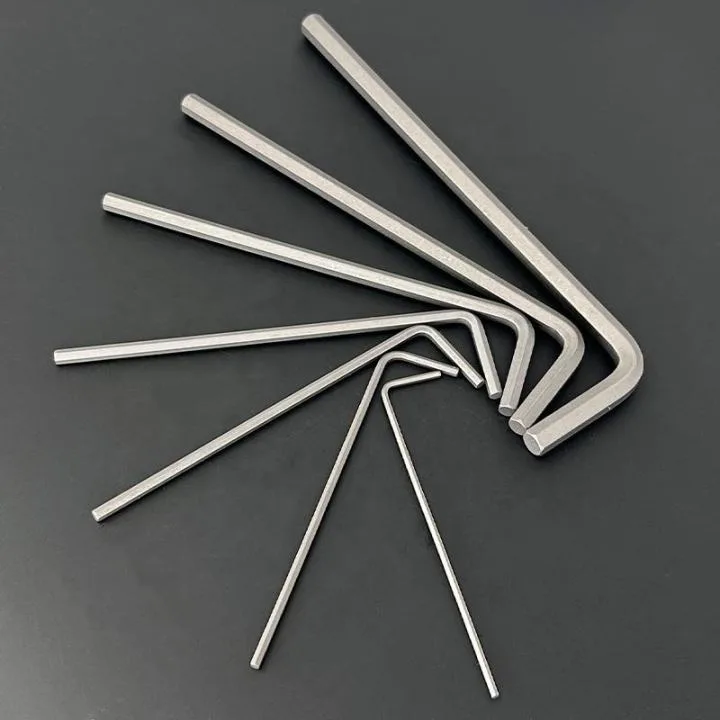
If your laptop stand starts to sag or loses its ability to hold an angle, this key is your primary solution. You simply insert the short end into the hinge socket and turn it clockwise to increase the friction. Per ANSI/ASME standards for fastener drives, these hex sockets are standard, meaning a misplaced tool is easy to replace with any hardware store equivalent.
Side-by-Side: Nulaxy vs. Soundance Inclusions
Both brands utilize a nearly identical mechanical approach. They use friction-based hinges that rely on metal-on-metal or metal-on-plastic tension. Because the internal design is similar, the tool requirements remain consistent across both product lines.
Soundance often highlights the open-air design of their frames to assist with thermal management. Nulaxy focuses more on folding portability and varied size profiles for different tablet or laptop weights. Regardless of the model, neither company deviates from the standard hex key inclusion.
If you are comparing them for purchase, choose based on the stand geometry rather than the tool kit. The hardware included in the box is functionally the same for both.
When You’ll Need Extra Tools
While the provided hex key handles daily adjustments, you might occasionally require a household toolkit. If a bolt becomes stripped or if you decide to modify the stand for a permanent desk mounting, a standard screwdriver or a dedicated metric hex key set may be necessary.
If you have a collection of loose hex keys, keep them organized in a desk drawer. You don't need expensive equipment, but having a set with various sizes is helpful if you lose the original, tiny wrench provided by the manufacturer. Occasionally, a bolt might need a slight turn with a pair of pliers if the socket is worn, though this is rare for new products.
Step-by-Step: Adjusting Your Stand for Maximum Stability
- Identify the tension hinges. Look for the circular pivot points at the base or the top of the stand.
- Clear your desk space. Ensure you have a flat surface to work on so the stand doesn't tip while you adjust it.
- Insert the hex key. Push the short end of the wrench into the center of the hinge socket.
- Apply gentle pressure. Turn clockwise in small increments to tighten the tension.
- Test the movement. Move the stand back and forth to ensure it holds your laptop's weight without sagging.
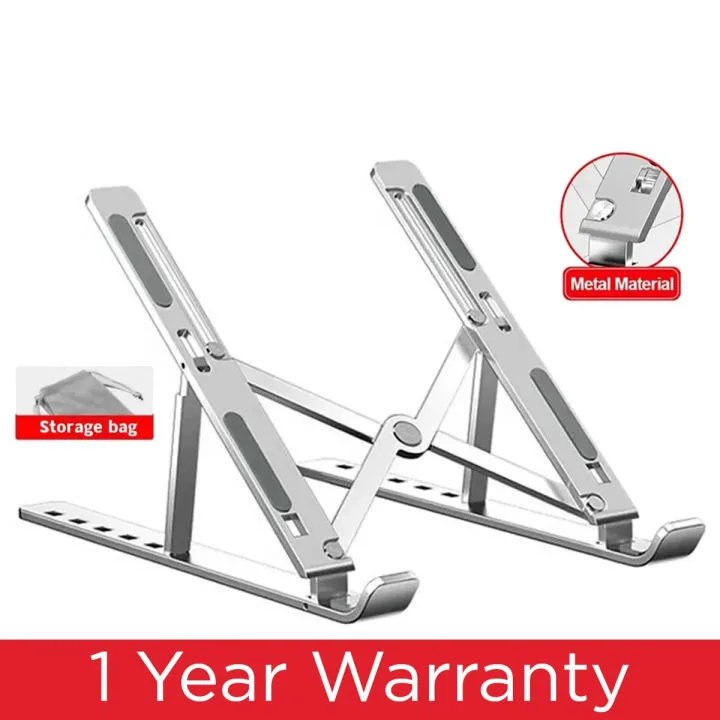
Do not overtighten the hinges. Applying too much force can cause the aluminum to bend or the internal friction washers to crack. Incremental adjustments are safer for the long-term structural integrity of the metal frame.
Common Mistakes: Losing Your Hardware
The most common error is discarding the small plastic bag containing the hex key immediately after unboxing. Many users mistake the bag for packing debris and toss it in the trash. Once the key is gone, you lose the ability to tighten the stand whenever the hinge naturally loosens from daily use.
Avoid keeping the hex key stored in a separate room. You’ll want it within reach if you decide to adjust your viewing angle or relocate your setup. If you do misplace it, mark the bolt size on a piece of masking tape attached to the bottom of the stand for future reference.
Maintenance: Keeping Your Tension Hinges Tight
These stands operate on a friction system that inevitably loosens with time. Every few months, you might notice your laptop drifting or drooping under its own weight. This is normal and doesn't mean your stand is broken.
Take thirty seconds to retighten every hinge on the device. By performing this quick maintenance, you prevent the weight of the laptop from putting uneven stress on the frame. Regularly checking the hinges also prevents the screws from vibrating loose or falling out entirely.
Are These Stands Right for Your Setup?
These stands excel in minimalist, portable environments where desk real estate is limited. If you use a laptop with a screen size between 10 and 17 inches, the standard aluminum models from Nulaxy or Soundance will likely support the device weight effectively.
If you prefer a static, non-adjustable riser, you might skip these entirely. Static stands have no moving parts and therefore require no tools or maintenance. Choose an adjustable model only if you frequently shift between sitting and standing, or if you need to align your laptop screen with an external monitor.
Pro Advice: Handling Lost Tools and Replacements
If you’ve already lost your hex key, don’t stress. These tools use metric measurements common in furniture and bike repair. Visit a local hardware store with your stand in hand to find a matching size.
Most models use a 3mm or 4mm hex wrench. Since this is an industry standard, you can find a replacement for less than a dollar. Avoid using improvised tools like thin screwdrivers or butter knives, as these will likely strip the socket and make the stand impossible to adjust.
Costs, Pricing, and Material Data
Both Nulaxy and Soundance position themselves as entry-level to mid-range desk accessories. You'll notice they rely on extruded aluminum alloy for their frames. This material provides an ideal balance of low weight and high rigidity for laptops up to 17 inches.
The pricing for these stands usually reflects the absence of complex integrated electronics or advanced hydraulics. Because the cost is kept down by using manual friction hinges, the manufacturer passes those savings to you. You are paying for the precision of the metal machining rather than a collection of specialized tools or complex assembly hardware.
Safety and Structural Compliance
Always adhere to the weight capacity limits specified by the manufacturer. While aluminum is incredibly durable, the tension hinges have a finite load threshold before they begin to slip. If you place a heavy workstation laptop on a stand designed for a lightweight tablet, the hinges will wear out prematurely.
Ensure the stand is placed on a flat, stable surface. A wobble in your desk surface leads to unstable device positioning and potential strain on the stand's baseplate. Check the rubber pads for signs of peeling or degradation as this directly impacts the surface grip and protects your desk from accidental scratches.
Maintenance and Long-Term Optimization
Routine maintenance ensures your stand performs as well as it did on day one. Every six months, inspect all screws for signs of backing out due to desk vibrations. A quick check with your hex key keeps the joints firm and prevents unnecessary wear on the aluminum threads.
If you find that one joint is consistently looser than the others, tighten it by an additional sixteenth of a turn. You don't want to create too much resistance, as this makes adjusting the angle difficult and frustrating. A properly maintained hinge should feel fluid but firm, requiring a small amount of physical force to change the position of your screen.
Real Scenarios and Device Compatibility
Users frequently ask if these stands work for tablets or e-readers in addition to laptops. The open-frame design supports a wide variety of device footprints. Because the rubber contact points are positioned at the edges, they accommodate even slim devices without blocking charging ports or heat vents.
In a dual-monitor setup, these stands act as an inexpensive way to elevate your laptop screen to match your main display height. This alignment is critical for maintaining ergonomic comfort during long work hours. You can easily adjust the angle by a few degrees to eliminate glare from overhead lighting, a feature that static risers simply cannot offer.
Final Recommendation on Desk Setup
Choose a Nulaxy or Soundance stand based on the physical design that best fits your workspace. If you need maximum portability, look for models that fold completely flat for storage in a laptop sleeve. If you prioritize maximum stability, look for models with a thicker baseplate and a more rigid hinge geometry.
The tools included, or rather, the singular hex key, should never be the deciding factor in your purchase. Focus on the height range, the weight capacity, and the build quality. Once you have the right stand, keep that hex key in a dedicated spot, and you'll enjoy a much more stable and comfortable digital workstation for years to come.
Mistakes to Avoid
The most common mistake involves using an incorrectly sized hex key during adjustments. If the wrench feels loose in the hinge socket, stop immediately and find the correct size. Forcing a loose tool will strip the internal head, leaving the hinge permanently locked or stuck in a loose position.
Another frequent error is neglecting to check the surface stability before placing your device on the stand. A stand that isn't fully level will put uneven torque on the friction joints. This uneven pressure causes one side of the stand to sag, which eventually ruins the balance and longevity of the product.
Expert Tips for Hinge Longevity
Apply consistent pressure when adjusting your stand to avoid jarring the friction mechanism. A slow, steady motion prevents the aluminum components from grinding against each other. If you feel resistance, don't force it, as that means the tension is currently holding steady.
Keep your workspace clean of dust and debris that could find its way into the hinge mechanics. A small amount of grit can interfere with the friction washers and cause a grinding noise. If you notice any sound during movement, use a soft, dry cloth to wipe down the exterior joints.
Understanding Weight Distribution
Your laptop weight must be centered on the stand to maintain structural integrity. If you have a 17-inch laptop, ensure the center of gravity aligns with the central support spine of the stand. Off-center placement creates a lever effect that puts unnecessary strain on the hinge pivots.
Always collapse the stand fully before transporting it in a bag or case. This protects the hinge assembly from getting caught on other items in your backpack. It also prevents the stand from snagging your laptop's edges or scratching its finish while in transit.
Troubleshooting Common Tension Issues
If a hinge fails to hold weight despite tightening, check the bolt for signs of stripped threads. Sometimes the bolt housing itself can become damaged from overtightening, which prevents it from applying pressure to the friction washers. In these rare cases, the stand may require replacement rather than adjustment.
If you suspect the friction washer is worn down, consult the manufacturer website for potential repair guides. Most users find that adding a very thin, non-slip adhesive strip inside the hinge gap provides enough extra grip to restore stability. This is a common DIY fix that avoids the need to purchase a new stand.
Final Decision Guide
Choose a model based on the height you need for your specific desk setup. If your monitor sits at a standard height, a riser that elevates the laptop screen by six inches is usually ideal. Prioritize the rigidity of the baseplate, as a stable foundation is far more important than the inclusion of extra gadgets or tools.
Remember that Nulaxy and Soundance are functionally equivalent in their assembly requirements. Both offer reliable, entry-level solutions for ergonomic desk setups. Select the one that matches your aesthetic preference and fits your budget, knowing that the basic maintenance tools you'll need are already included in the box.
Frequently Asked Questions
Can I assemble these stands without the included tool?
You cannot assemble them properly without a hex key. The hinges are pre-set, but the assembly of the base plates often requires the tool for the initial setup. If you lack the included key, any standard metric hex wrench set will work perfectly.
Do I need to lubricate the hinges?
No, you should avoid adding oil or lubricant to the hinges. These stands rely on friction to hold the weight of your device. Lubricant will reduce that friction and cause the stand to collapse.
Keep the hinges dry and clean to maintain stability.
What happens if I overtighten the hinge?
Overtightening the hinge creates excessive stress on the aluminum housing. This can lead to cracking or permanent warping of the frame. Always use small, quarter-turn adjustments and stop as soon as the stand feels firm enough to hold your laptop's weight without drifting.
Are the screws proprietary?
The screws are generally standard metric bolts. You can replace them if you lose one by matching the length and thread pitch at any local hardware shop. Take the existing screw with you to the store to ensure a perfect match for your specific model.

Similar Posts