How to Mount an iPad Next to Your Laptop on a Dual Arm Stand
Senior Hardware Diagnostics Specialist & Lead Thermal Editor at Laptop Post Testing Lab · CompTIA A+, ACMT, B.S. in Computer Engineering · 12+ years bench-testing laptop thermal solutions & motherboard repairs
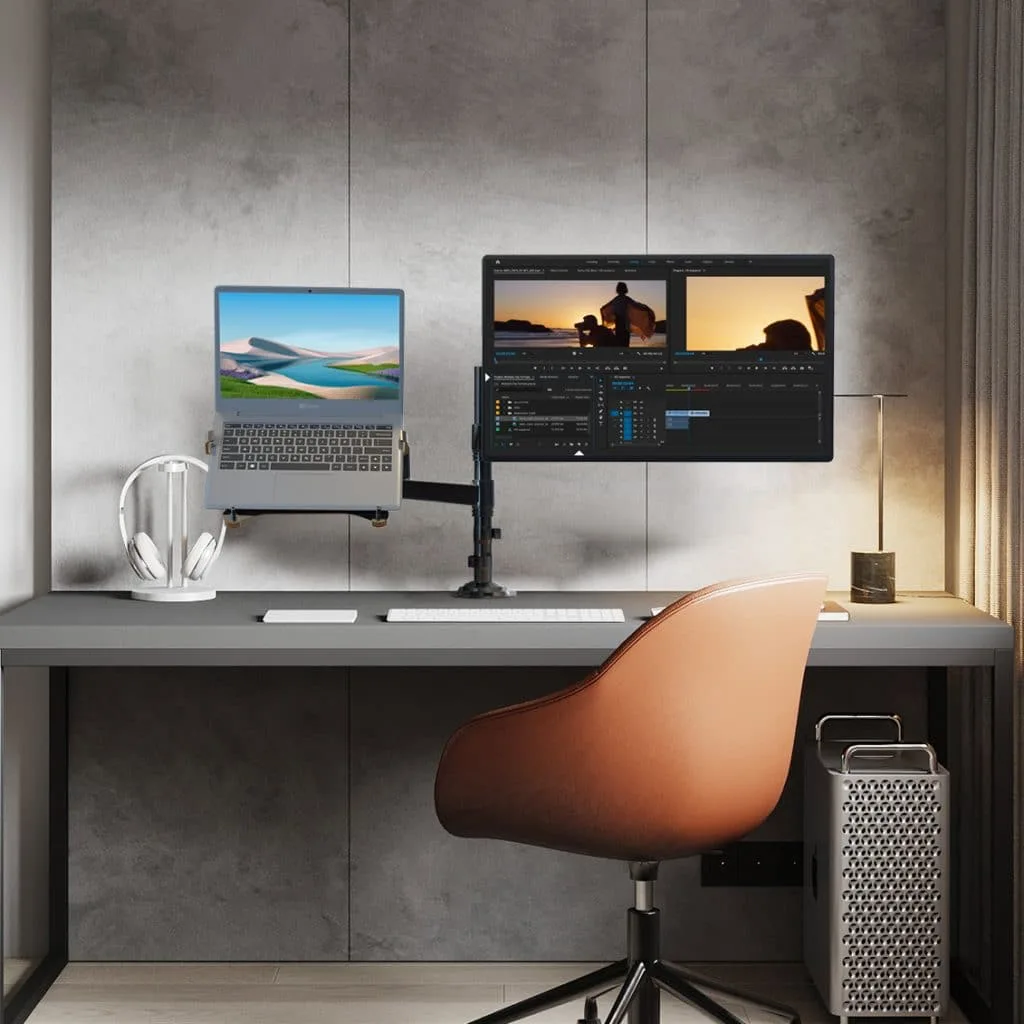
Learning how to mount an iPad next to a laptop on a dual-arm stand allows you to create a high-efficiency workstation that maximizes your available desk real estate. This setup requires careful planning to ensure both devices remain stable, accessible, and properly aligned during your daily tasks.
As of 2026, most office ergonomics guidelines from organizations like the Occupational Safety and Health Administration emphasize the importance of keeping your screen surfaces at eye level to prevent neck strain. By integrating a dual-arm stand, you remove clutter from your desk while positioning your technology to support a healthier, more consistent posture.
Quick Answer
You can mount an iPad next to a laptop by using a dual-arm monitor stand. You need a VESA-compatible tablet holder and a universal laptop tray. Mount the base to your desk securely first.
Attach both devices to the individual monitor arms. Adjust the tension for each device weight. Align the screen heights to match your eye level.
The Ergonomic Advantage: Why Floating Your Screens Matters
Elevating your laptop and tablet off the desk surface is about more than just a clean aesthetic. When your screens sit at eye level, your neck stays in a neutral position. This reduces the risk of repetitive strain injuries that occur from hunching over low-profile devices for hours.
Floating your gear also clears the footprint of your desk. You gain valuable space for keyboards, notebooks, and other physical materials you need for your work. A dual-arm configuration allows for fluid movement, letting you push devices aside when you need a clear desk for other tasks.
Essential Hardware: What You Actually Need to Buy
Getting this right requires specific components that work together. You cannot rely on the basic arms that come with many budget monitor stands because they often lack the necessary articulation or weight-bearing capacity for two different device types.
- Dual-Arm Monitor Stand: Look for models with independent gas-spring movement.
- VESA-Compatible Tablet Holder: This brackets your iPad into a standard mount.
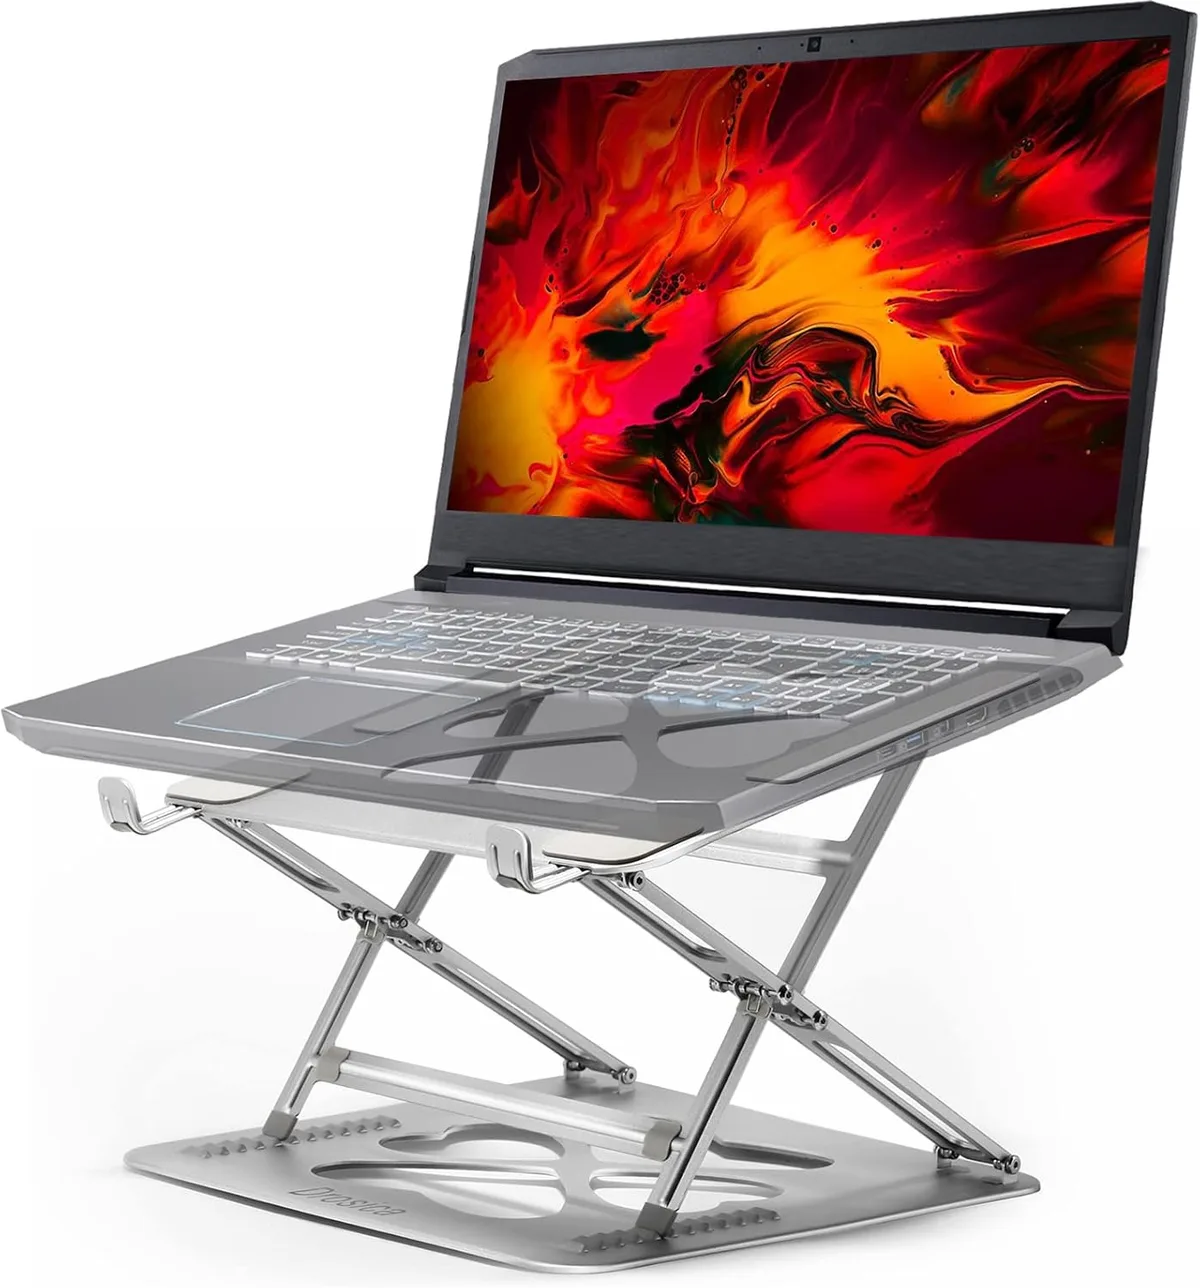
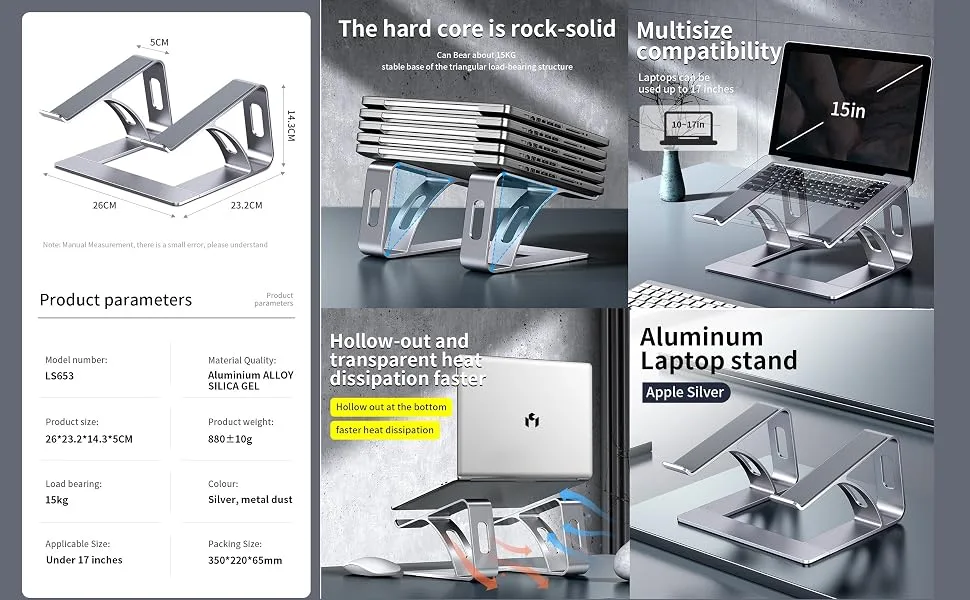
- Vented Laptop Tray: A metal tray with 75mm or 100mm mounting holes.
- Mounting Hardware: Ensure you have the included Allen keys for tension adjustment.
| Component | Purpose | Critical Check |
|---|---|---|
| Gas-Spring Arm | Holds height/angle | Weight capacity range |
| Tablet Bracket | Secures iPad | Fits your specific model |
| Laptop Tray | Provides stable base | Vented for airflow |
| Desk Clamp | Anchors to table | Surface thickness compatibility |
Evaluating Your Desk Surface: Clamp vs. Grommet Mounting
The way you attach your stand to the desk determines the stability of the entire system. Most dual-arm stands offer two primary mounting methods. A C-clamp fits over the edge of your desk and tightens from below.
This is the most common method and works for most standard office tables.
A grommet mount requires a hole in your desk. It uses a bolt that passes through the table to secure the base. This provides a more permanent, stable anchor point if your desk has a pre-drilled cable management hole.
Never mount a heavy dual-arm stand onto a glass desk unless the glass is tempered and the manufacturer explicitly certifies it for heavy monitor arm loads.
The VESA Problem: Adapting Laptops and iPads for Monitor Arms
Standard iPads and laptops do not have built-in mounting holes on the back. They rely on third-party adapters to interface with the Video Electronics Standards Association mount pattern. A VESA mount interface is a square pattern of four screw holes on the back of a display.
To mount your devices, you must attach them to a tray or holder that bridges this gap. The VESA plate connects to the arm, and your device sits inside the adapter. Ensure your chosen holder allows enough clearance for your charging cables.
If the adapter blocks your ports, you will struggle to keep your devices powered during the workday.
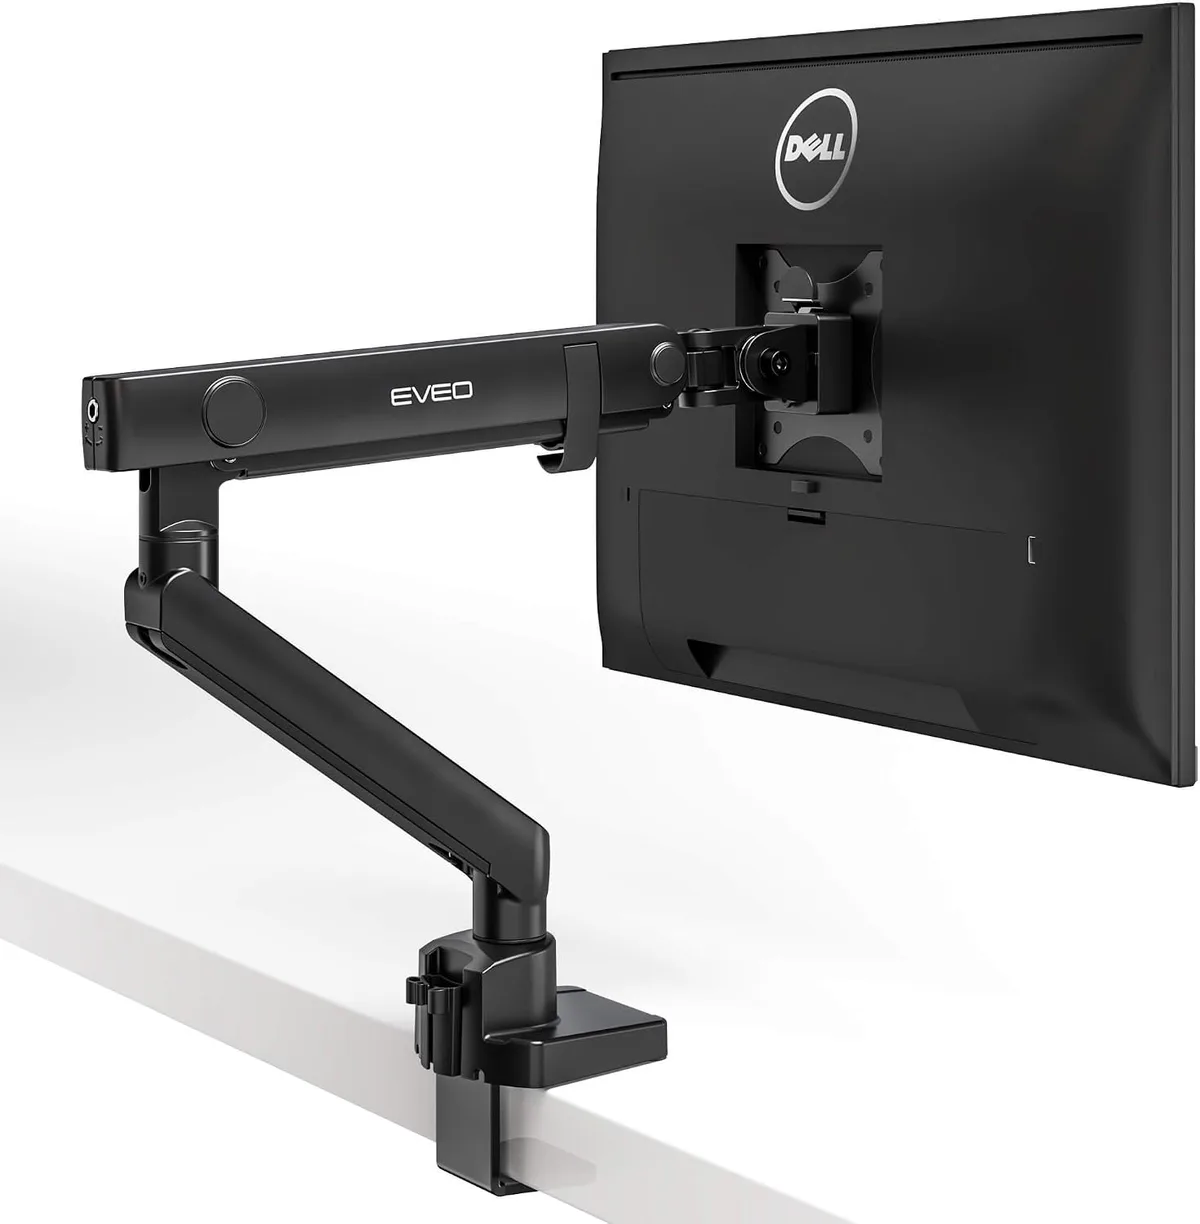
Step-by-Step: Assembling Your Dual-Arm Command Center
Start by preparing your workspace. Remove all items from your desk to give yourself room to maneuver the heavy metal components. Secure the desk base firmly to the edge of your desk using the C-clamp or grommet.
Attach the main arm segments to the base. Do not attach the devices until the arms are locked onto the base. Connect the laptop tray and the tablet holder to their respective VESA heads using the provided hardware.
Double-check all screws for tightness before placing any electronics onto the trays.
Mastering Tension Calibration: Balancing Your Devices
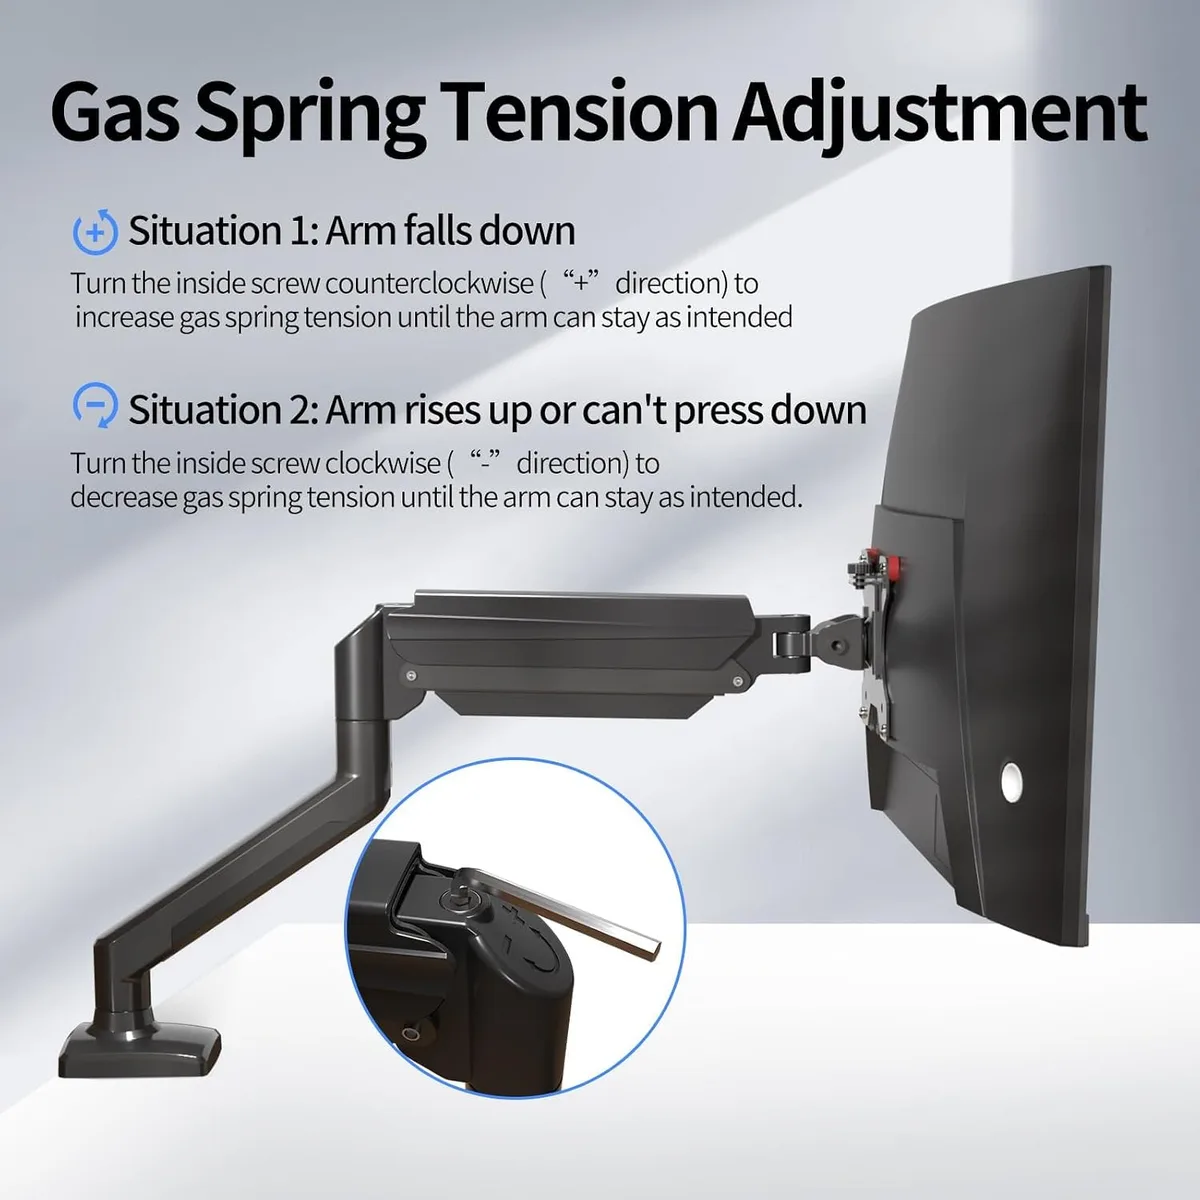
Tension calibration is the process of matching the internal springs of the monitor arm to the weight of your specific equipment. If the tension is too loose, the arm will drop under the weight of the laptop. If the tension is too tight, the arm will spring upward and refuse to stay in a lower position.
You will typically find the adjustment screw at the main joint of each arm. Use the provided hex key to turn the screw toward the plus symbol to increase tension for the laptop side. Turn it toward the minus symbol to decrease tension for the lighter iPad side.
Perform this adjustment in small increments of one or two turns. Always test the position after each adjustment to prevent over-tightening.
Alignment Techniques: Creating a Seamless Screen Surface
Visual alignment relies on matching the horizontal centerlines of both screens. You want your eyes to travel between the iPad and the laptop without needing to adjust your head height. If the laptop tray sits lower than your tablet, adjust the primary arm segments to raise the laptop tray until the screen centers align perfectly.
You should also adjust the tilt angle of each device. Laptops often require a steeper tilt to avoid glare from overhead lighting. iPads frequently need a flatter angle, especially if you are using a stylus for digital drawing or note-taking. Fine-tune these angles once the arm height is locked in to ensure both screens look like a single, unified workspace.
Crucial Mistakes to Avoid During Installation
Installation errors often lead to desk damage or unstable screen positioning. A common mistake involves ignoring the weight limit of the specific arm segment. Even if a dual-arm stand claims to hold 20 pounds total, individual arms may be rated for only 10 pounds each.
Another frequent error is failing to route cables correctly. If you pull cables taut through the arm channels, they will act like springs and force your screens to rotate or drift away from your desired angle. Leave just enough slack at the joints to allow the arms to move freely without tension or binding.
Protecting Your Gear: Weight Limits and Surface Reinforcement
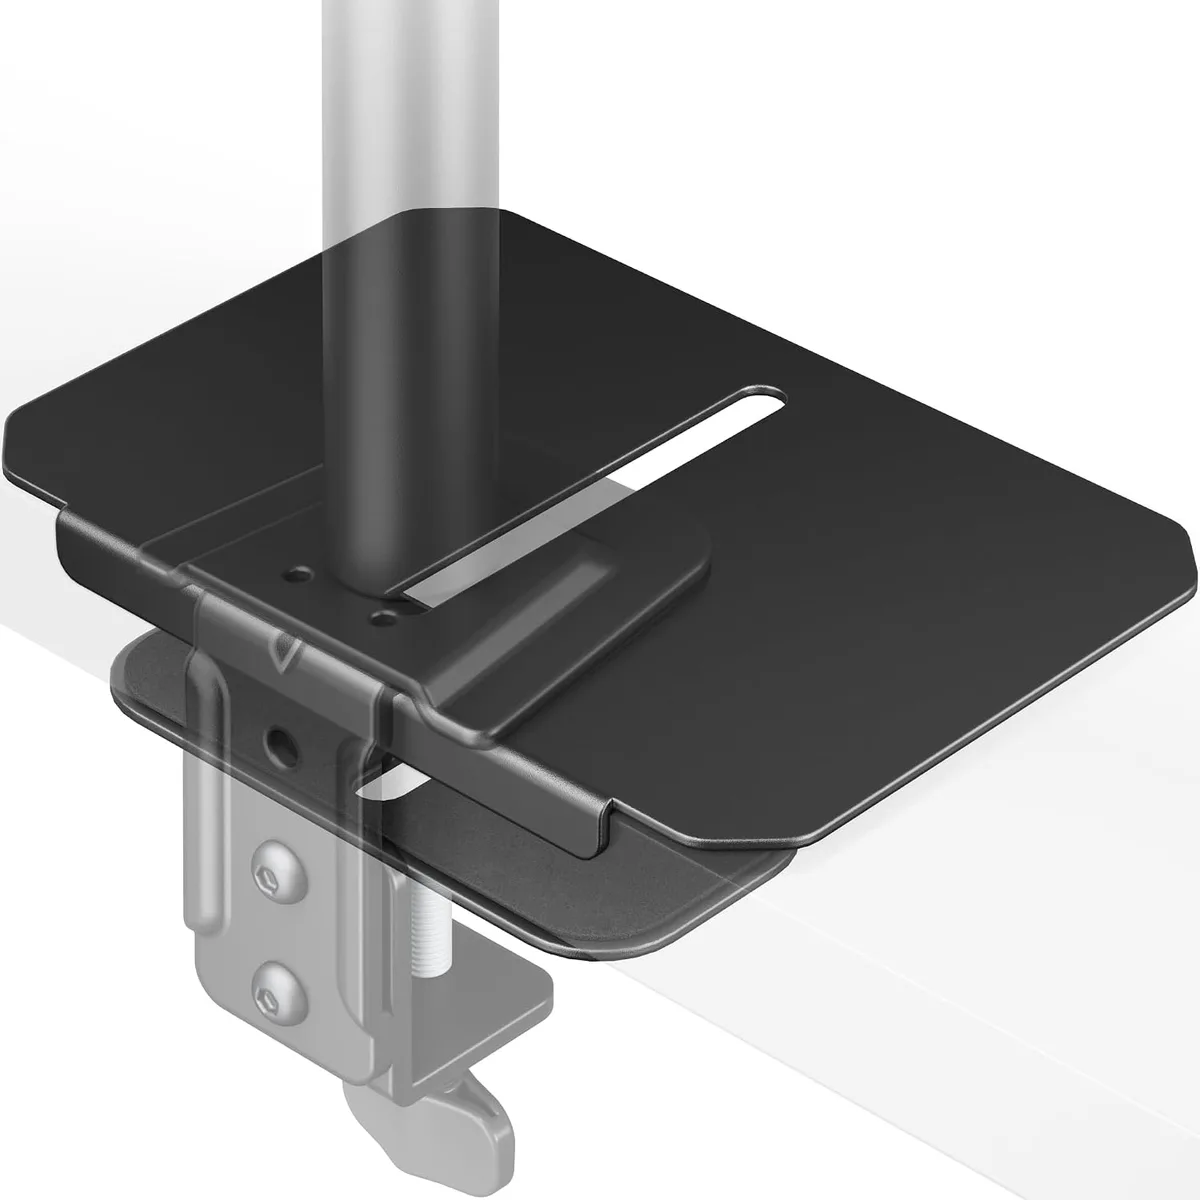
Safety starts with the structural integrity of your desk. A dual-arm stand focuses all the weight of your technology onto a single point of contact on the desk edge. This can crack particle board or laminate surfaces over time if you do not use a reinforcement plate.
A steel reinforcement plate acts as a bridge between the clamp and the underside of the desk. It distributes the clamping pressure over a wider area to prevent indentations. Always check the desk thickness before installing the clamp.
Most stands require a minimum of 0.5 inches and a maximum of 3 inches to ensure a safe, secure grip.
Maintenance: Keeping Your Arm Tensions Stable Over Time
Monitor arms are mechanical devices that naturally lose tension with frequent movement. You will likely need to re-calibrate your settings every few months as the internal springs settle or loosen. Check for any sagging after you swap devices or change the position of your laptop.
Keep the joints clean and free of dust. If an arm starts to squeak, a tiny amount of dry lubricant in the joint can help. Check the screws at the desk base periodically to ensure they haven't loosened from the vibration of your typing or desk movement.
Consistent maintenance keeps your setup rigid and responsive for years of use.
Troubleshooting Persistent Arm Sag
Arm sag happens when the gas-spring tension cannot support the combined mass of the laptop tray and the laptop itself. If the arm drops immediately after you let go, it is under-tensioned. Use the Allen key to turn the tension adjustment screw in the direction indicated for plus or heavy loads.
If the arm still sags, check your tray connection. Sometimes the weight is distributed too far forward on the arm, creating extra leverage that the internal spring cannot counter. Move the laptop slightly closer toward the main joint to reduce this leverage.
Tighten all pivot point bolts to ensure no slop exists in the arm segments.
Managing Device Compatibility and Port Access
Accessing ports on a mounted device can be difficult if your VESA adapter covers the sides of your iPad or laptop. Before fully tightening your mount, verify that your charging cables, external drives, and audio jacks remain accessible. Use angled adapters if your mounting bracket sits too flush against your device body.
Consider the heat output of your laptop during long tasks. A solid metal tray without ventilation holes can trap heat, causing your internal fans to run louder or your performance to throttle. Choose a tray with a laser-cut or mesh pattern to ensure air circulation.
Comparing Mounting Styles for Different Workflows
Choosing the right mounting style depends on how you interact with your hardware. If you frequently need to remove the iPad for meetings or handheld work, look for a quick-release mounting head. This allows you to pull the tablet off the arm without unscrewing anything.
Static arms are better if your desk setup rarely changes. They are often cheaper and more rigid than gas-spring models. However, if you need to adjust height throughout the day to support a standing desk or shifting posture, gas-spring arms are necessary.
| Feature | Quick-Release Mount | Static Bolt Mount |
|---|---|---|
| Mobility | High (Remove in seconds) | Low (Permanent fixture) |
| Stability | Moderate | Very High |
| Workflow | Best for mobile users | Best for static workstations |
Optimizing Cable Management for a Clean Look
Cluttered cables are the fastest way to ruin the aesthetic of a dual-arm setup. Use the integrated clips provided with your monitor arm to run power and data cables along the back of the arm. Always leave a small drip loop of extra cable near the joints to allow the arm to swivel without pulling on your ports.
Velcro wraps are often better than plastic zip ties for this purpose. They stay secure but allow you to add or remove cables as your setup evolves. Bundling your power and data cables together creates a single, thicker line that looks much neater than multiple individual strands dangling from the mount.
Understanding Long-Term Structural Risks
The structural health of your desk remains the most overlooked factor in any monitor arm setup. Over several years, the constant pressure of a heavy clamp can compress the wood fibers of your desk, especially if it is made of cheaper particle board. This leads to a loose mount that eventually wobbles whenever you type.
Perform a stability check every six months. If the clamp feels loose, clear the desk and re-tighten the mounting hardware. If you notice cracks forming near the base, remove the stand immediately.
Relocating the mount to a new position on the desk or using a larger steel reinforcement plate can prevent further damage to the surface.
Frequently Asked Questions
Can I mount an iPad and a laptop on a single-arm stand?
Most single-arm stands are not designed to support two devices at once. You risk exceeding the weight capacity and damaging the arm or your equipment. Use a dedicated dual-arm stand to ensure independent tension control and stable positioning for both devices.
How do I know if my desk can support a monitor arm?
Check the material of your desk surface to ensure it is solid wood or high-density board. Avoid hollow-core desks because they cannot support the concentrated weight of a dual-arm stand. Use a reinforcement plate if you have any doubts about the surface strength or thickness.
What should I do if my monitor arm won't stay in place?
The internal tension is likely set incorrectly for the weight of your device. Identify the adjustment screw on the arm joint and tighten it if the device sinks. Loosen the screw if the arm springs upward, ensuring you make small, incremental adjustments while testing the position.
Does the iPad orientation affect the monitor arm balance?
Switching from landscape to portrait mode changes the center of gravity of your iPad. This shift can cause the tablet to rotate or tilt unexpectedly if the VESA holder connection is loose. Tighten the rotation friction screw on the VESA mount to keep the tablet locked in your preferred orientation.

Similar Posts