Setting Up a Standing Desk Riser for Tall Users Over 6ft
Senior Hardware Diagnostics Specialist & Lead Thermal Editor at Laptop Post Testing Lab · CompTIA A+, ACMT, B.S. in Computer Engineering · 12+ years bench-testing laptop thermal solutions & motherboard repairs
Learning how to set up standing desk laptop riser for tall people over 6 feet requires moving beyond basic office advice. Standard equipment often forces tall users to hunch, creating long-term strain on your neck and shoulders. Proper alignment depends on modifying your workspace to suit your specific reach and stature.
Getting this right prevents common injuries associated with prolonged computer use. As of 2026, ergonomic guidelines suggest that your workstation must accommodate your full height, not just the desk. We will look at how to calibrate your setup for better posture.
Quick Answer
To set up a laptop riser for tall users, start with the base. Place your monitor top edge at your eye level. Keep your elbows bent at a ninety-degree angle.
Use an external keyboard to maintain a neutral wrist position. Ensure your desk allows for these specific height requirements.
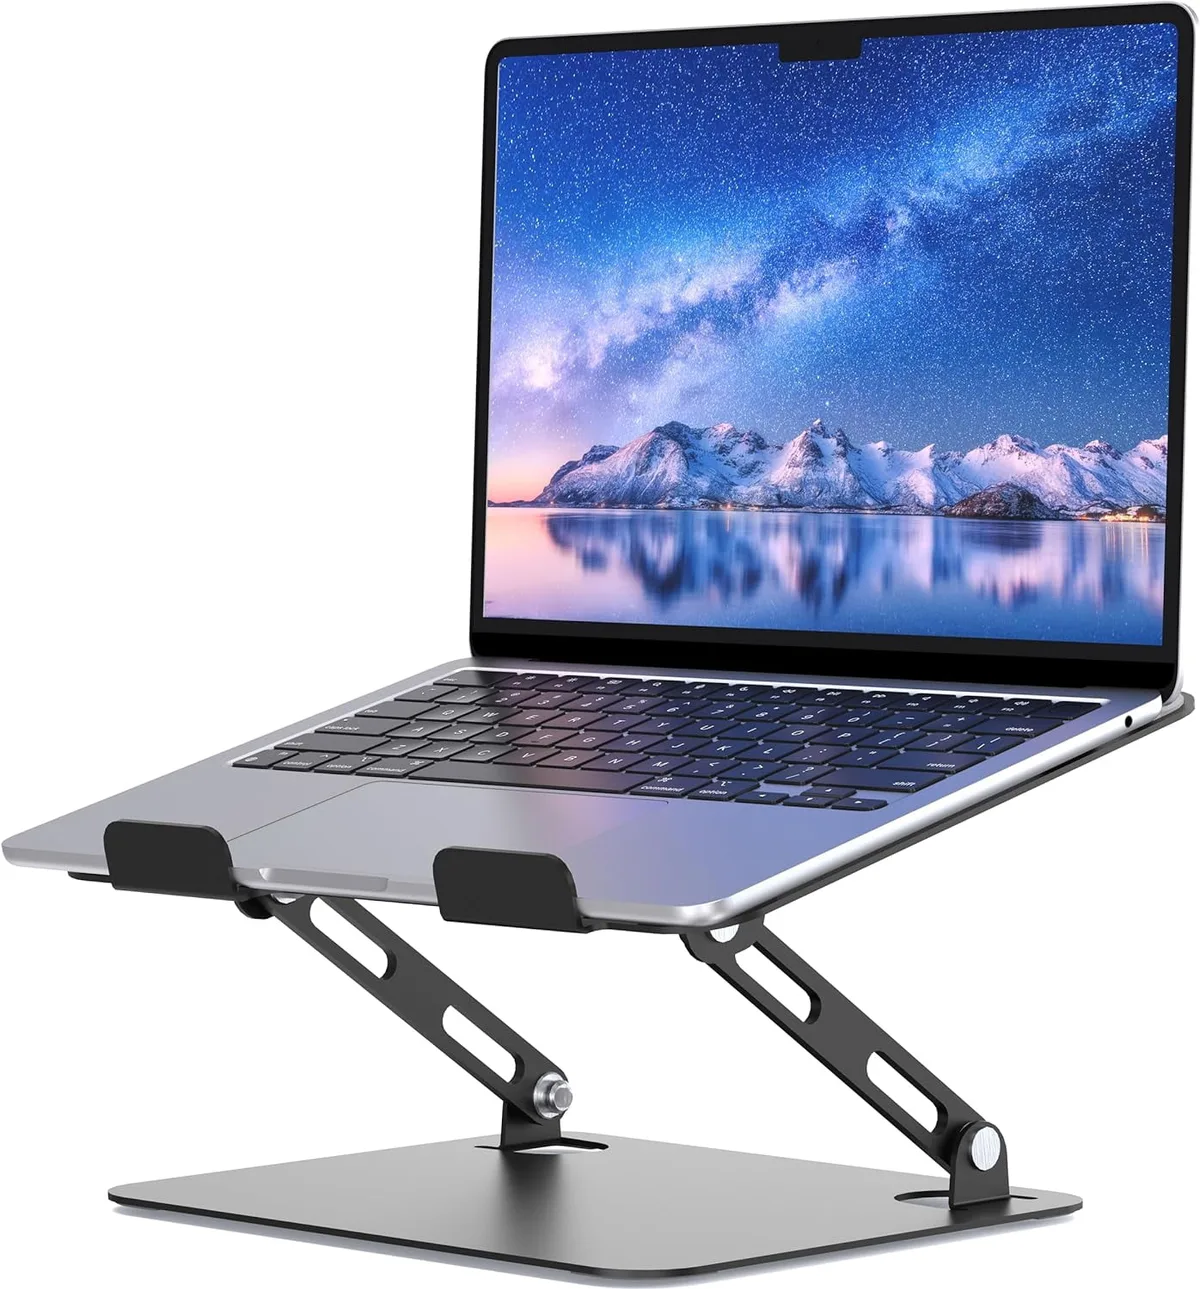
Image source: Bing (Web (fair-use with source credit))
The Tall User’s Reality: Why Standard Risers Fall Short
Most off-the-shelf standing desk converters fail to reach the heights necessary for someone over six feet tall. When a riser sits too low, your natural reaction is to pull your shoulders up. This causes chronic tension in the trapezius muscles.
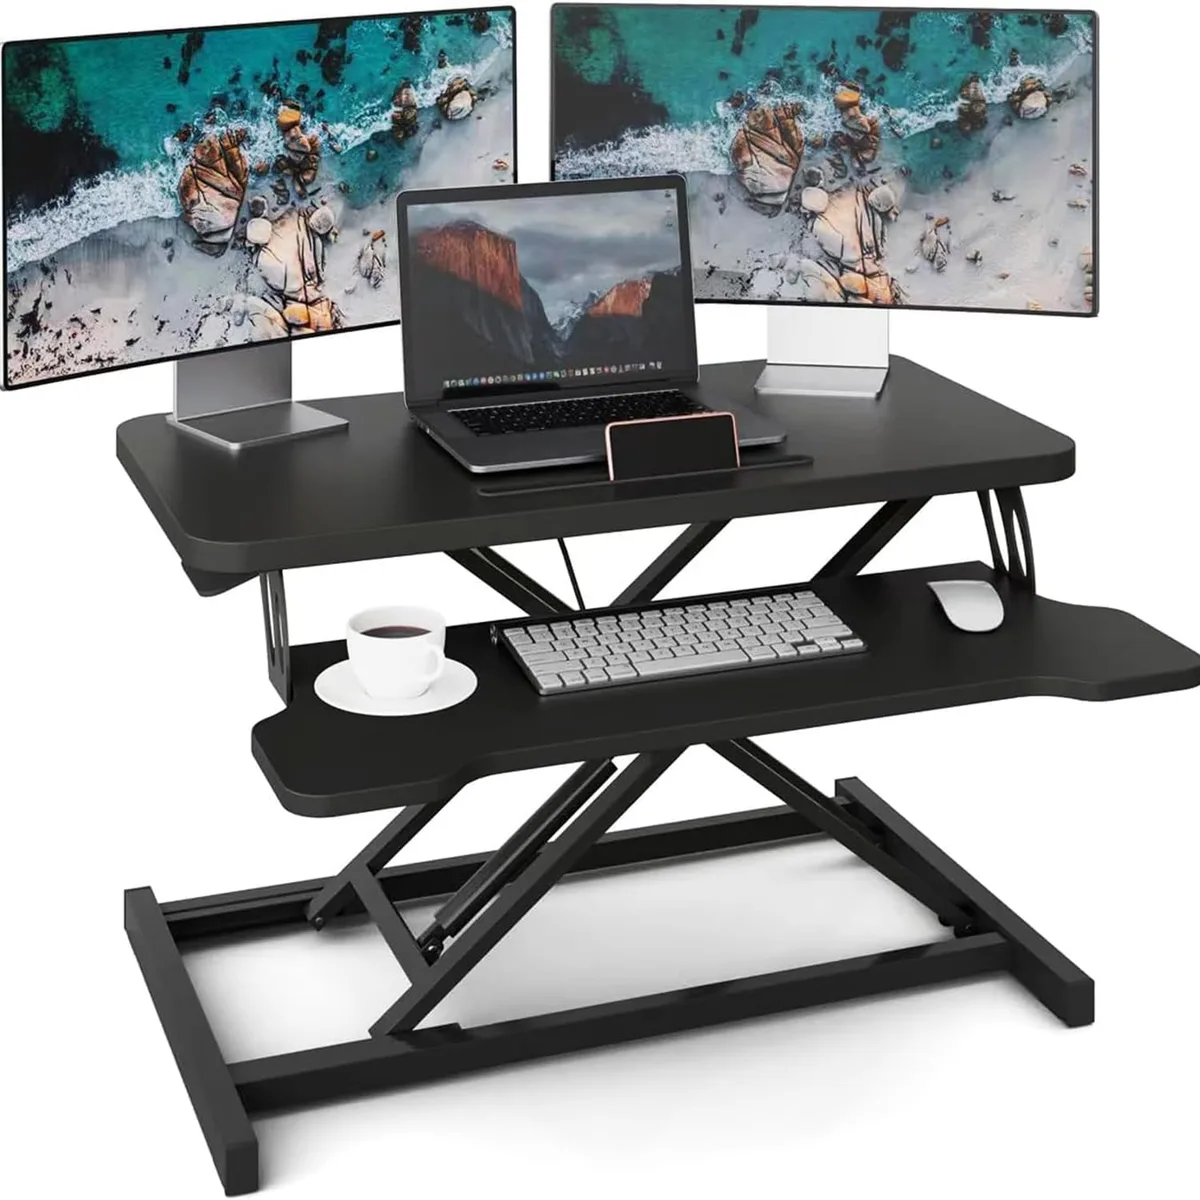
Standard units often provide only 15 or 16 inches of lift. If your primary desk surface is 29 inches high, that gives you a total height of 45 inches. Many people over six feet need 46 or 47 inches to maintain a neutral spine.
You might feel like you are fighting your own furniture. Equipment design often relies on average height statistics that ignore the needs of taller individuals.
The Math of Ergonomics: Elbow Angles and Eye Level
Ergonomics follows simple geometry. Your goal is to keep your joints in a neutral, relaxed position. According to OSHA ergonomic guidelines, keeping your elbows close to your body is vital for reducing upper limb strain.
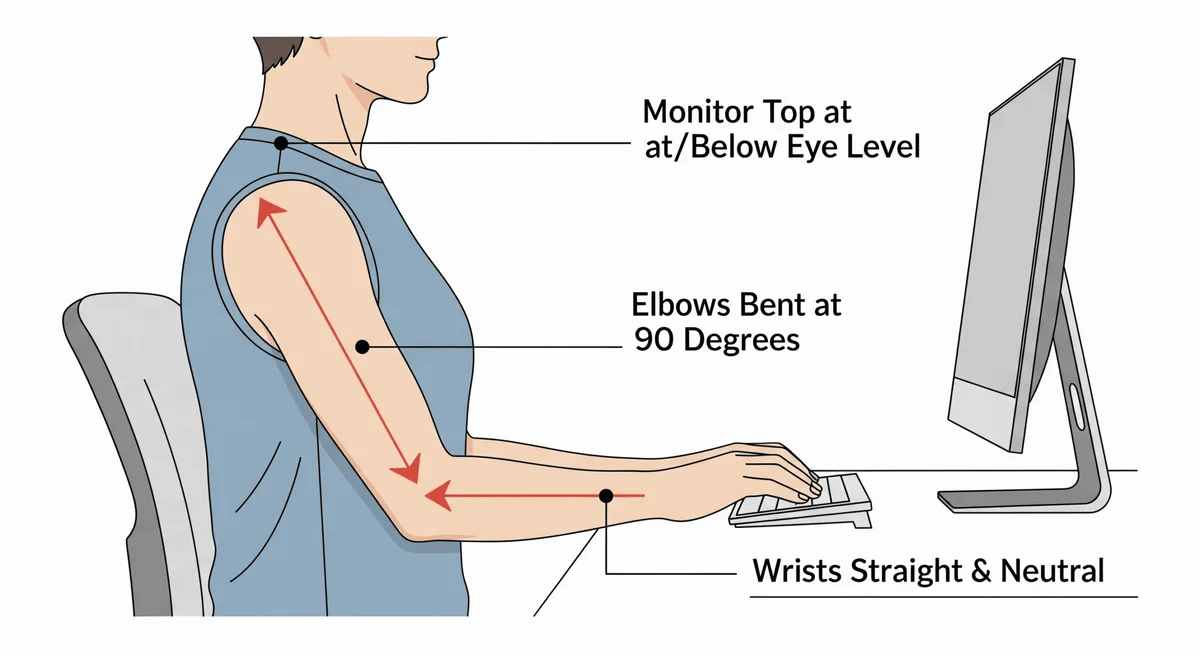
Image source: Bing (Web (fair-use with source credit))
Your screen height matters just as much as your arm position. When you look down at a laptop, your neck flexes forward. This increases the weight on your cervical spine significantly.
- Position your screen so the top third is at eye level.
- Keep your wrists flat while typing.
- Avoid reaching forward for the mouse or trackpad.
If your setup forces you to look down, you will experience fatigue within an hour. Raise the screen until your head stays level. Adjust your desk height until your forearms stay parallel to the floor.
Essential Gear Beyond the Riser
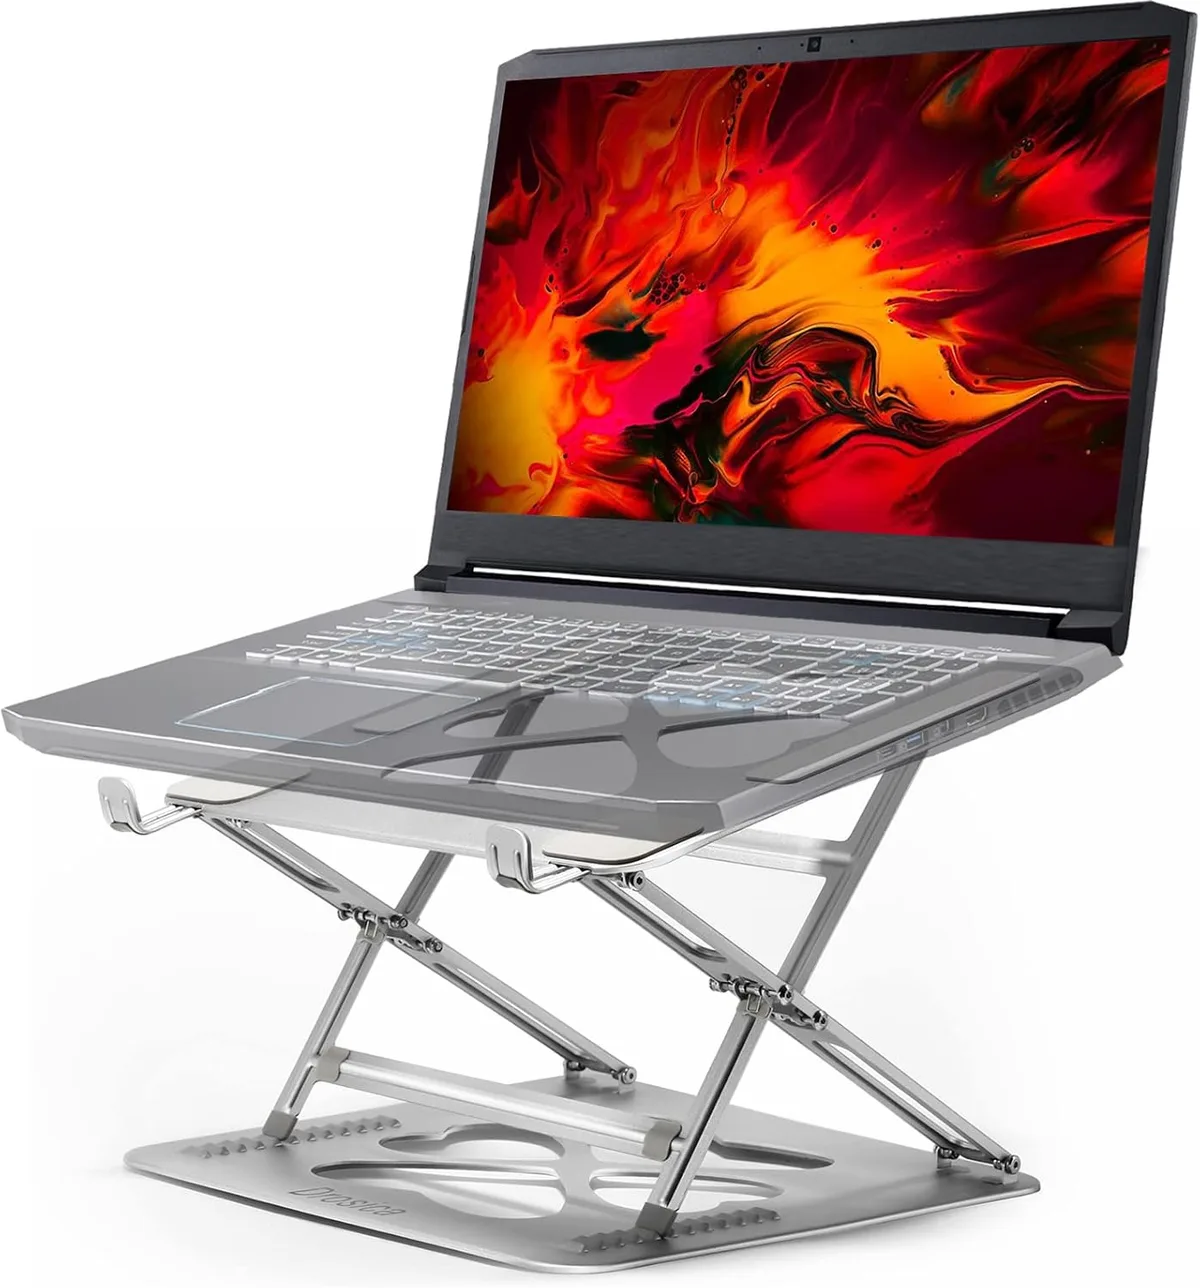
Using a laptop keyboard while it sits on a riser is a mistake for taller users. It forces your wrists into awkward angles and keeps the screen too low. You need a modular approach to build a healthy workstation.
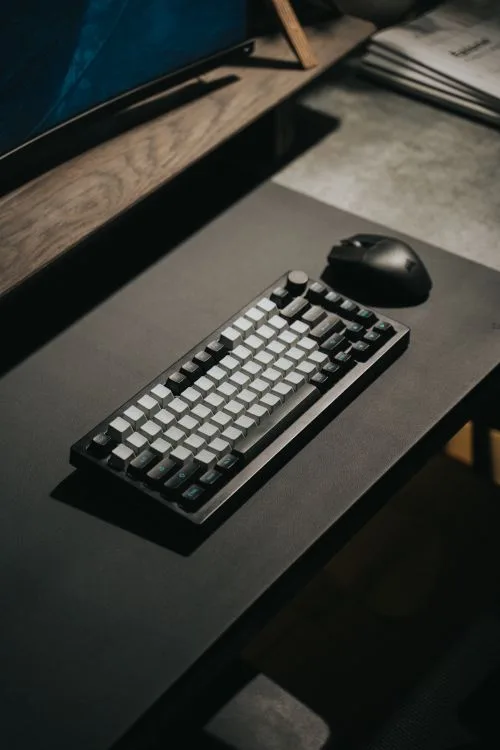
Image source: Bing (Web (fair-use with source credit))
Dedicated peripherals allow you to separate the screen from the input devices. This gives you the freedom to place the laptop at the correct eye level while keeping your hands at the correct elbow height.
- Wireless mechanical or membrane keyboard.
- Ergonomic vertical or trackball mouse.
- Cable management ties to handle longer runs.
These tools are not optional for tall frames. They are the core of a functional, pain-free environment. Without them, you are forced to compromise either your neck alignment or your wrist health.
Step-by-Step: Calibrating Your Workspace Geometry
Start by finding your baseline standing height. Stand straight with your feet flat on the floor. Bend your elbows at a ninety-degree angle as if you were typing on a desk.
Measure the distance from the floor to your elbows. This is your target keyboard height. If your desk riser does not reach this measurement, your current desk height is the limiting factor.
- Measure your elbow height from the floor.
- Add the height of your desk riser base to your desk surface.
- Adjust the riser platform to match your elbow height for the keyboard.
- Mount your laptop or screen so the top is at eye level.
If your wrists are angled upward, lower the keyboard platform slightly. If your shoulders are shrugging, the riser is likely too high. Take time to shift your weight and see how the setup feels during movement.
Visualizing Your Sweet Spot: Alignment Cues
You can identify your perfect setup through simple visual checks. Stand in your normal working posture. Ask yourself if your gaze is hitting the center of the screen without tilting your head.
A good setup creates a clean line of sight. Your forearms should form an L shape with your upper arms. If you see your wrists bending, you need to adjust your tray height.
- Check the shoulder: Shoulders should be relaxed, not elevated.
- Check the wrist: Wrists should remain straight and unsupported by edges.
- Check the eyes: Your gaze should naturally fall on the top of the display.
If your riser lacks the vertical range, consider placing the entire assembly on a sturdy surface block. This is a common fix for tall users with fixed-height desks. Ensure any additions are stable and cannot slide or tip under pressure.
Choosing Between Platform Risers and Monitor Arms
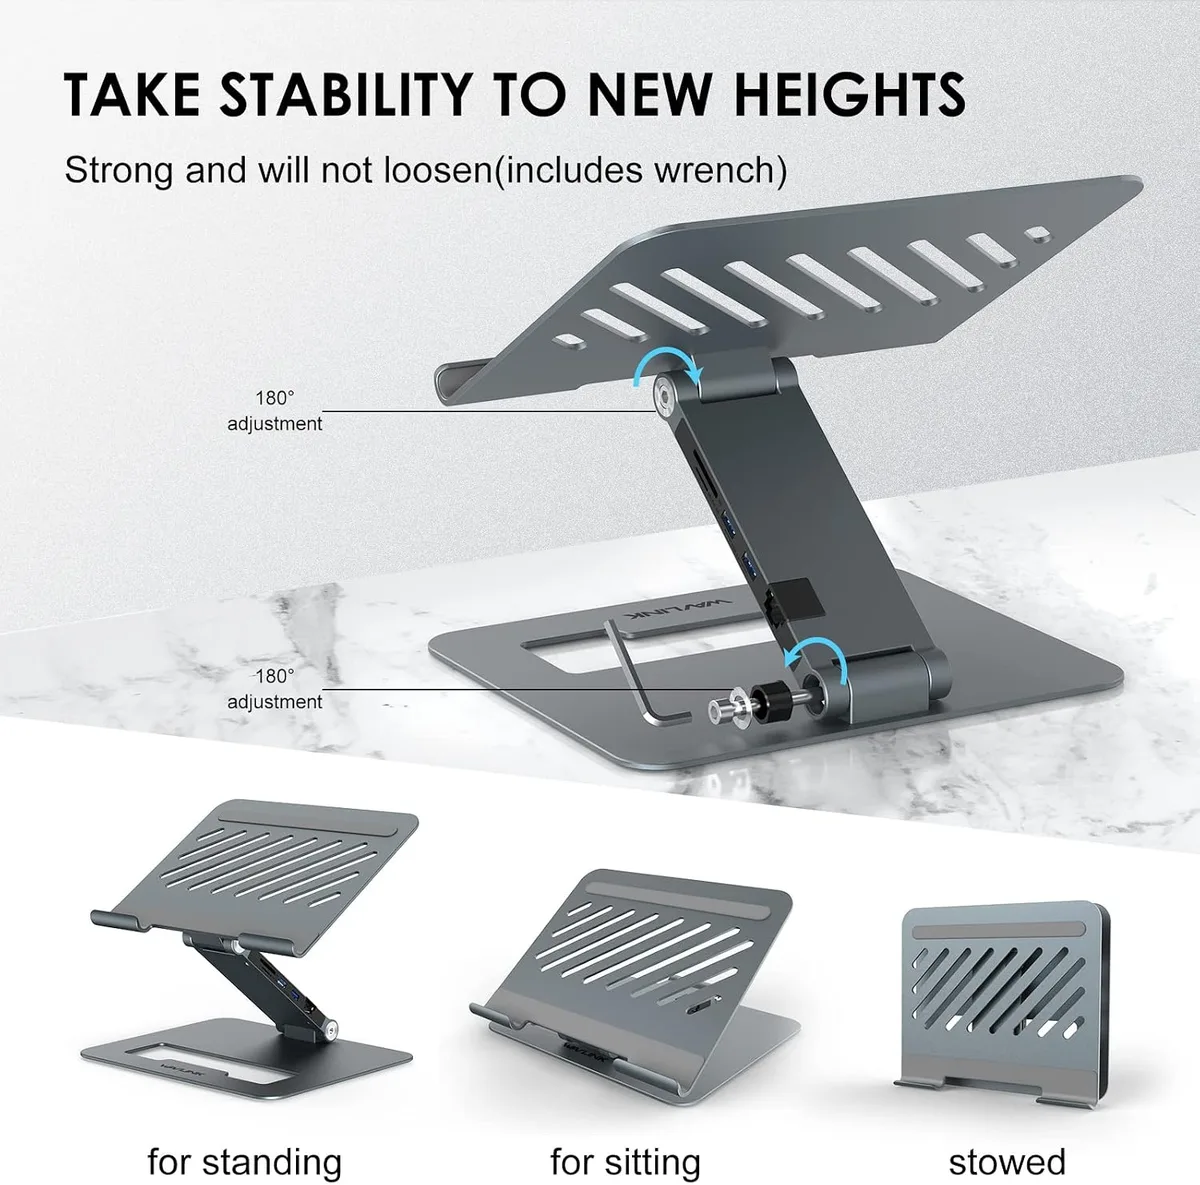
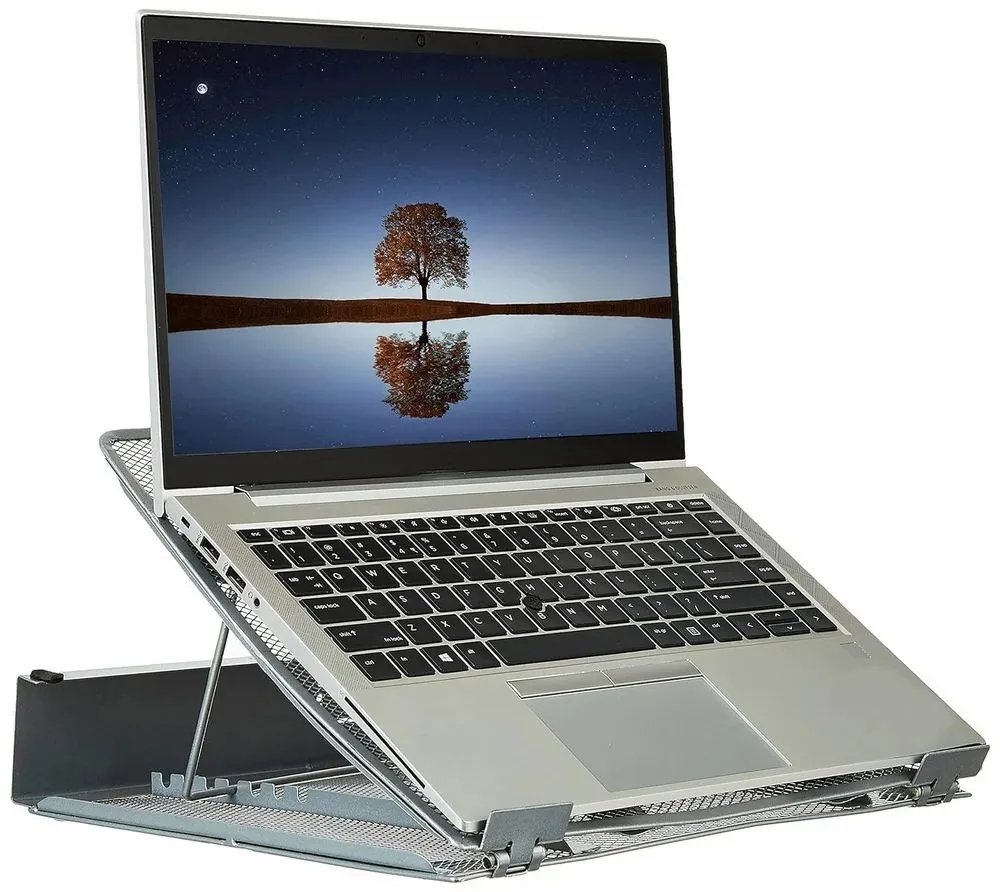
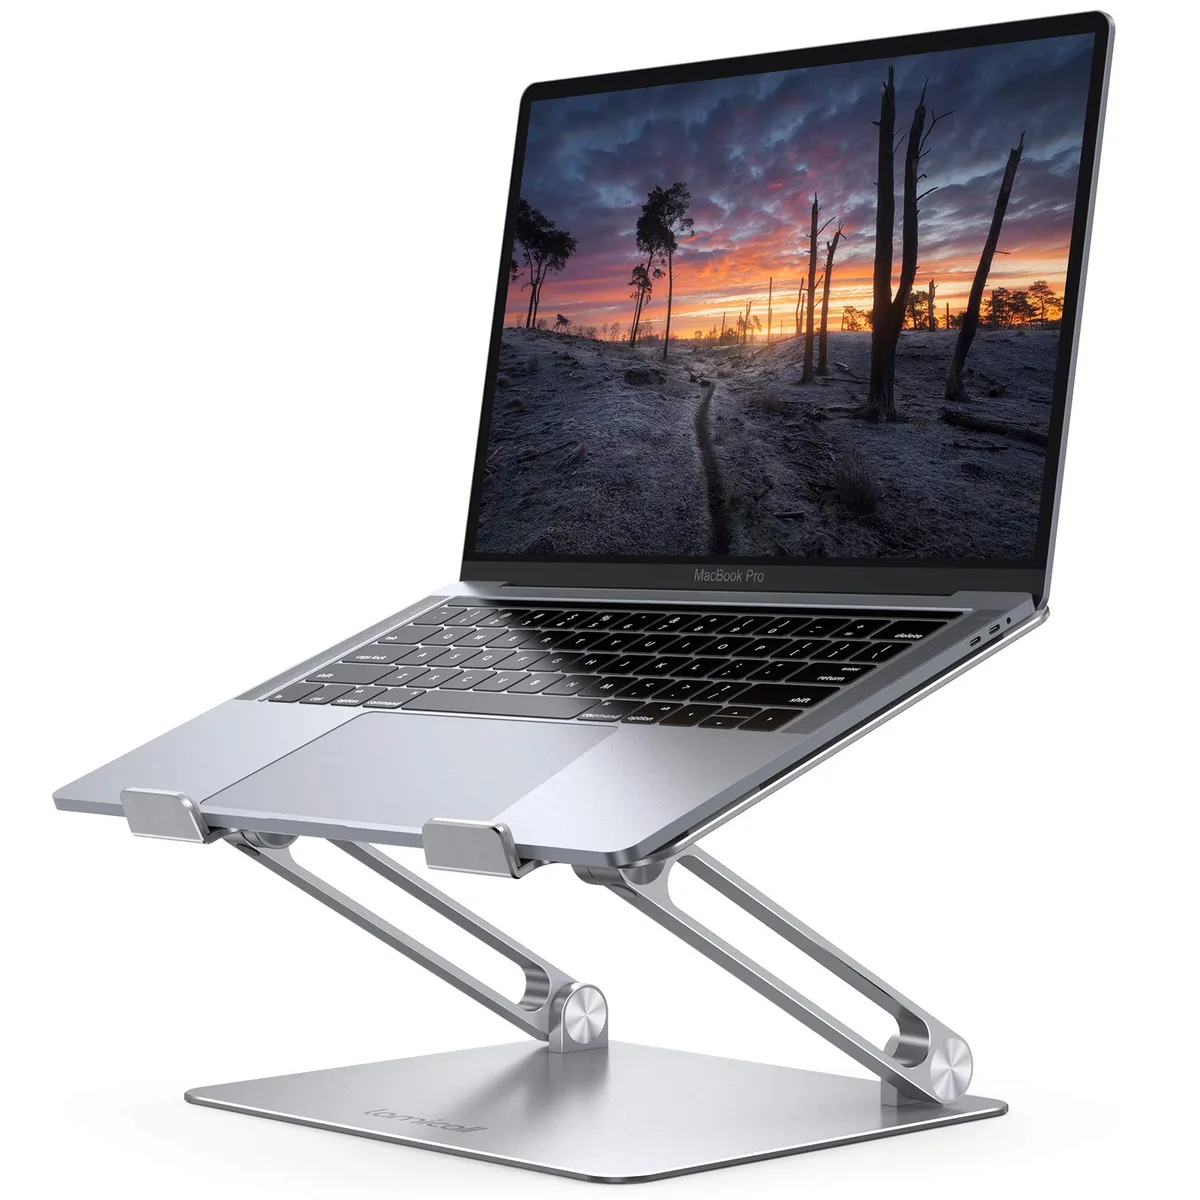
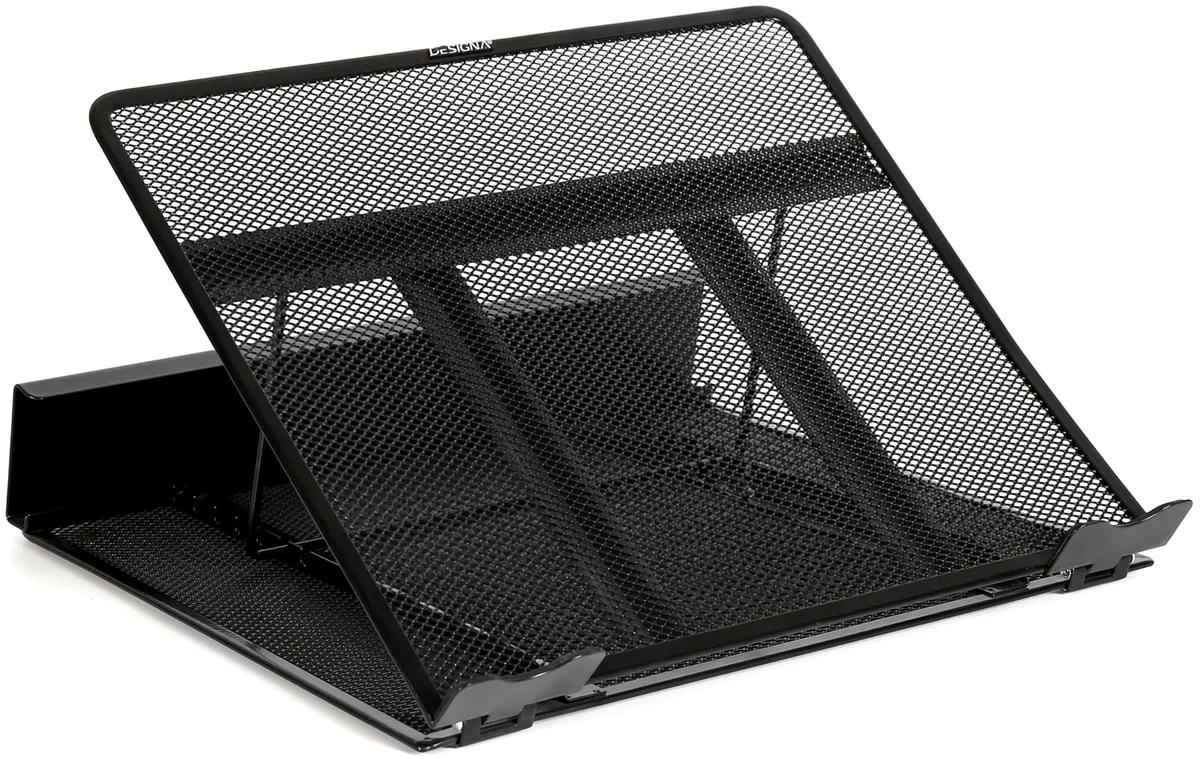
The right choice depends on your desk depth and how much vertical space you need. Platform risers are simple, self-contained units that sit on your desk surface. They are best for people who want a quick setup without modifying their furniture.
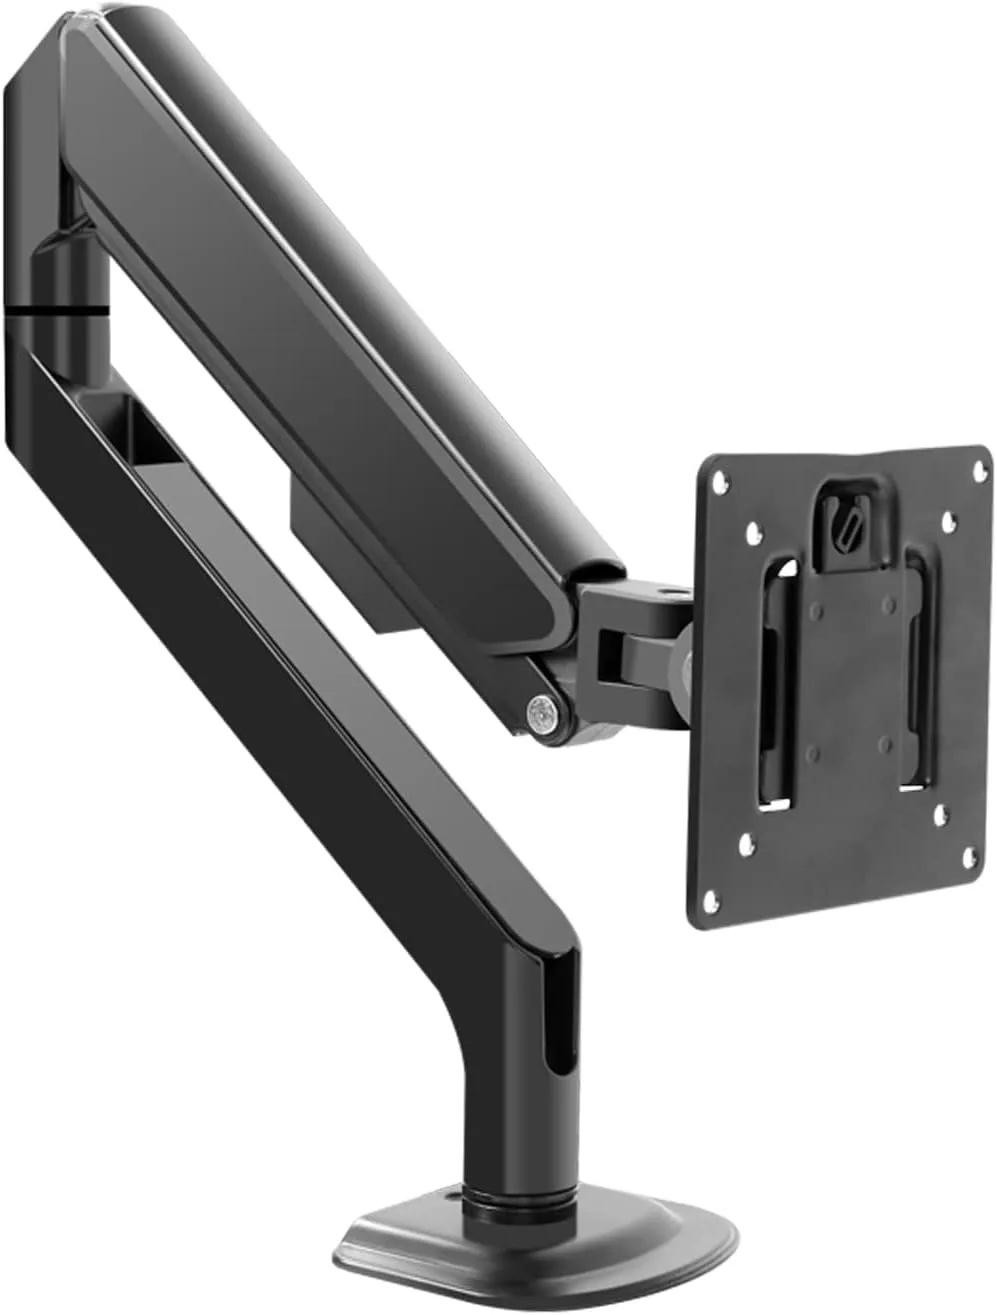
Image source: Bing (Web (fair-use with source credit))
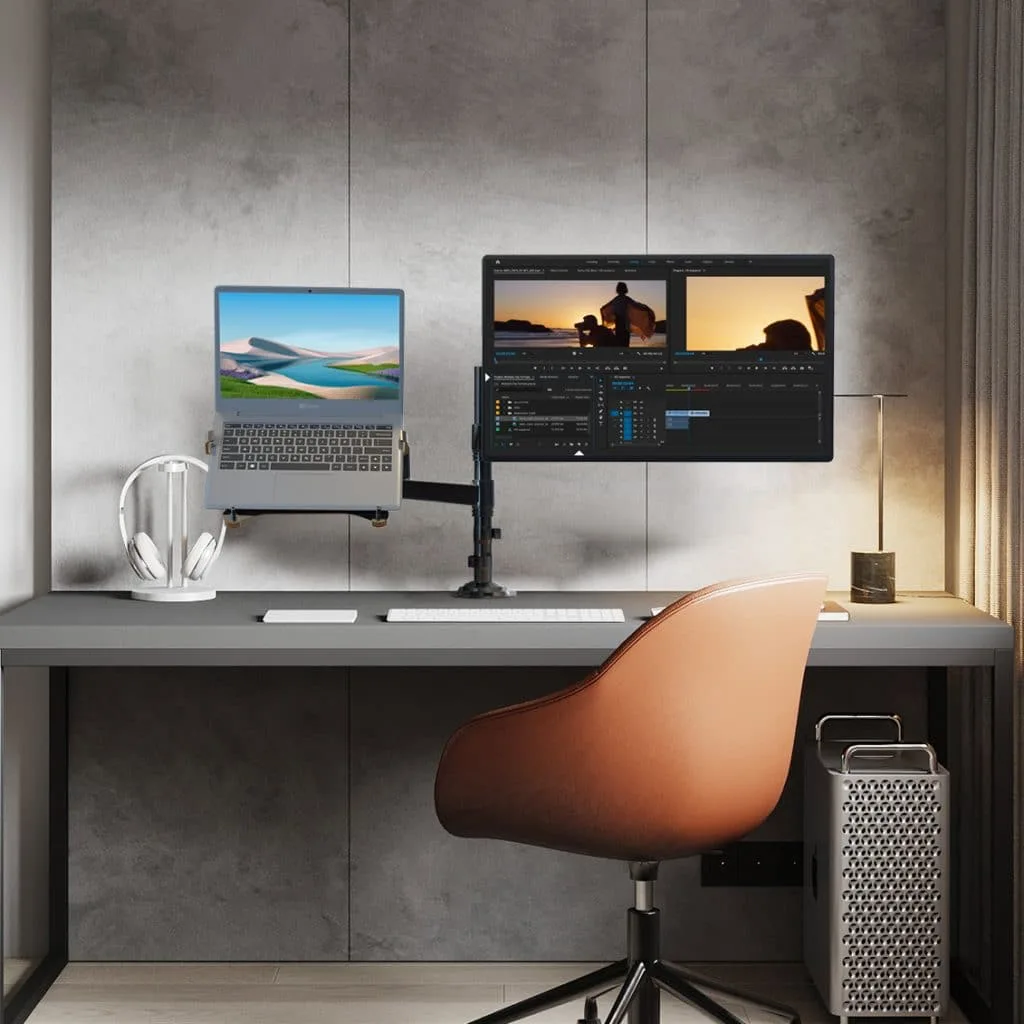
Monitor arms offer a different advantage. They attach to the back edge of your desk, freeing up your entire work surface. For someone over six feet, an articulating monitor arm is often superior.
It allows you to push the screen further back or pull it closer, depending on your reach.
- Platform risers: Ideal for smaller laptops and simple desks.
- Monitor arms: Better for tall users who need precision height and depth adjustments.
If you use a large external monitor, a VESA-compatible arm is the industry standard. It removes the fixed geometry of a platform riser. You can float the screen exactly where your eyes land.
Mistakes to Avoid: The Hunched-Neck Trap
The most common error is relying on a riser that lacks sufficient height. When your screen is too low, your neck naturally bends to compensate. This creates a rounded upper back that puts stress on your entire spinal column.
Don't ignore the warning signs of muscle fatigue. If your shoulders feel tight by noon, your setup is failing you. Adjusting the riser height is not enough if your desk itself is at the wrong level.
- Hunched shoulders: Often caused by a keyboard tray that is too high.
- Forward head tilt: Almost always a sign of a screen that is too low.
- Wrist tension: Resulting from keeping the keyboard at a non-neutral angle.
If you find yourself constantly adjusting your position, stop. Your desk and riser should accommodate you, not the other way around. Look for signs of tech neck early and raise your equipment before the pain becomes chronic.
Optimizing for Your Wingspan: Peripherals and Cable Management
Your wingspan changes how you interact with your workspace. Tall users often have longer arms, meaning a cramped keyboard tray is physically uncomfortable. You need to spread your peripherals out to keep your elbows tucked at your sides.
Cable management is the final hurdle in a tall setup. Because your riser is likely extended high, your power cords and display cables have a longer path to the floor. They can easily snag or pull on your equipment.
- Use long-reach USB cables to avoid straining ports.
- Secure all cords with clips to the back of the riser leg.
- Leave enough slack so the riser moves smoothly without pulling your laptop.
A cluttered setup makes it harder to move between sitting and standing. Organize your cords early in the process. When your desk is clear of cable tension, you are more likely to use the standing function throughout the day.
Managing Fatigue: The Importance of Sitting-Standing Cycles
Standing all day is just as bad for your body as sitting all day. Experts recommend a balanced approach to stay mobile. The best way to use your riser is to cycle between positions every 45 to 60 minutes.
If your legs start to ache, sit down. If your back feels stiff, stand up. Listen to your body rather than following a strict timer.
Research suggests that prolonged standing can lead to circulatory issues, so keep moving.
- Standing: Keep your weight distributed evenly across both feet.
- Sitting: Maintain your chair height so your feet remain flat.
- Transition: Take a moment to stretch your neck and shoulders during the switch.
Your riser is a tool for variety. Don't view it as a permanent standing station. The goal is to keep your muscles engaged and your blood flowing by changing your posture regularly.
OSHA Ergonomic Standards for Workstation Setup
Federal guidelines from the Occupational Safety and Health Administration emphasize neutral positioning. Their standards aim to minimize repetitive stress injuries in office settings. The primary focus is on avoiding awkward postures that put your joints out of alignment.
These standards apply to your home workstation, too. Keeping your forearms parallel to the floor is a core principle.
- Upper arms: Should hang naturally at your sides.
- Keyboard: Must be positioned so your hands do not reach upward.
- Lighting: Avoid glare on your screen to prevent leaning forward.
Adhering to these principles protects your long-term joint health. If your riser setup does not allow you to meet these standards, it is time to look at secondary support like desk risers or external monitor mounts. You deserve a setup that works with your height, not against it.
Long-Term Maintenance: Keeping Your Riser Stable and Smooth
Regular maintenance ensures your riser does not develop wobbles or stiff joints. Over time, dust can accumulate in the mechanical springs or gas pistons. Wipe down the moving parts with a dry microfiber cloth every month.
Check all bolts and tension screws for tightness periodically. Risers experience significant force when you lift and lower them daily. A loose screw can lead to uneven lifting, which puts extra stress on one side of the frame.
- Lubricate hinges only if the manufacturer recommends it.
- Inspect cables for signs of fraying or tension marks.
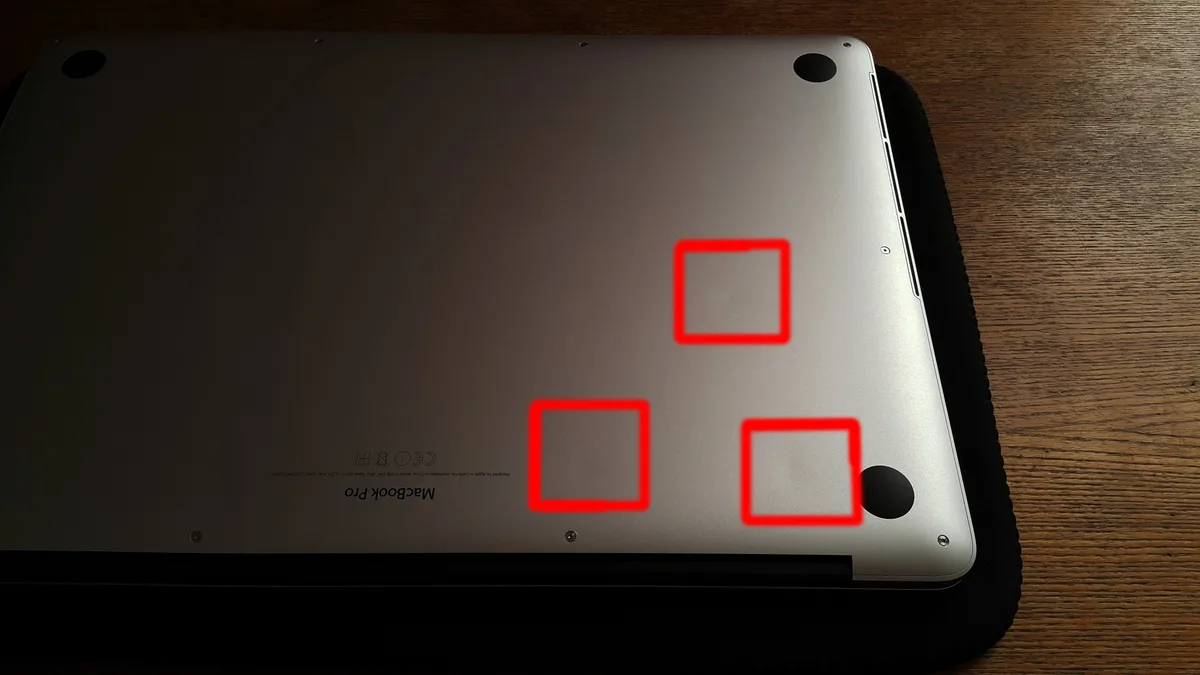
- Keep the desk surface clean to maintain friction for the rubber feet.
If your riser feels jerky, do not force it. Inspect the tracks for debris that might be catching. Keeping the mechanism clean preserves the longevity of the lift system.
Troubleshooting Common Stability and Sagging Issues
Sagging occurs when the riser cannot hold its designated weight capacity at higher settings. You will notice the platform slowly sinking or shaking when you type. This is usually a sign that you have exceeded the load limit or the tension needs adjustment.
Start by removing everything from the riser to check its baseline performance. If it still sags without weight, the spring tension likely needs recalibration. Most models have an adjustment dial for this purpose.
- Check weight ratings: Ensure your laptop and peripherals do not exceed the limit.
- Rebalance the load: Place heavier items toward the back of the riser base.
- Tighten the tension: Turn the adjustment screw as directed by the manual.
If the riser continues to wobble, verify that your base desk is perfectly level. Even a small tilt in the floor can cause an unstable riser platform. You can use thin adhesive pads to level the base if the floor is uneven.
Final Verdict: Building a Setup That Actually Fits Your Frame
Customizing your workspace is the only way to avoid the physical tax of working at a desk that isn't built for your height. Your goal is a setup that respects your natural posture. It might require an extra investment in external components or a specific monitor arm, but your back will thank you.
Do not settle for a good enough configuration. If you feel tension in your neck after a few minutes, you need to change something. Small shifts in monitor height or keyboard placement can result in massive comfort gains over time.
- Start with the math of your elbow and eye height.
- Prioritize external peripherals to decouple screen from keyboard.
- Use your riser as a tool for movement, not a fixed position.
Building this environment requires patience. Take the time to dial in the details during the first week. Once your workstation feels invisible, you know you have succeeded.
Frequently Asked Questions
Can I use a standing desk riser on a glass desk?
Yes, you can use a riser on a glass desk if you take precautions. Ensure the riser base has rubber feet to prevent scratching the glass. Avoid placing heavy loads near the edges of the desk, where glass is most prone to cracking.
Always verify that the glass is rated to support the total weight.
How do I know if my riser is high enough?
Your riser is high enough when you can maintain a ninety-degree elbow angle while standing. You should be able to look straight ahead at the top third of your screen without tilting your neck. If you find yourself reaching forward or looking down, the riser is too low for your physical frame.
Should I use an anti-fatigue mat with my riser?
An anti-fatigue mat is highly recommended for any standing setup. It provides cushioning that reduces pressure on your feet and improves circulation. The micro-movements caused by the uneven surface of the mat help prevent stiffness.
This helps you stand longer without feeling the typical strain in your lower legs and ankles.
How often should I switch between sitting and standing?
Switching positions every 45 to 60 minutes is ideal for most users. Avoid staying in one position for more than two hours at a time. Using a timer can help you build the habit until it becomes automatic.
Listen to your body and adjust the frequency if you feel any discomfort or fatigue.

Similar Posts