How to Hide Cables Behind Your Vertical Laptop Dock
Senior Hardware Diagnostics Specialist & Lead Thermal Editor at Laptop Post Testing Lab · CompTIA A+, ACMT, B.S. in Computer Engineering · 12+ years bench-testing laptop thermal solutions & motherboard repairs
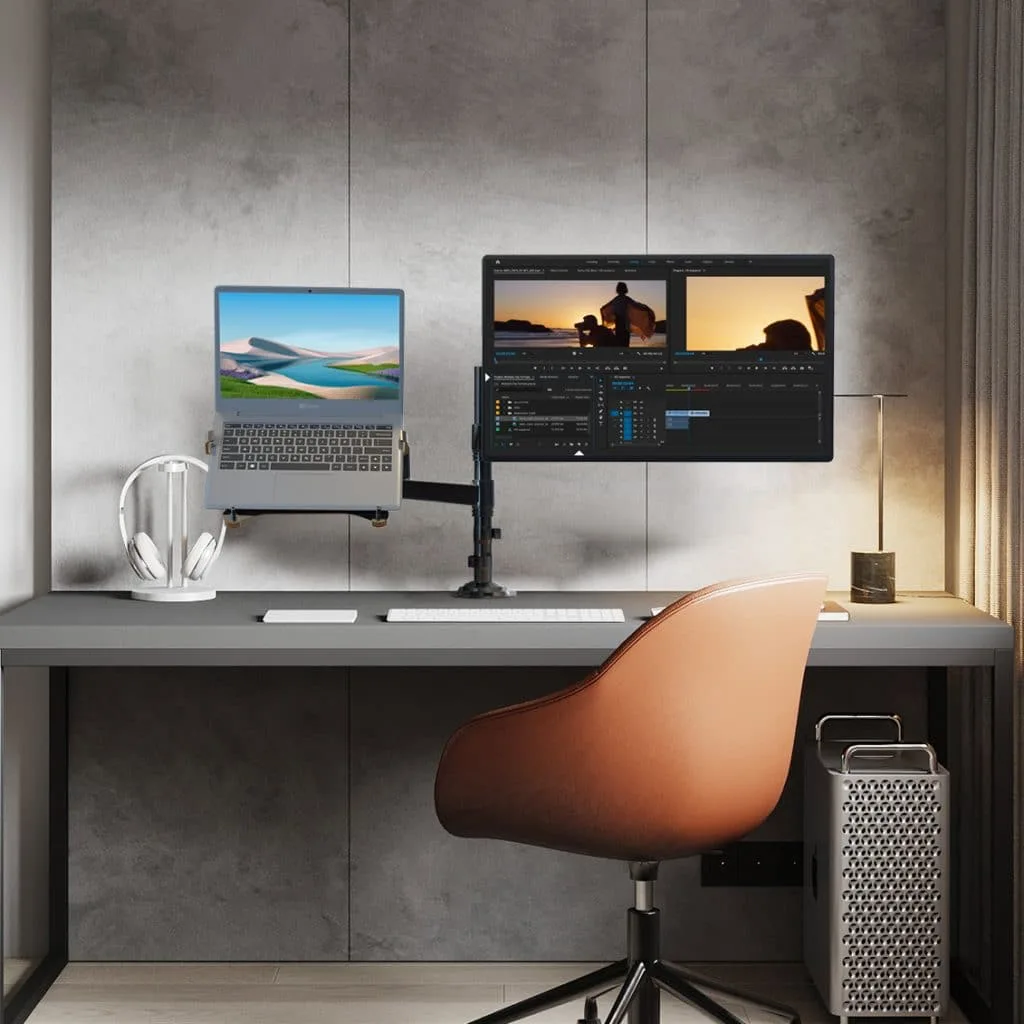
The struggle to hide cables behind a vertical clamshell laptop dock often leads to a messy desk setup. Without a clear plan, excess cords dangle, creating visual clutter that ruins a minimalist workspace. Knowing how to hide cables behind a vertical clamshell laptop dock requires a shift in how you secure and route your peripheral connections.
Most modern docking stations are designed for convenience, but they lack built-in cable management. Research from the USB Implementers Forum highlights that using high-speed, appropriately shielded cables is necessary for performance in these tight spaces. Following a consistent routing strategy ensures your workspace remains clean, functional, and organized for the long term.
Quick Answer
Hide cables behind a vertical dock by anchoring them to your desk. Use short cables to reduce slack and visual clutter. Bundle wires into a single sleeve for a uniform look.
Secure the bundle along your desk leg using adhesive clips. This keeps the dock area clear and the cables invisible.
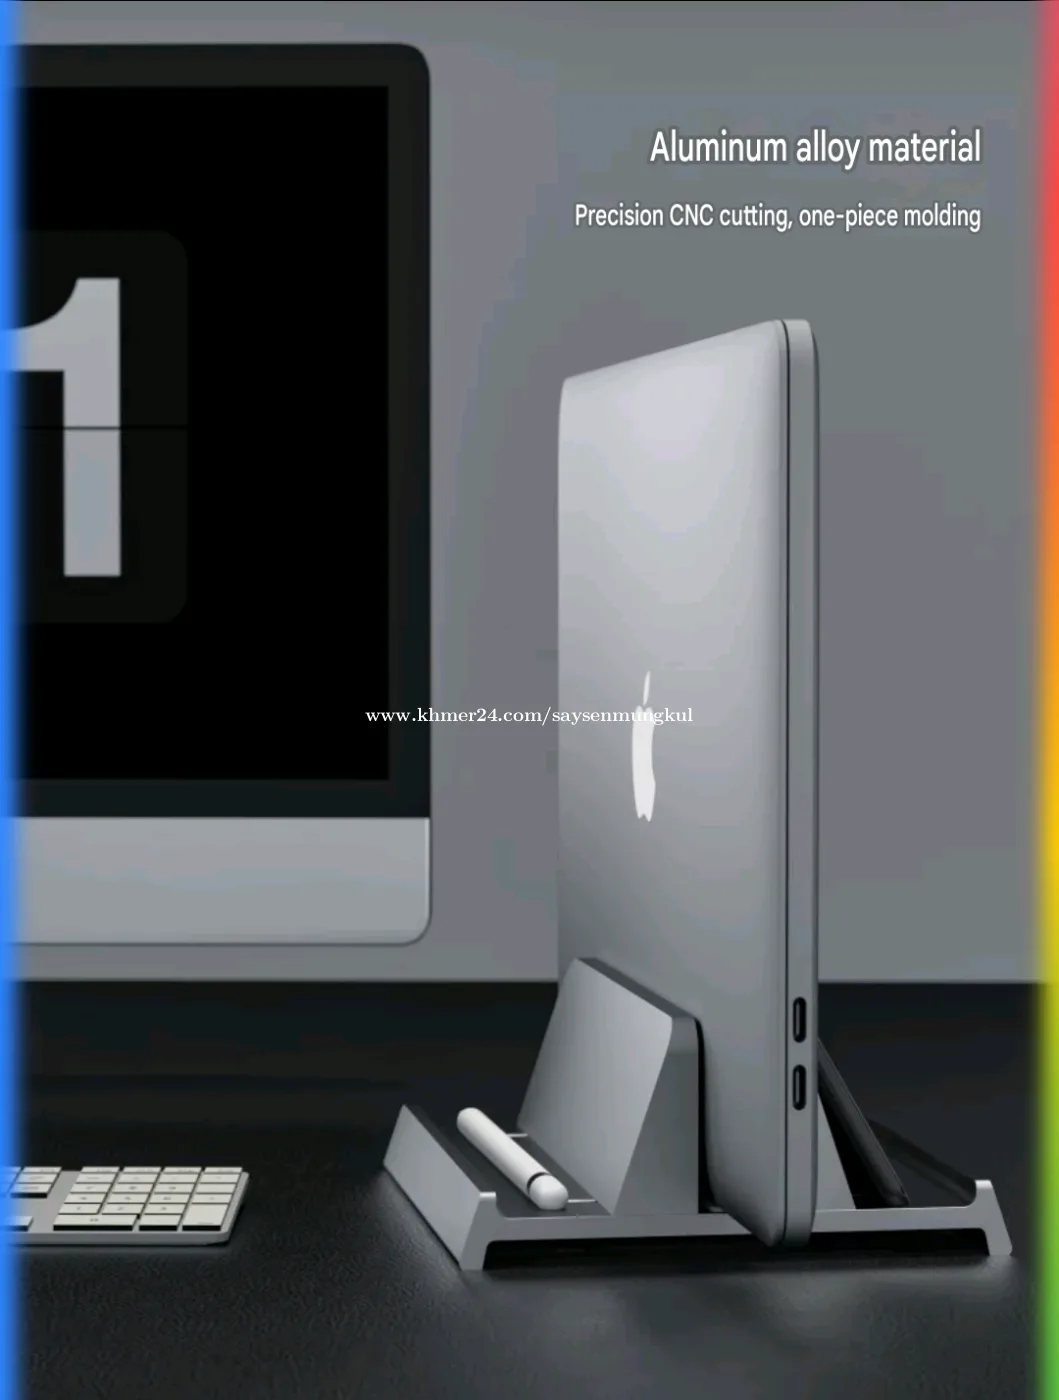
Image source: Bing (Web (fair-use with source credit))
The Hidden Truth About Vertical Docking Aesthetics
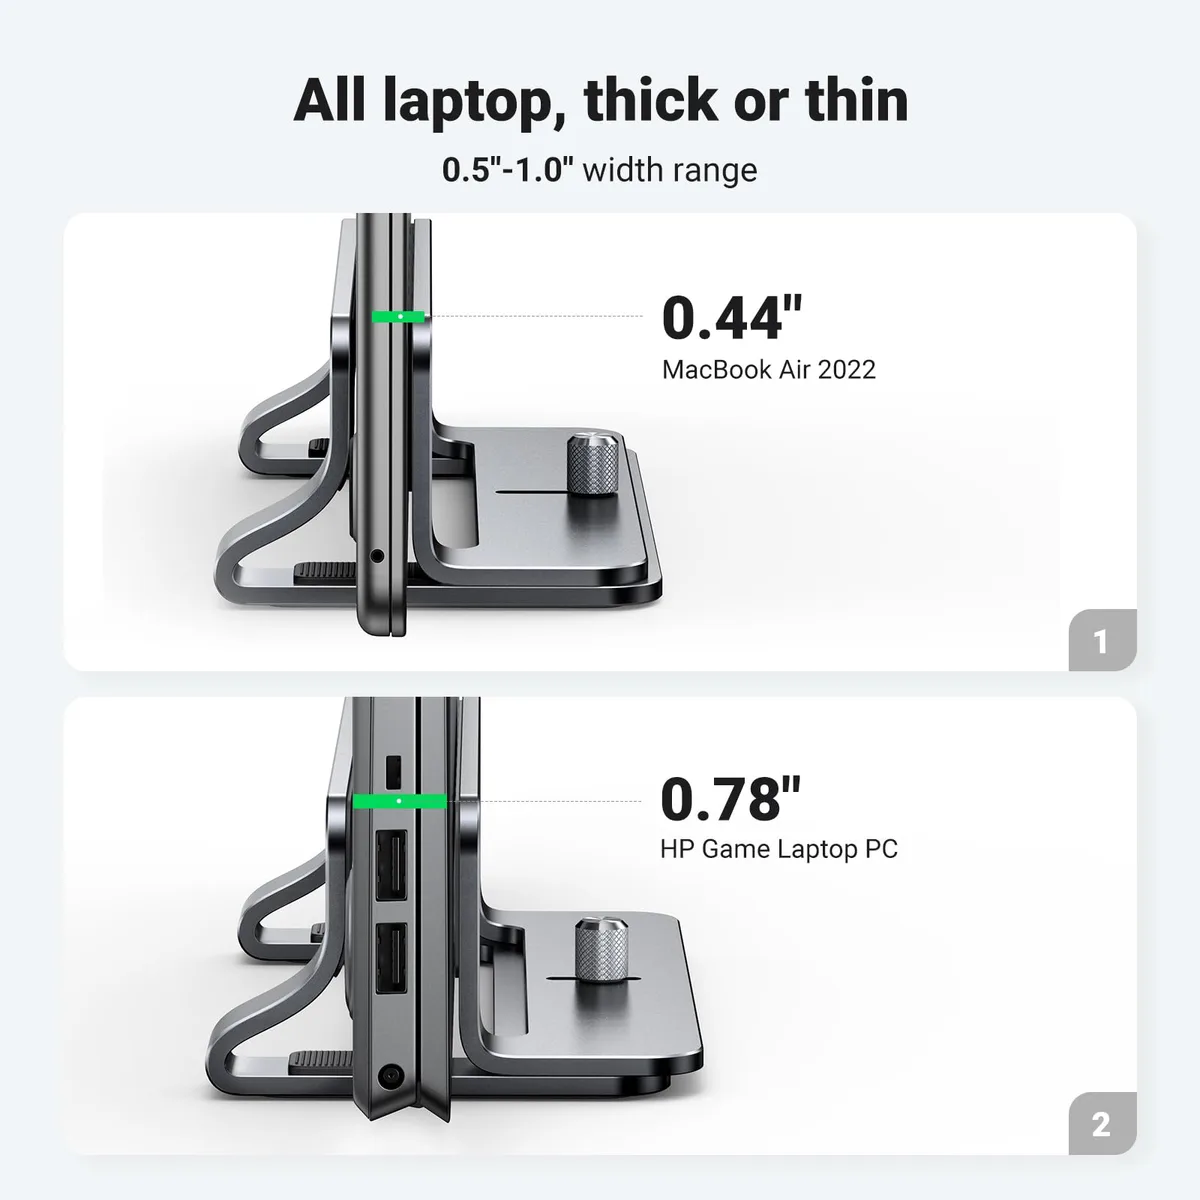
A vertical dock saves desk surface area by keeping your laptop upright. This orientation, known as clamshell mode, forces you to plug everything into the side or back of the device. These ports often sit at different heights, which causes cords to hang down like vines.
The aesthetic impact is significant when you leave cables dangling. A clean desk requires you to treat the cables as an extension of the dock itself. You want the desk to appear as if it only has one or two primary connections.
This requires hiding the wire loops that naturally form behind any vertical setup.
Why Standard Cable Lengths Are Your Biggest Problem
Stock cables included with monitors and power bricks are usually six feet long or more. These lengths are excessive for a desk setup where the dock is only inches away from your power source. Extra wire leads to bunched-up coils that push against the back of your dock.
Using shorter cables is the most effective way to eliminate bulk. A 1-foot or 1.5-foot cable creates a tight, clean connection that doesn't sag. If a cable is too long, it adds weight and tension to the port, which increases the risk of damaging the dock over time.
| Cable Type | Recommended Length | Why It Matters |
|---|---|---|
| USB-C/Thunderbolt | 1.0 – 1.5 ft | Minimizes port strain and prevents loops. |
| HDMI/DisplayPort | 3.0 ft | Allows for slight movement without excess slack. |
| Power Supply | 1.5 – 3.0 ft | Reduces heavy, coiled wire bulk behind the dock. |
Choosing the Right Cables for a Low-Profile Look
Not all cables are built the same when it comes to cable management. Stiff, thick PVC-coated cables resist bending, making them nearly impossible to hide. These cables act like springs, constantly pulling the dock out of its desired position.
Look for braided cables with a high degree of flexibility. They hold their shape when you bend them around corners or edges. Right-angle adapters are also useful for cables that plug into the side of a dock, as they allow the cord to run flat against the dock body instead of sticking straight out.
Essential Hardware for a Floating Cable Setup
You cannot achieve a professional look without the right mounting hardware. Adhesives and clips turn your desk surface into an anchor point for your wiring. These tools ensure the cables follow the geometry of your desk rather than falling toward the floor.
- Adhesive Cable Clips: These small plastic holders stick to your desk, keeping wires in a straight, hidden line.
- Cable Sleeves: A split-braided sleeve gathers multiple wires into one single spine to reduce visual noise.
- Mounting Tape: Double-sided foam tape is perfect for securing power bricks to the underside of the desk.
Step-by-Step: The Anchor and Route Workflow
The goal is to route every cable from the dock to an anchor point immediately. If you let the cable hang, gravity will make it visible. Follow these steps to secure your connection points effectively.
- Identify your path. Choose a single line, usually along a desk leg or the back edge of the monitor stand, for all cables to travel.
- Attach the clips. Apply adhesive clips at 6-inch intervals along that path.
- Route the wires. Snap each cable into the clips one by one.
- Test the movement. If you have an adjustable desk, ensure there is just enough slack to reach the highest point without pulling the dock.
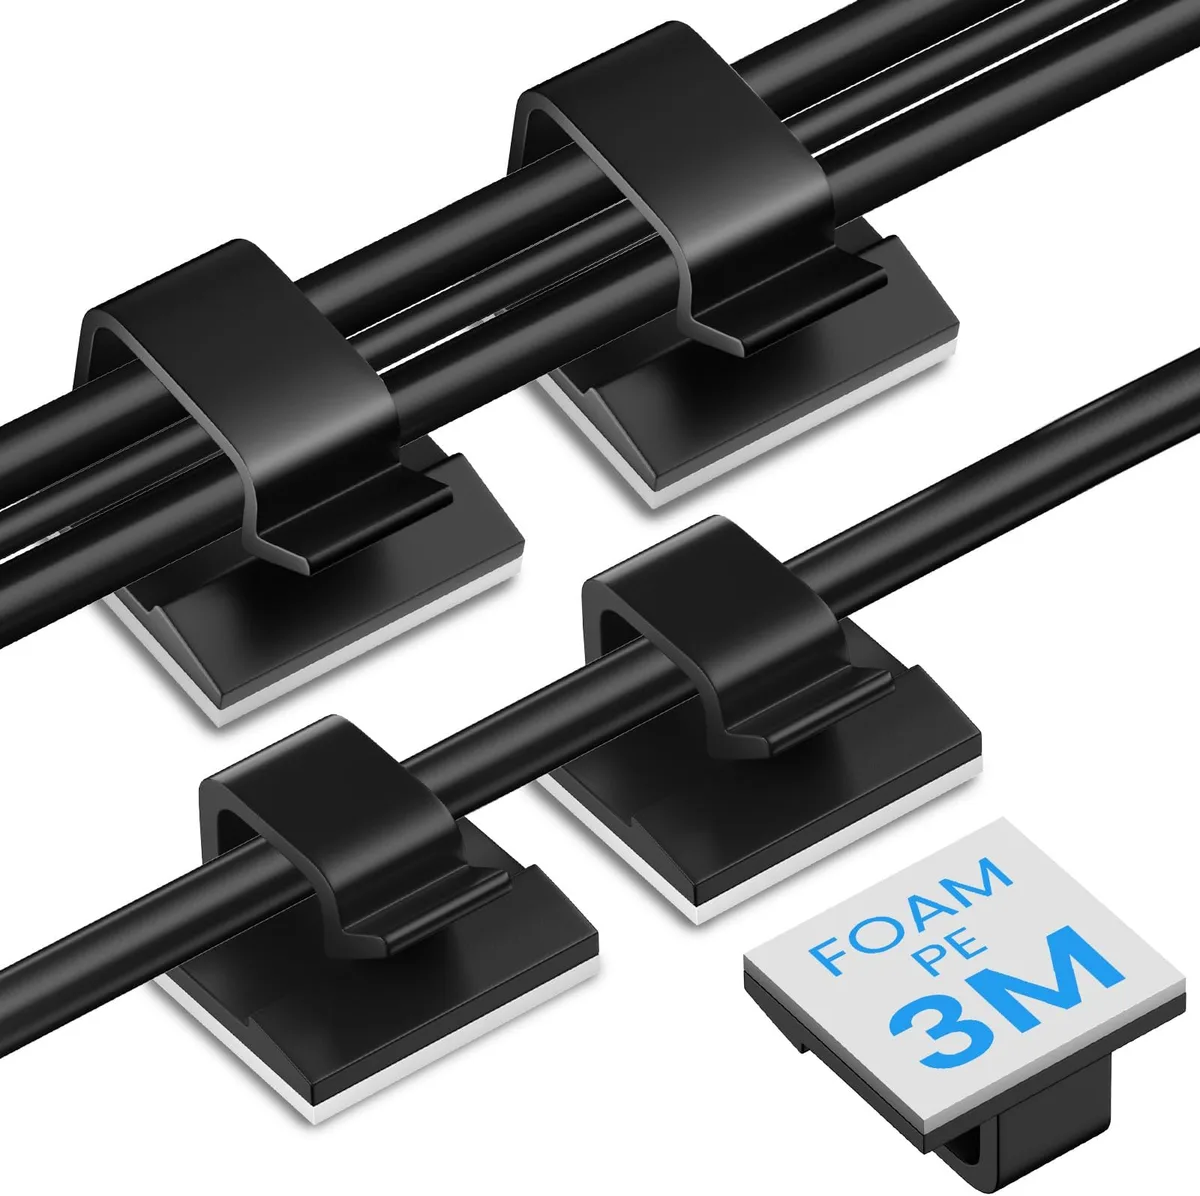
Image source: Bing (Web (fair-use with source credit))
Building Your Cable Spine for Unified Routing
Managing five individual wires is difficult. Managing one thick bundle is easy. This is where the cable spine method comes into play.
By grouping your cables, you transform a messy web into a single, cohesive line that looks like part of the furniture.
Use a spiral wrap or a split-braided sleeve to encase your cables. Start the sleeve about two inches behind the dock and run it all the way to your under-desk tray. This covers the multi-colored ends of the cables and leaves only a uniform, dark-colored sleeve visible to anyone looking at your desk.
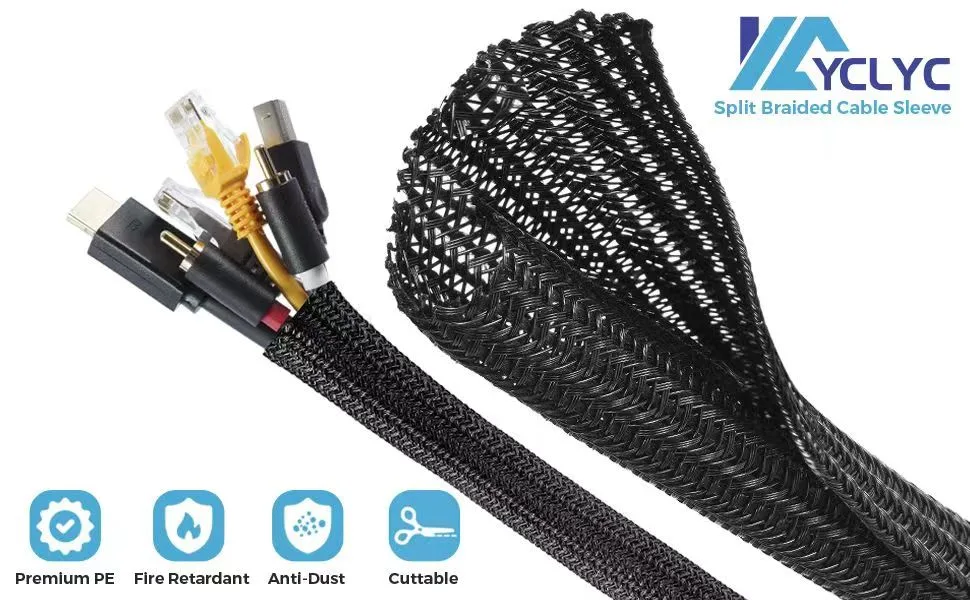
Image source: Bing (Web (fair-use with source credit))
Managing the Under-Desk Drop Zone
The area under your desk is the final destination for all your wires. If this area is cluttered, the cables will eventually pull down and become visible again. An under-desk cable tray is the industry standard for cleaning up this drop zone.
Mount the tray directly to the underside of your desk. Place your power bricks inside the tray so they are hidden from view. Run all your cable bundles directly into this tray, ensuring no cords touch the floor.
This setup keeps the cables safe from your feet and makes cleaning underneath the desk effortless.
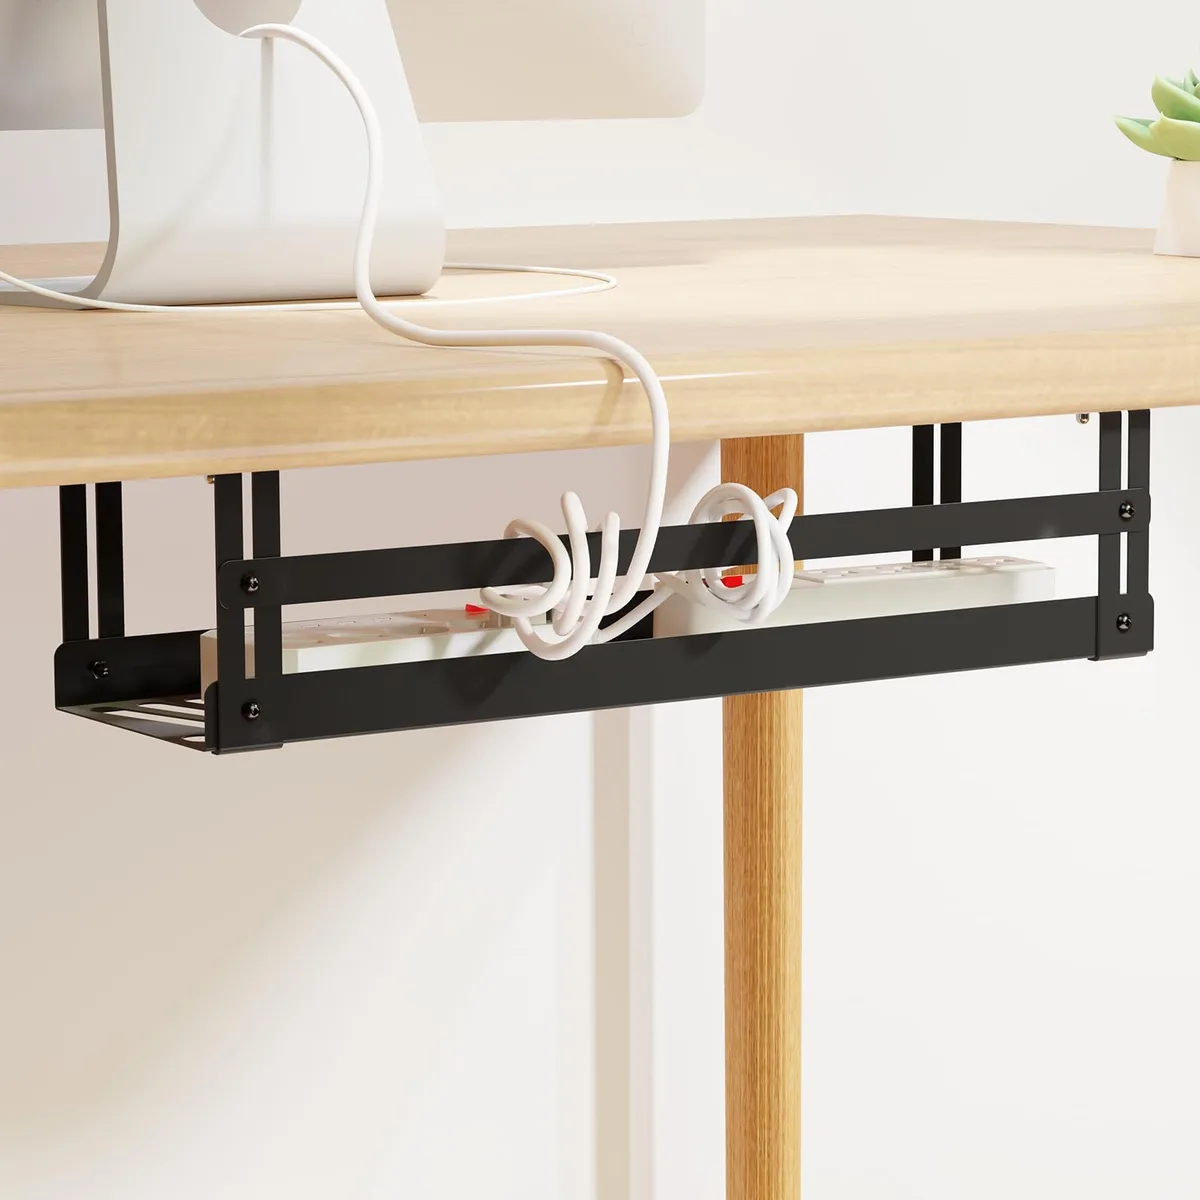
Image source: Bing (Web (fair-use with source credit))
Avoiding Common Visual Mistakes
The most frequent error is leaving too much slack near the base of the dock. When cables have a large, visible loop, they catch the eye immediately. You should aim for a taut transition where the cable moves from the port directly to the first anchor point.
Another mistake is mixing cable colors. If you have black cables, a white dock, and a grey sleeve, the result looks disorganized. Try to match the sleeve color to your desk or monitor stand.
This creates a monochromatic look that masks the presence of the wires entirely.
Long-Term Optimization for Adjustable Desks
Adjustable sit-stand desks present a unique challenge for cable management. You must account for the full range of motion, or you risk pulling cables out of their ports when you stand up. Leave enough extra length in the spine to accommodate your maximum desk height.
Do not route cables horizontally across the underside of the desk surface. Instead, secure them vertically along the desk frame or leg. This keeps the cables out of the way when the desk moves up and down.
Using a long, flexible sleeve is essential here, as it allows the bundle to flex without catching on your legs.
Troubleshooting Your Port Tension and Dock Stability
If your dock moves every time you plug in a cable, your routing is likely too tight or the cables are too stiff. Ports on laptops and docks are not designed to support the weight of heavy cords. If you feel resistance when plugging in a device, you have created too much tension.
Verify that every cable is anchored within three inches of the dock. This ensures the weight of the cord is supported by the desk, not the dock port. If the dock still slides, consider using a non-slip silicone mat underneath the base.
This provides the necessary friction to keep the dock stationary without requiring permanent adhesives.
Choosing Between Cable Raceways and Sleeves
Deciding between a raceway and a sleeve depends on your specific desk design. Cable raceways are rigid plastic channels that attach to the back of a desk or wall. They are best for fixed, permanent setups where you rarely change your hardware.
Cable sleeves are flexible and move with your equipment. They are the superior choice for sit-stand desks or stations where you often swap peripherals. Sleeves also offer a softer look that blends better with home office decor.
Use the table below to decide which fits your workflow.
| Feature | Cable Raceway | Cable Sleeve |
|---|---|---|
| Best For | Fixed-height desks | Sit-stand desks |
| Flexibility | Rigid | High |
| Installation | Adhesive or screw | Velcro or zipper |
| Reusability | Low | High |
Optimizing Peripheral Integration for Cleanliness
Clamshell mode requires external peripherals like a keyboard, mouse, and webcam. These devices add more cables that must be integrated into your existing spine. Instead of running these wires separately, feed them into the same sleeve you used for your power and monitor connections.
Keep your peripheral cords as short as possible. If you use a wireless keyboard or mouse, ensure the receiver is plugged into a port on the dock that faces away from the wall. This improves signal strength and reduces the need for USB extension cables.
A tidy dock setup relies on removing every unnecessary inch of wire from the equation.
Preventing Overheating Through Proper Airflow
Vertical docks sometimes block the intake or exhaust vents of a laptop. While most modern docks are designed to avoid this, you must ensure the laptop is positioned with the ventilation gaps facing upward or outward. If the chassis feels excessively warm, your cable routing might be too bulky near the vents.
Avoid wrapping cables around the laptop itself or placing bundles too close to the exhaust. Use a small gap between the back of the laptop and any wall surface. This allows heat to dissipate away from the device.
A well-organized cable spine should never touch the laptop chassis directly.
Planning for Future Hardware Changes
You will eventually upgrade your laptop or monitor, so plan for modularity from the start. Use cable ties that are reusable, such as hook-and-loop fasteners, rather than permanent zip ties. This makes it simple to swap one cable without having to cut and replace your entire sleeve.
Label your cables at both ends if you have a complex setup with many monitors or docks. Use a simple label maker or even a piece of masking tape. When it comes time to move your desk or swap a peripheral, you won't waste time trying to trace which wire goes where.
An organized system is only as good as its ability to be maintained.
Frequently Asked Questions
Can I use zip ties for cable management?
Zip ties are permanent and harder to manage if you change your setup. We recommend hook-and-loop ties because they are adjustable and reusable. If you must use zip ties, keep them loose so you don't crush the delicate wiring inside your cables.
Do I need to worry about signal interference?
High-quality, shielded cables are generally immune to interference from other wires in a bundle. If you experience video flickering, ensure your DisplayPort or HDMI cables are not bent at sharp angles. Keep your power cables separated from data cables if you notice persistent issues.
How do I hide cables on a glass desk?
Glass desks reveal everything underneath, making traditional clips impossible to hide. Use the underside of your monitor arm as a routing channel for all your wires. If the arm is also glass or transparent, consider routing cables along the wall behind the desk using raceways.
Are right-angle adapters safe to use?
Right-angle adapters are safe for most data and power applications, provided they are high-quality. Ensure the adapter is rated for the power draw and data speeds of your specific docking station. Cheap adapters can introduce signal loss, so verify their specs before installation.
What is the best way to secure power bricks?
Mount your power brick to the underside of the desk using heavy-duty, double-sided mounting tape. This keeps the brick off the floor and out of the way. Ensure the mounting surface is clean and dry before applying the tape to guarantee a strong, long-lasting bond.

Similar Posts