How to Organize Your Desk by Storing Keyboards Under Stands
Senior Hardware Diagnostics Specialist & Lead Thermal Editor at Laptop Post Testing Lab · CompTIA A+, ACMT, B.S. in Computer Engineering · 12+ years bench-testing laptop thermal solutions & motherboard repairs
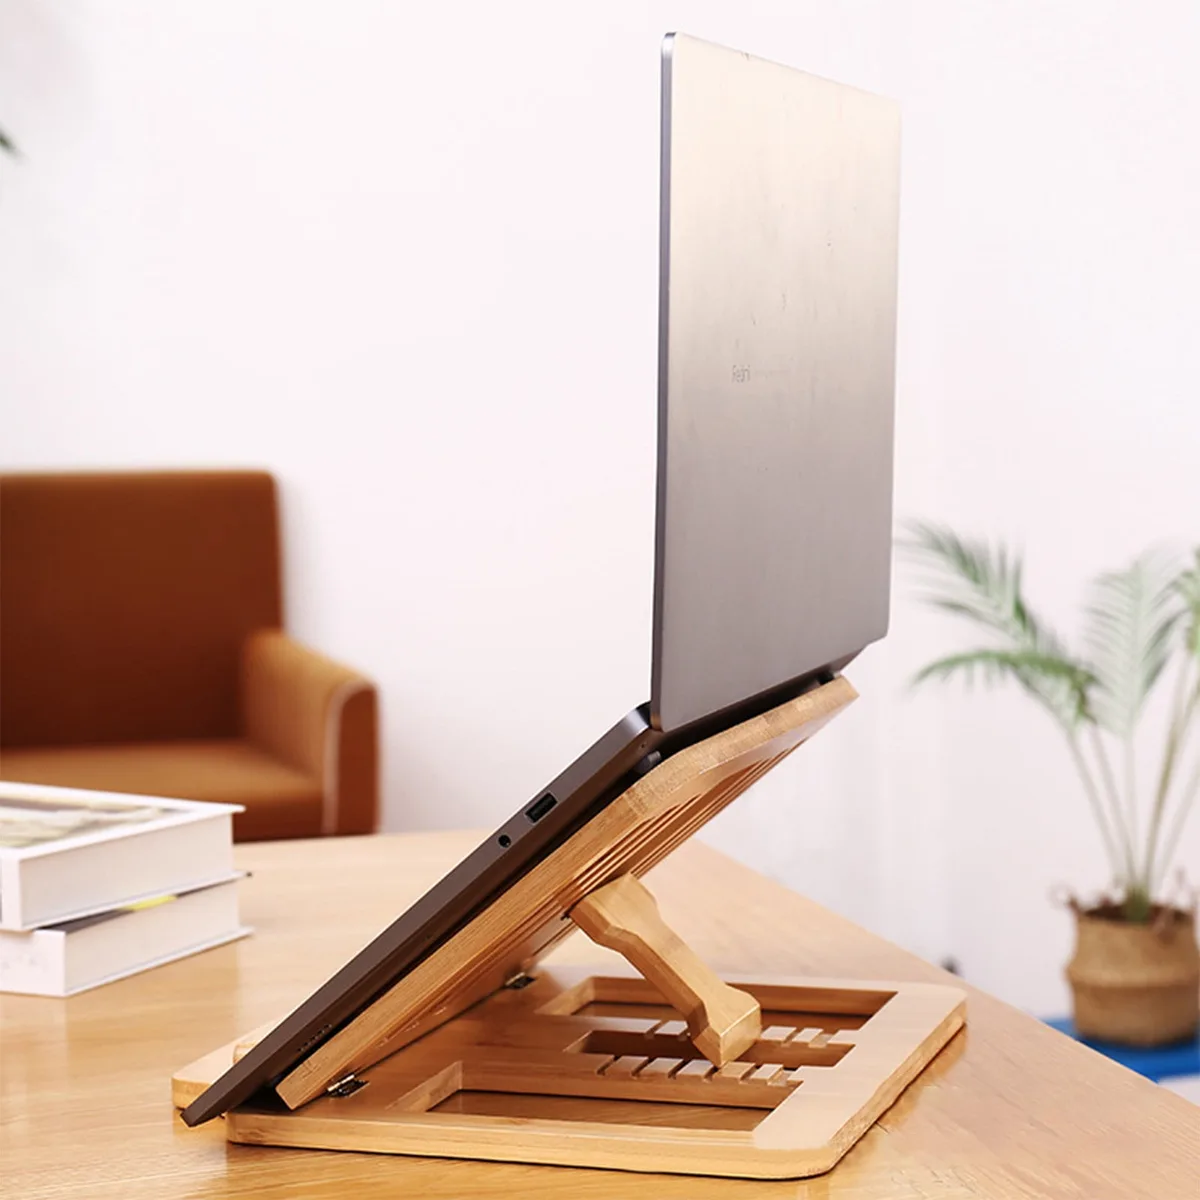
If you’ve ever felt like your desk is shrinking, you aren’t alone. Learning how to organize desk space by storing keyboard under laptop stand setups is a proven way to reclaim your work area. This simple move creates instant room for writing or sketching.
Most modern office desks lack the surface area needed for multi-device workflows. Per guidelines from the Occupational Safety and Health Administration, managing your physical workspace layout is vital for long-term comfort. Let’s look at how to pull this off without sacrificing your posture.
Quick Answer
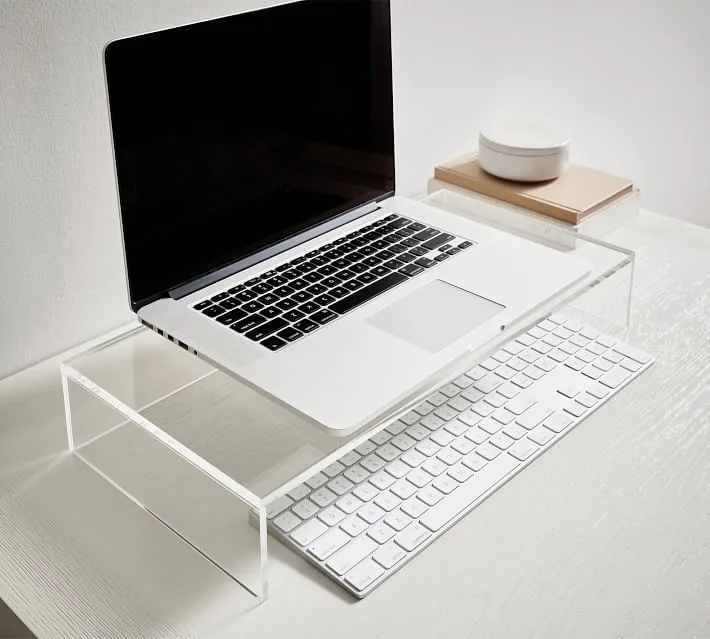
You can organize desk space by storing your keyboard under a laptop stand. Choose a bridge-style stand with adequate vertical clearance for your hardware. Measure your keyboard height before purchasing a stand.
Slide the device underneath when it is not in use. This method keeps your desk surface clear for other tasks. Always pull the keyboard out fully for long typing sessions.
Why Your Desk Needs a Vertical Reset
A cluttered desk acts as a silent drain on your productivity. When every inch of your surface is covered in hardware, your brain has to work harder to filter out distractions. Reclaiming even a small strip of space makes a massive difference in how you approach your daily tasks.
Most people settle for a "good enough" setup until their desk feels like a storage unit. By moving your keyboard, you aren't just hiding wires. You are creating a designated work zone that you can actually use for paperwork or reading.
The Geometry of Your Workspace: Clearance vs. Comfort
Spatial geometry is the foundation of this setup. You aren't just pushing a keyboard under a piece of metal. You are integrating two distinct tools into a unified system.
If the stand is too low, you lose storage. If the stand is too high, it ruins your eye level.
Effective workspace design follows the principle of stackable utility. You want the stand to provide enough height to hold your laptop at eye level while serving as a roof for your keyboard. Think of this as creating a small garage for your peripherals.
Measuring Your Equipment for a Proper Fit
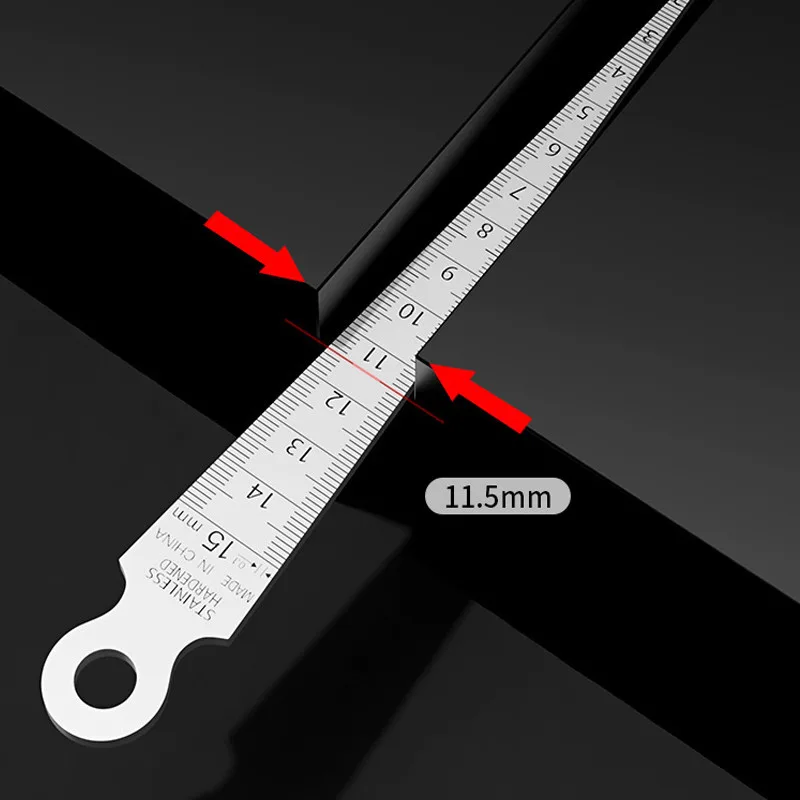
You cannot guess if a stand will work. You must verify the dimensions of both your keyboard and your potential stand. Grab a standard tape measure or a metal ruler to get the exact clearance.
| Item | Measurement Focus | Goal |
|---|---|---|
| Keyboard | Height including keys | Allow 0.5-inch clearance |
| Laptop Stand | Inside vertical opening | Confirm it exceeds keyboard height |
| Desk Depth | Available usable space | Ensure cables clear the back |
Check the feet of your stand as well. Some stands have rubber grips that extend inward and reduce the usable width. Measure the narrowest point of the opening, not just the widest part of the frame.
Step-by-Step: Installing Your Keyboard Storage
Begin by clearing your entire desk surface. It is easier to see the potential of your space when you start with a blank slate. Place your laptop stand in your preferred position to ensure your monitor will be at eye level.
Next, slide your keyboard into the opening. If you feel resistance, stop immediately. Check if the keyboard is hitting the rear support bars or if the cable is bunching up.
Adjust the placement of the stand slightly forward or backward until the keyboard glides in with zero friction.
Verify that your mouse and other peripherals still have enough room to operate comfortably. If you have to shove your mouse into a corner, consider using a larger desk pad. This keeps your equipment centered and organized.
Critical Cable Management for Smooth Access
Cables are the enemy of a clean desk. If you use a wired keyboard, the cord will snag on the underside of the stand if you don't secure it. Use adhesive cable clips to anchor the wire to the side or back of your desk.
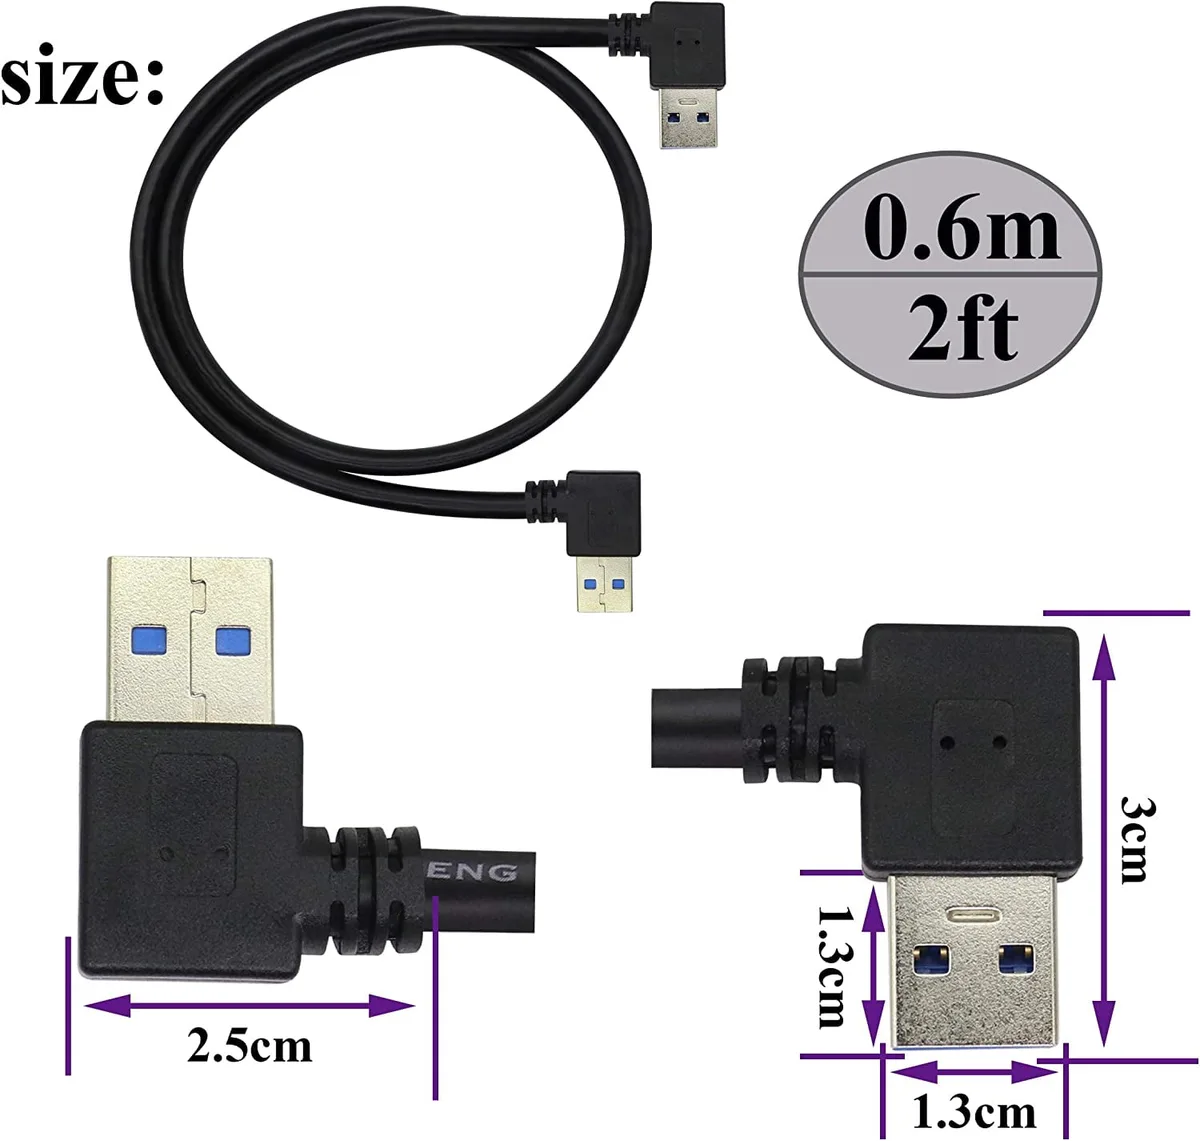
Consider replacing standard cables with right-angle adapters if you have limited space. These adapters keep the wire flat against the keyboard body rather than pointing straight back into the frame. This prevents the cable from catching on the stand every time you reach for your device.
If your cable has a memory from being coiled, straighten it out completely before attaching your clips. A taut cable is easier to manage than one that loops and twists. Keep the extra slack hidden behind the monitor arm or the stand itself.
Avoiding the Ergonomic Pitfalls of Under-Desk Typing
You should never type while your keyboard is stowed deep inside a stand. Typing in this position forces your shoulders forward and bends your wrists into an unnatural, high-tension angle. Per the Human Factors and Ergonomics Society, neutral wrist posture is the gold standard for avoiding long-term repetitive strain injury.
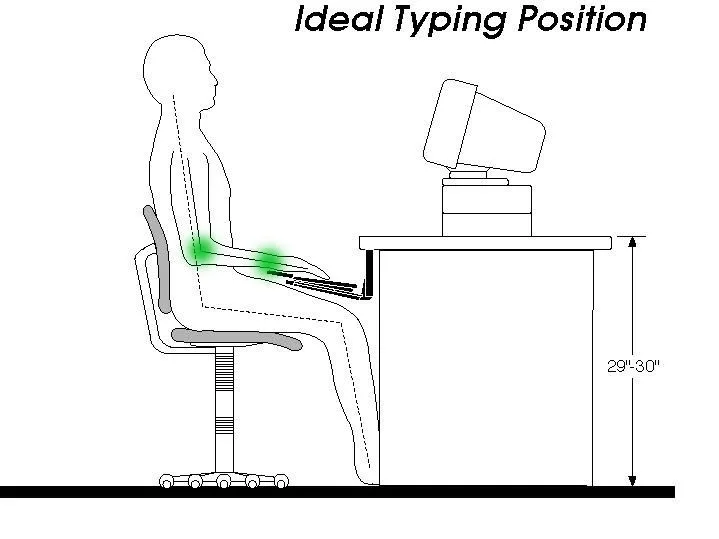
Always slide your keyboard out until your elbows reach a 90-degree angle. Your wrists should stay straight and parallel to the desk surface. If you find yourself frequently typing while the device is still tucked away, your stand is likely creating a bad habit.
Move the stand further back or pull your keyboard further out to compensate for the reach.
Essential Hardware Attributes to Look For
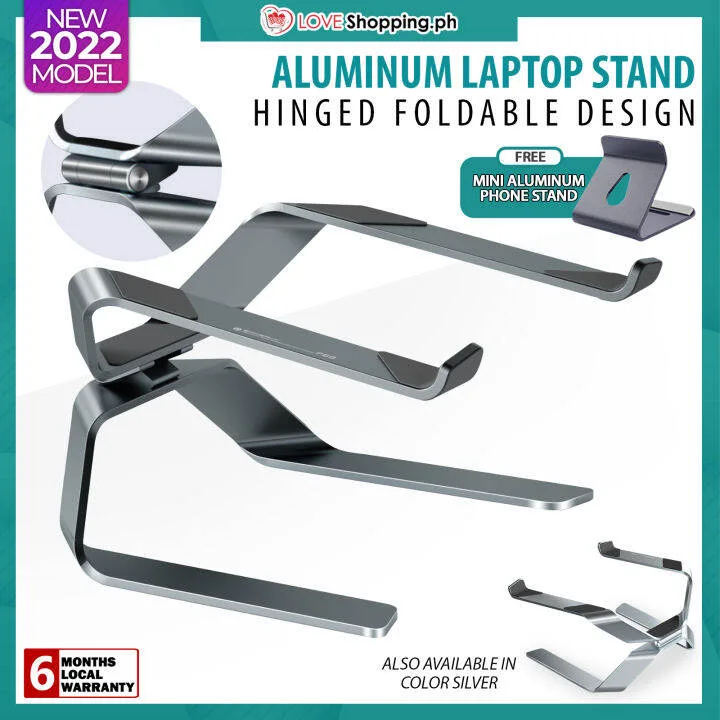
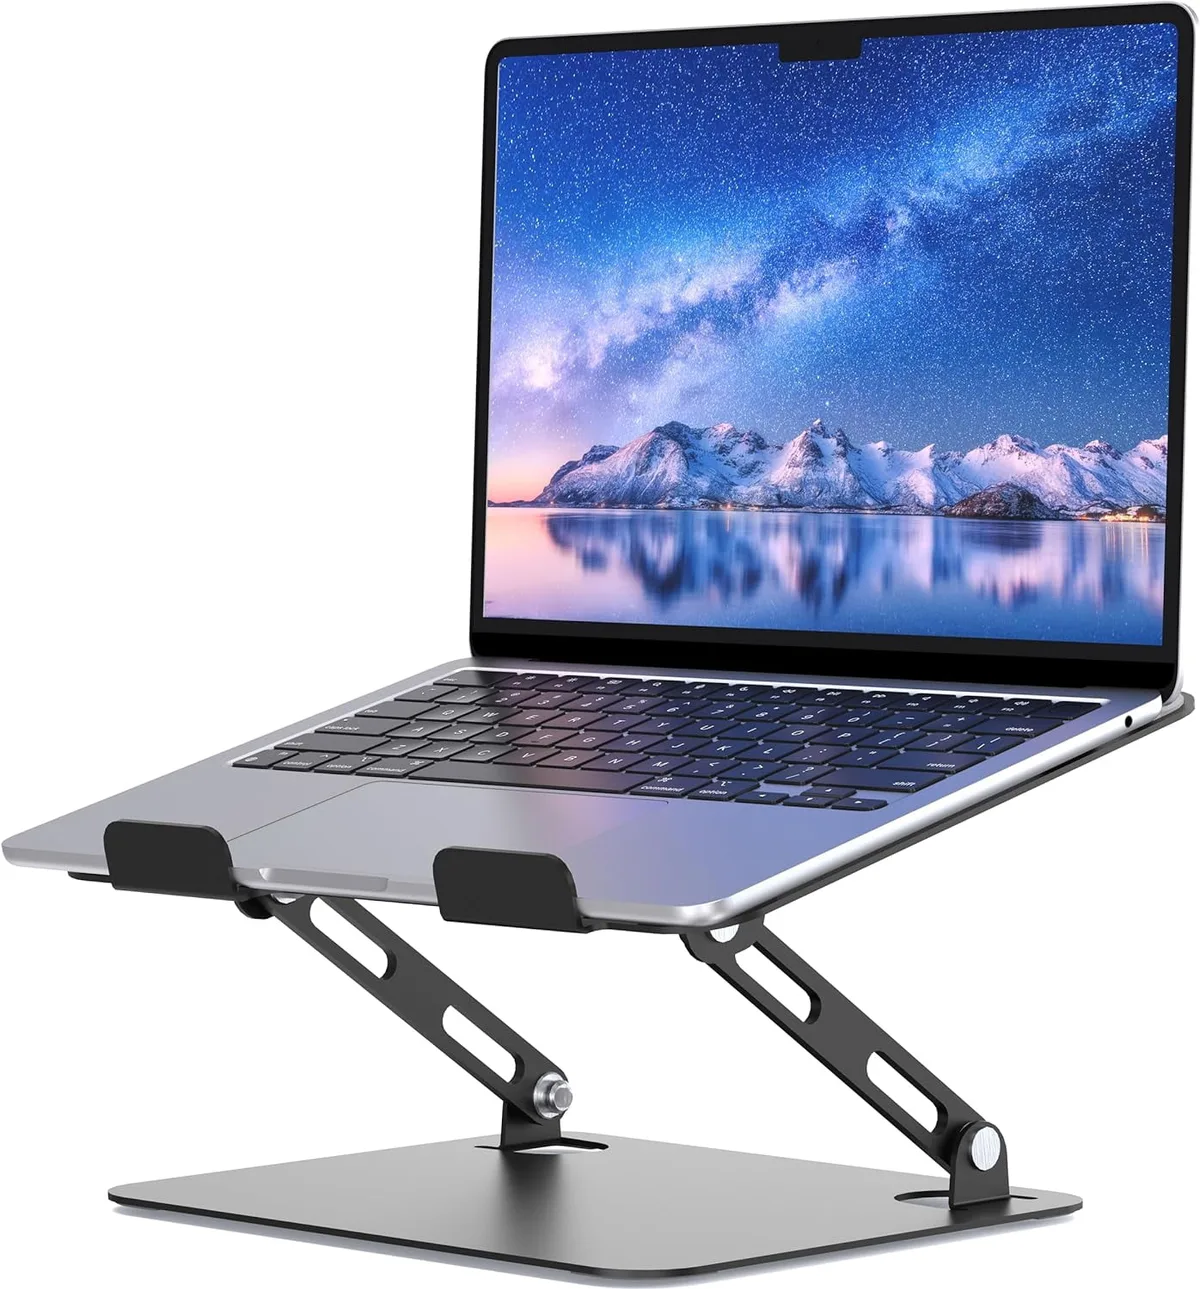
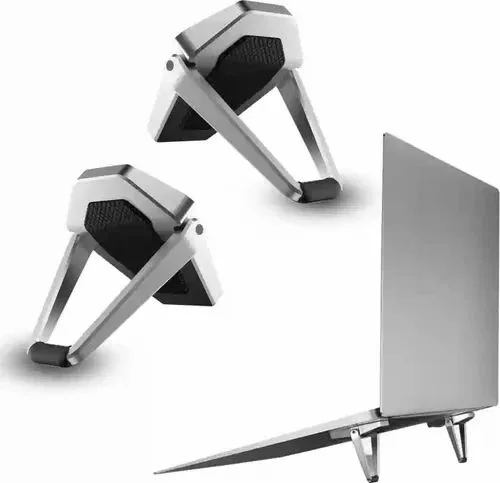
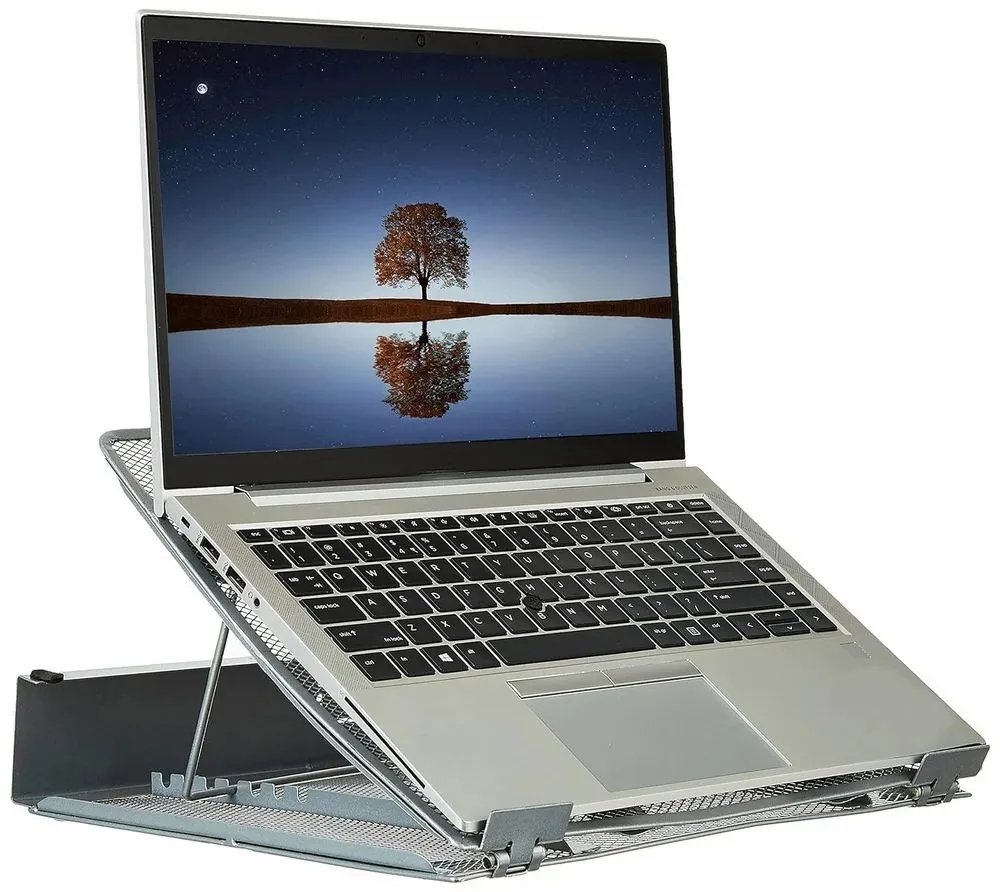
Not every laptop stand is built for storage, so you need to prioritize specific structural features. Look for a bridge or arch design that provides a completely clear opening from front to back. Supports that run through the center of the stand are common, but they will inevitably block your keyboard.
Prioritize materials that offer stability. Solid aluminum or heavy-duty steel stands are less likely to tip or shift when you push a keyboard against the back support. Avoid plastic stands that rely on lightweight frames, as these often slide backward the moment you apply slight pressure.
- Weight: Heavier is better for preventing movement.
- Feet: Look for high-friction rubber pads on the bottom.
- Clearance: Check the width of the legs to ensure the keyboard fits.
When a Stand Isn't Enough: Exploring Alternatives
Some desk setups simply don't accommodate under-stand storage due to the hardware dimensions. If you’ve exhausted this option, a clamp-on keyboard tray is your next best solution. These trays mount to the edge of your desk and provide a dedicated, ergonomic surface that stays well below your main work area.
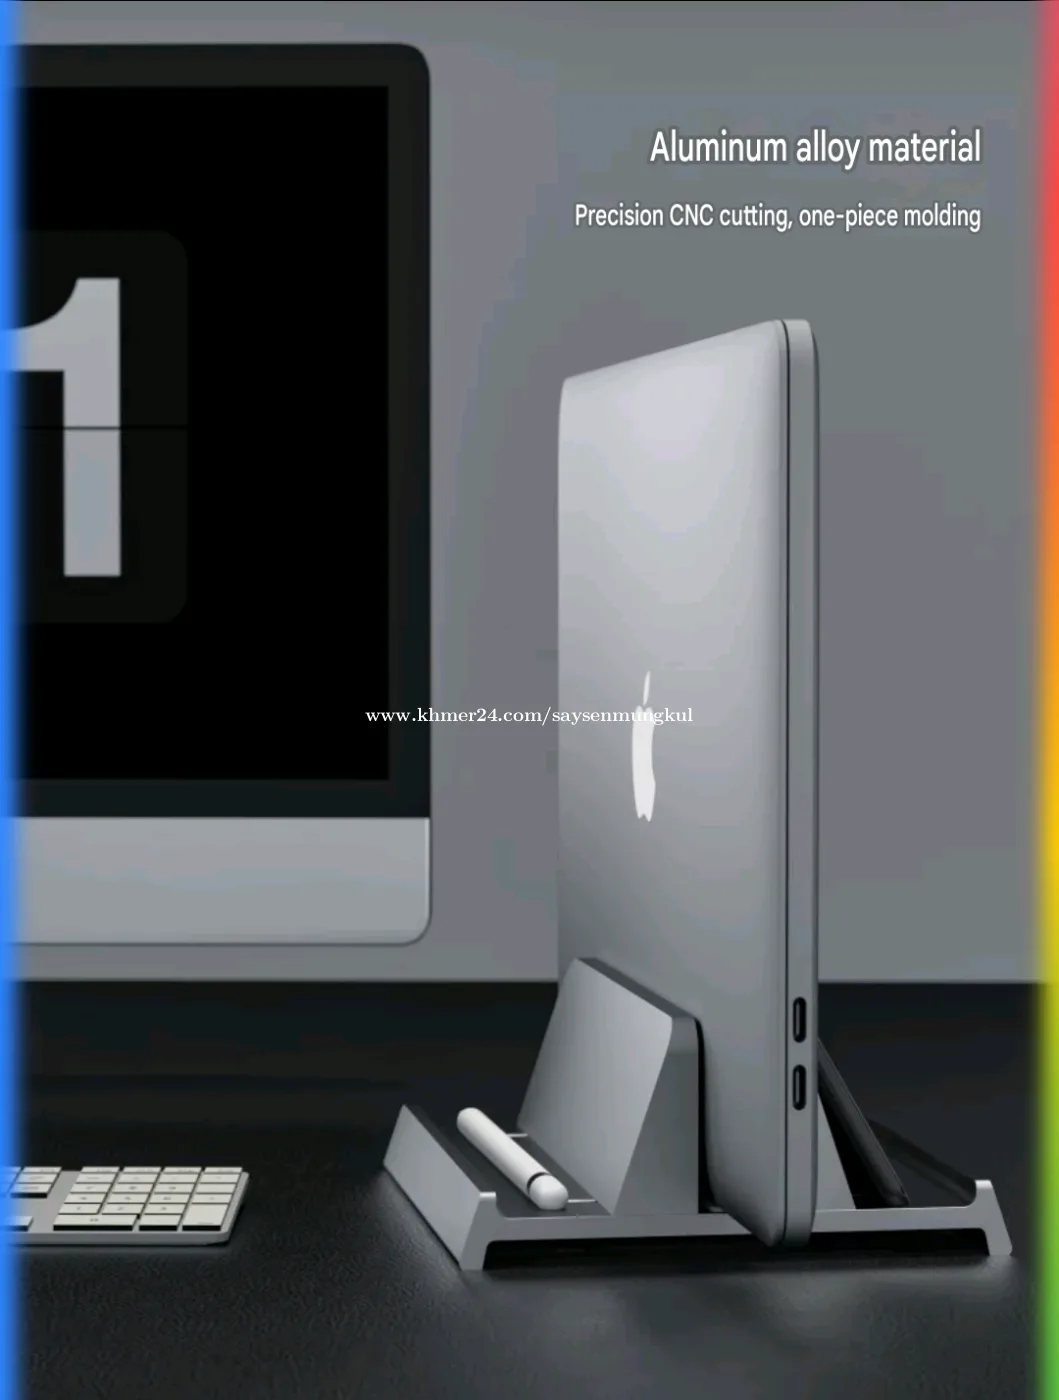
Another effective alternative is a vertical laptop stand. This approach removes the laptop from the desk surface entirely, saving the maximum amount of space. You will need an external monitor to make this work, but it creates a completely different environment.
| Alternative | Best For | Requirement |
|---|---|---|
| Keyboard Tray | Dedicated typing comfort | Desk edge with no obstruction |
| Vertical Stand | Smallest possible footprint | External monitor setup |
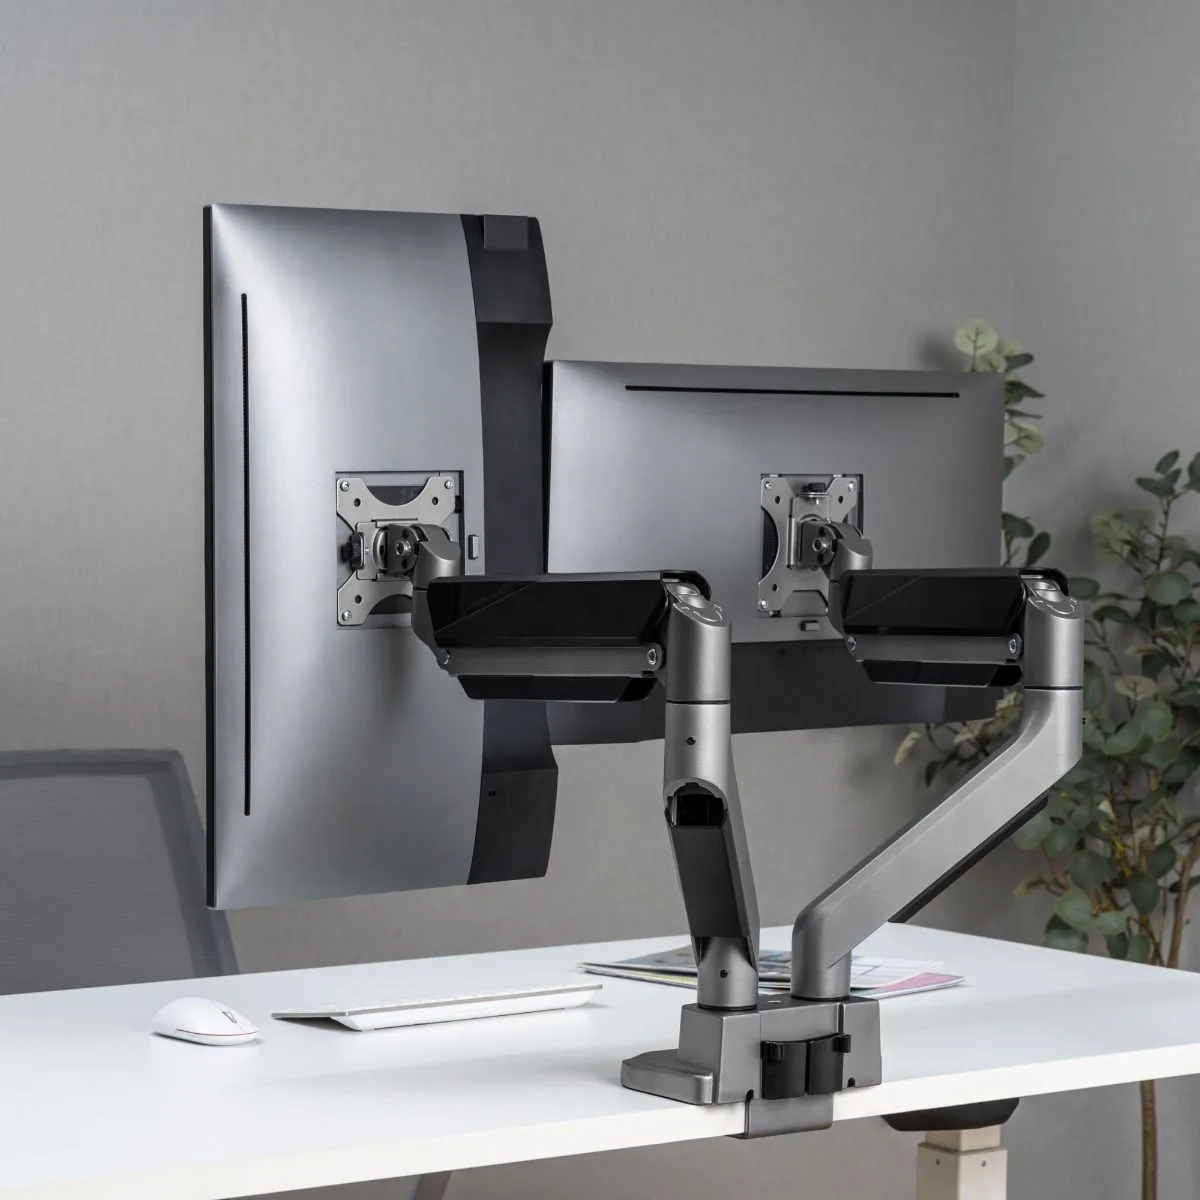
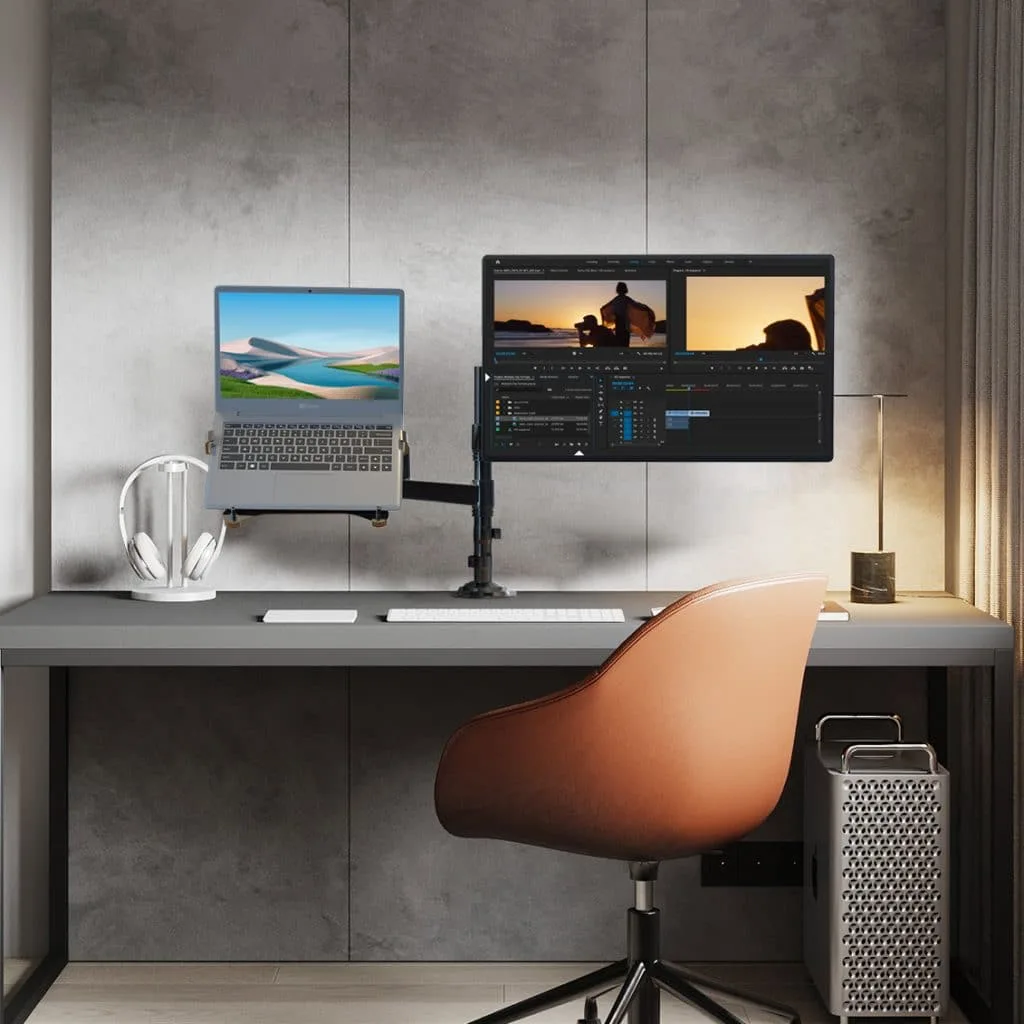
| Monitor Arm | Custom height and angle | Sturdy desk clamp location |
Pros and Cons of Under-Stand Storage
Every organizational system involves trade-offs between convenience and physical comfort. Understanding these factors helps you decide if this method truly fits your personal workflow.
Pros:
- Maximized Surface Area: Frees up the most valuable part of your desk.
- Peripheral Protection: Keeps your keys clean from dust and spills.
- Visual Order: Creates a cleaner, more focused aesthetic.
Cons:
- Ergonomic Temptation: Encourages poor posture if you don't pull the keyboard out.
- Setup Restrictions: Requires specific, high-clearance hardware.
- Cable Drag: Can cause wire clutter if you don't anchor your peripherals.
Pro Tips for Daily Workflow and Desk Maintenance
The most efficient workspaces require minimal daily adjustment. Once you have your keyboard sliding correctly, reinforce the habit by clearing your desk at the end of each shift. A few seconds spent tucking cables and sliding the keyboard away ensures you start the next day with a blank canvas.
If you share your workspace, add a small piece of felt to the underside of the stand. This acts as a bumper, preventing the metallic sound of a keyboard hitting the frame. Regularly clean the surface under the stand, as dust tends to accumulate in that space.
Keep your cable management clips accessible for minor adjustments. A slight change in your sitting height often requires you to re-tension your keyboard cable. By keeping the setup flexible, you maintain comfort without sacrificing the spatial gains you worked to achieve.
Safety and Posture Guidelines
Physical safety in a workspace often centers on avoiding repetitive strain. When you modify your desk layout, keep your elbows at a neutral angle. Do not allow your keyboard or mouse to force your wrists into an upward or downward tilt.
Research from the National Institute of Standards and Technology regarding human factors emphasizes the importance of adjustable surfaces. If your current stand is fixed at a height that prevents neutral wrist alignment, you must adjust your chair height. Use a footrest if you need to raise your chair to compensate for a high desk surface.
Maintenance and Long-Term Optimization
Keeping your storage area clean is the secret to a smooth workflow. Dust settles rapidly in the confined space under a laptop stand, which can eventually interfere with keyboard switches. Use a small compressed-air duster once a month to clear out debris from the area.
Check your cable clips periodically to ensure the adhesive is still strong. Desk surfaces collect oils from your skin, which degrades adhesive backing over time. If a clip fails, wipe the spot with a mild cleaning solution before applying a new one.
Real Scenarios and Case Examples
A common scenario involves users working in high-density office environments. In these cases, every square inch of surface space is vital for documents. By stowing the keyboard, these users create a landing zone for folders or tablets.
Another case involves creative professionals using graphic tablets alongside their laptops. They often keep the keyboard tucked away for most of the day, only pulling it out for email or documentation. This setup effectively turns a small desk into a dual-purpose studio.
Frequently Asked Questions
Can I use this setup with a full-sized mechanical keyboard?
Yes, but you must measure the total height of the keycaps. Many mechanical keyboards sit significantly higher than standard membrane boards. Ensure your stand provides at least an extra half-inch of vertical clearance.
Does a heavy stand cause desk surface damage?
Most quality stands feature rubberized pads that protect your desk from scratches. If you are worried, place a thin adhesive felt pad on the bottom of the stand’s feet. This ensures the stand remains stable without marking your wood or laminate surface.
What should I do if my cable is too thick to tuck away?
Consider using a low-profile USB hub mounted to the underside of your desk. This allows you to use a shorter, more flexible cable to connect your keyboard. You then run a single, thicker cable from the hub to your laptop.
Will this setup work on a glass desk?
Glass desks are excellent for this setup because they offer a perfectly smooth surface for the stand. Use silicone or rubber feet on your stand to prevent sliding. Avoid metal-on-glass contact, as it can cause small abrasions over time.
How do I know if my stand is too narrow for my keyboard?
Your keyboard should slide in without you needing to align it perfectly every time. If you have to tilt or angle the keyboard to get it under the frame, the stand is too narrow. A proper fit allows for at least one inch of horizontal wiggle room.
Final Recommendation
The best way to decide is to evaluate your specific daily routine. If you switch between digital and analog tasks frequently, the under-stand storage method is a clear winner. It removes the largest obstacle on your desk while keeping your essential tools within reach.
Choose a sturdy, open-frame stand that meets your height requirements. Invest a few minutes in proper cable management to ensure the experience is seamless. Once you have the height and clearance dialed in, you will notice an immediate improvement in your desk's usability.

Similar Posts