How to Choose the Best Laptop Stand for 2-in-1 Drawing Mode
Senior Hardware Diagnostics Specialist & Lead Thermal Editor at Laptop Post Testing Lab · CompTIA A+, ACMT, B.S. in Computer Engineering · 12+ years bench-testing laptop thermal solutions & motherboard repairs
Choosing the right hardware for your digital workspace is essential for long-term comfort and precision. Learning how to choose laptop stand for 2 in 1 convertible drawing mode requires balancing stability with the unique way you interact with a touchscreen.
Most standard stands are built for typing, which creates a wobbly surface when you apply stylus pressure. As of 2026, manufacturers now offer designs specifically reinforced to handle direct hand contact without collapsing.
Quick Answer
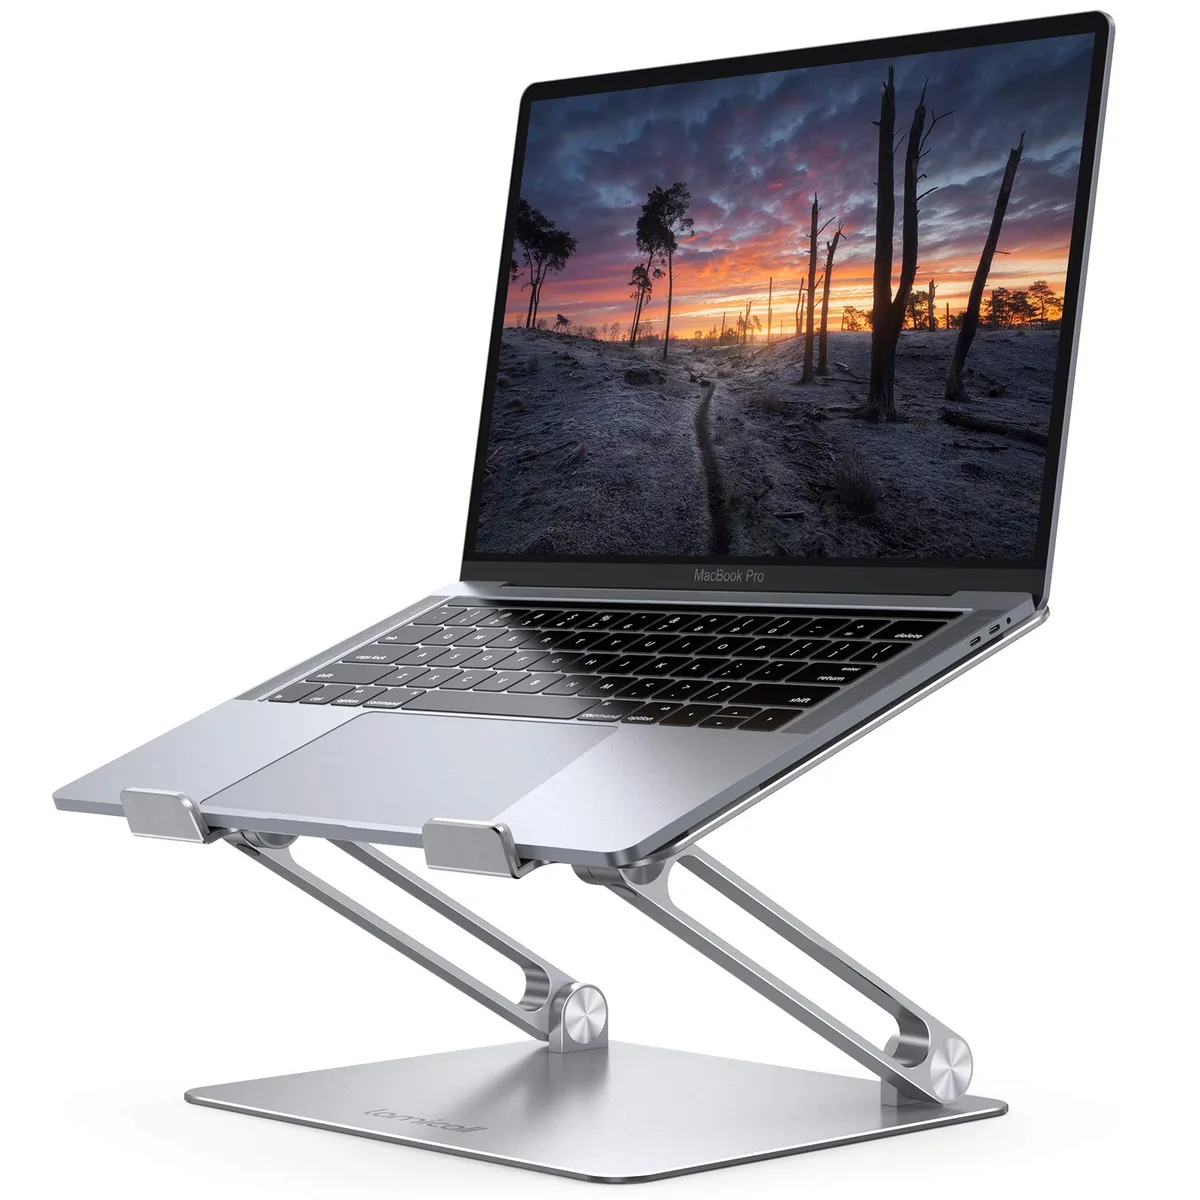
Choose a heavy-duty, double-hinged aluminum stand for your 2-in-1 laptop. Ensure the hinge tension supports at least ten pounds of pressure. Prioritize a low-profile base to keep your wrist stable.
Avoid thin plastic folding stands that flex under pen strokes. Select a model that allows infinite angle adjustment between 15 and 30 degrees.
Why Standard Laptop Stands Fail Digital Artists
Most laptop stands are designed for static use. They expect your hands to rest on a keyboard, not press firmly against a screen. This fundamental difference in use case leads to immediate frustration when you switch to digital painting or sketching.
If a stand is built primarily for airflow or eye-level viewing, the hinges often prioritize weight reduction over rigid locking. When you place a 2-in-1 device in tablet mode on these lightweight models, the weight of your hand causes the entire screen to drift downward. This movement forces you to adjust your posture constantly, which breaks your creative flow.
Professional ergonomic guidelines suggest that maintaining a neutral wrist position is critical for preventing repetitive strain. A standard stand usually forces your wrist into an awkward, extended position. If your screen bounces every time you draw a line, your hand has to work twice as hard to compensate for the instability.
The Pen Bounce Factor: Stability as the Priority
Pen bounce is the vibration or springy movement of a screen when you apply force with a stylus. You cannot avoid this entirely, but you can minimize it with the right hardware. Stability is the most important attribute for any drawing setup.
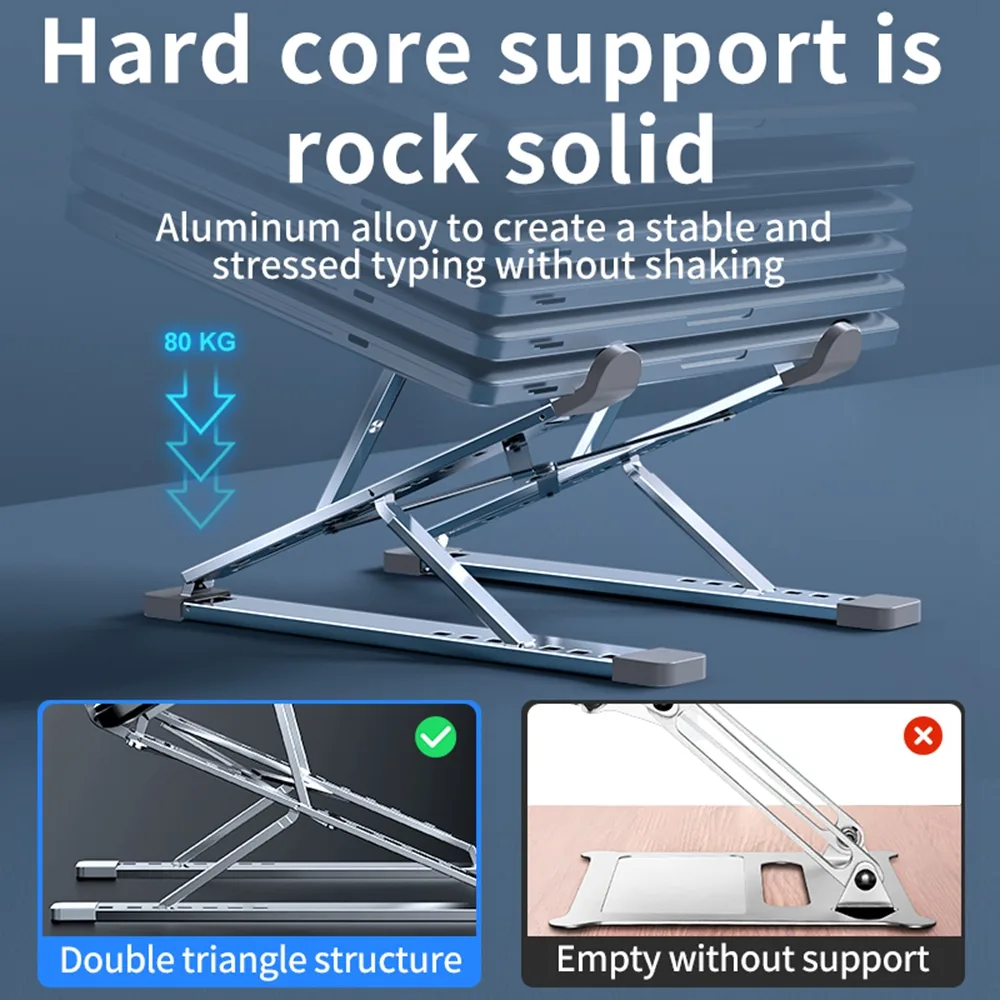
The base of your stand needs a wide footprint or a heavy counterweight to remain anchored to your desk. If the stand uses a floating arm design, check the hinge tension ratings. Most manufacturers don't list a drawing pressure rating, so you should look for stands built from CNC-machined aluminum.
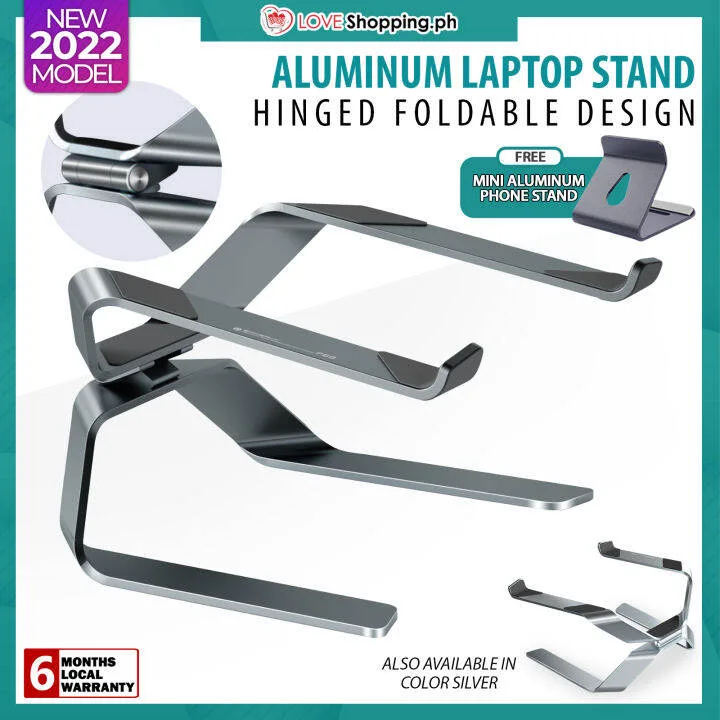
Avoid models with single-point pivots. These almost always rely on plastic or cheap metal ratchets that lose tension over time. A dual-hinge system spreads the load across two pivot points, effectively cutting the vibration in half compared to single-hinge designs.
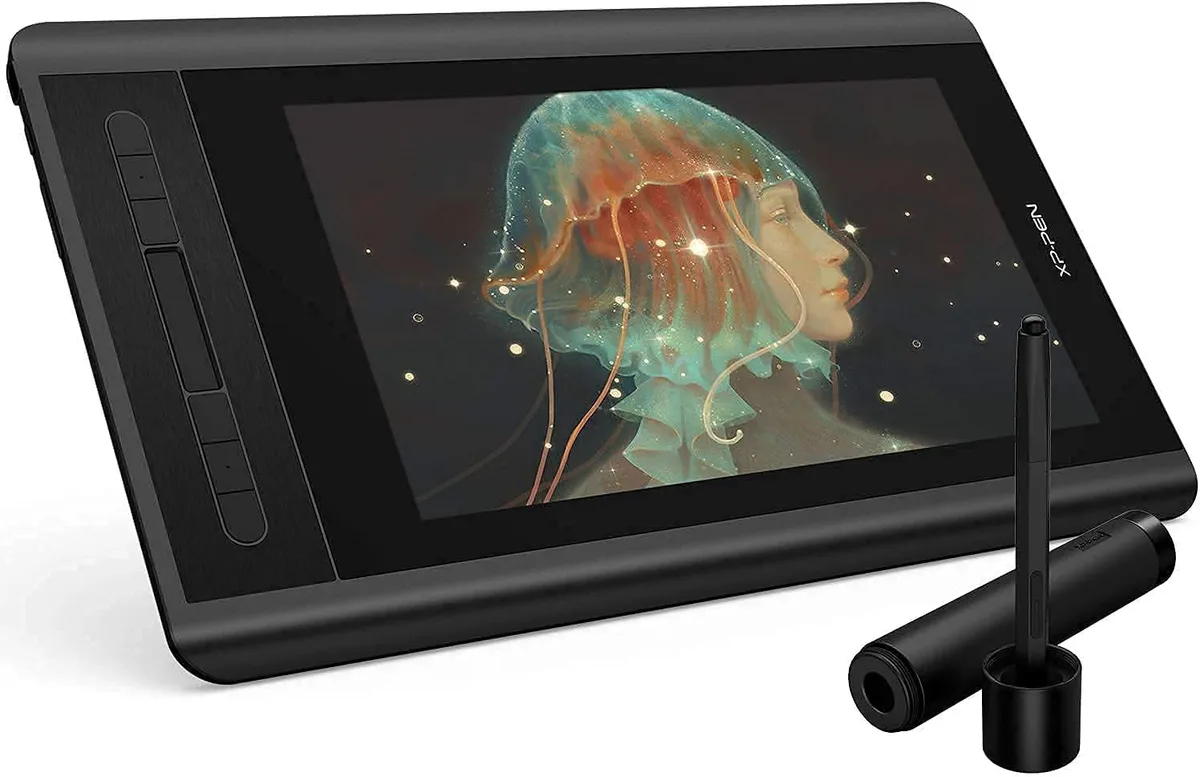
Essential Features for Drawing-Optimized Stands
When searching for a stand, the material matters as much as the shape. Aluminum alloy provides the necessary rigidity to prevent the metal from flexing under your palm. If you are using a 13-inch or larger tablet, lightweight materials will inevitably wobble.
Look for a stand that features full-coverage silicone padding on the top ledge. This does more than protect your laptop casing from scratches. It creates friction, preventing the device from sliding forward when placed at a shallow, drawing-friendly angle.
Check the underside for non-slip feet as well. A stand that moves across the desk surface while you work is just as frustrating as a wobbly screen. Verified user feedback often highlights the effectiveness of U-shaped bases, which provide a clear path for cables while maintaining a stable center of gravity.
Breaking Down Your Stand Options: Hinge vs. Folding vs. Tray
Understanding the mechanical differences between stand styles helps you match your equipment to your specific workflow. Not every artist needs the same level of permanence in their setup.
| Stand Type | Primary Strength | Best Workflow |
|---|---|---|
| Double-Hinged | Maximum Rigidity | Professional illustration |
| Folding/Adhesive | Ultra-Portability | Mobile sketching sessions |
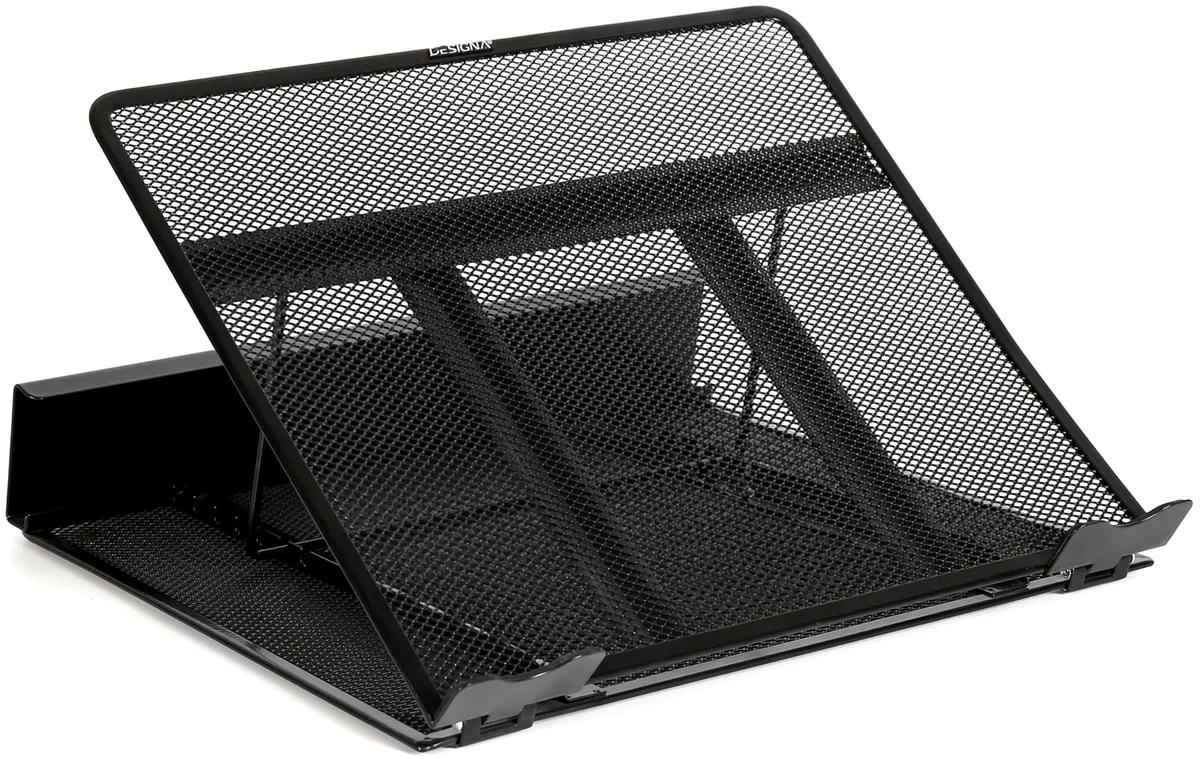
| Tray-Style | Superior Cooling | High-performance 3D rendering |
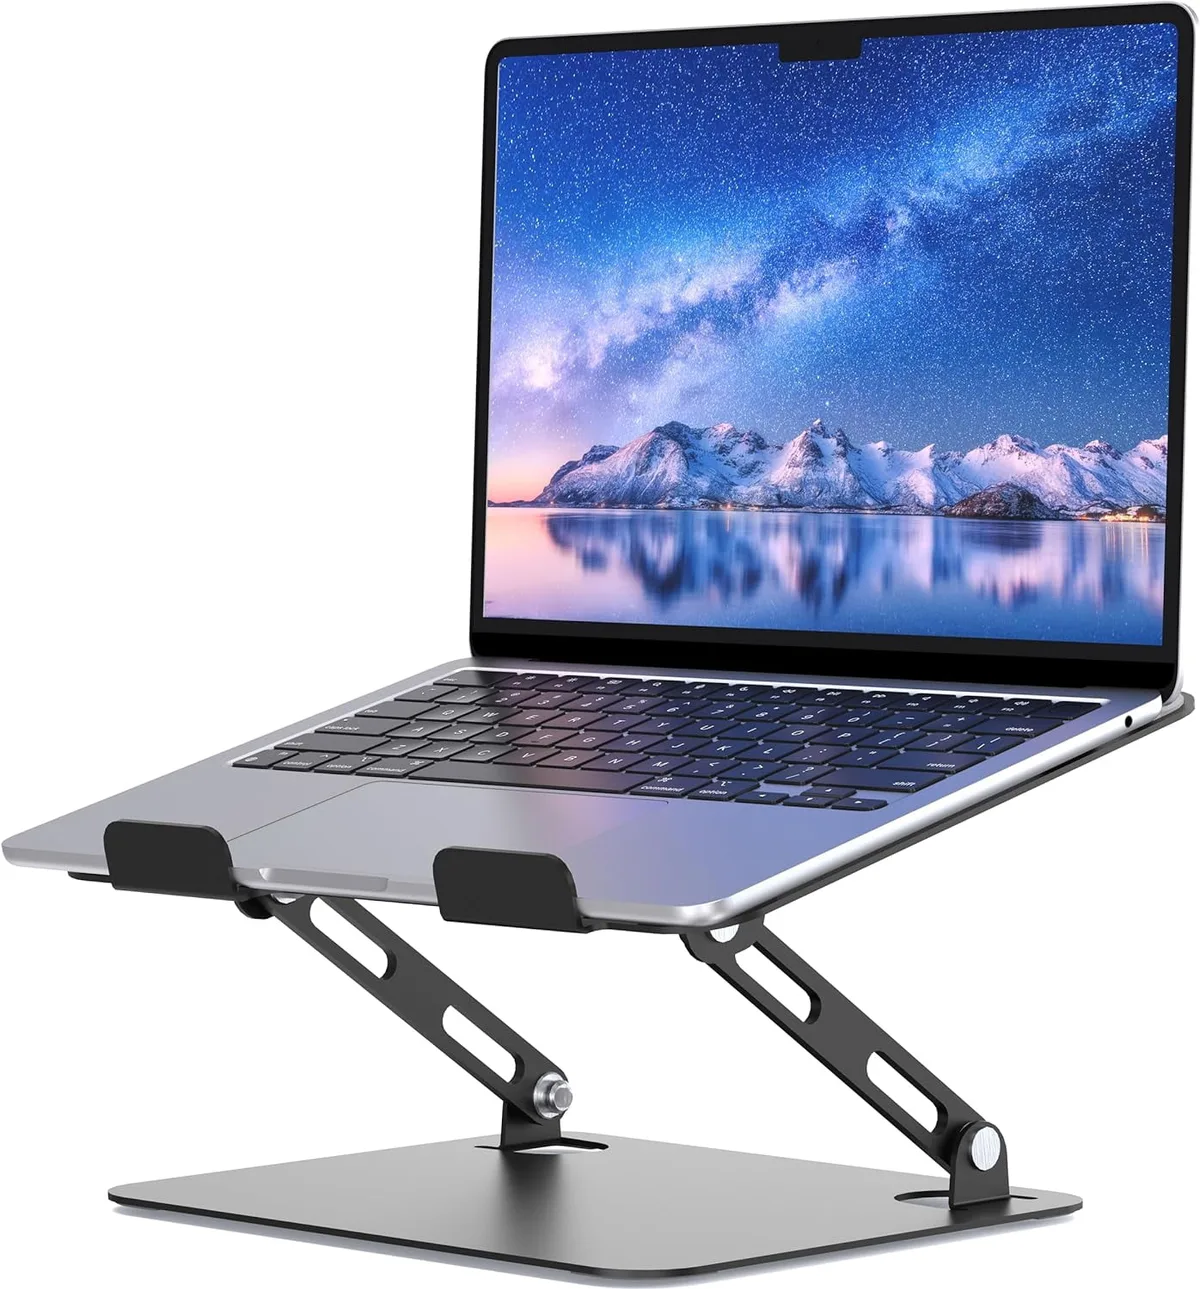
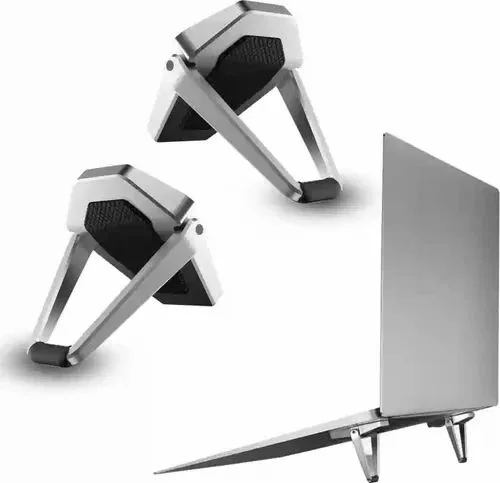
Double-hinged stands remain the gold standard for drawing because they allow you to set the screen height and the tilt angle independently. Folding, adhesive stands are convenient for travelers, but they usually limit you to two or three preset angles.
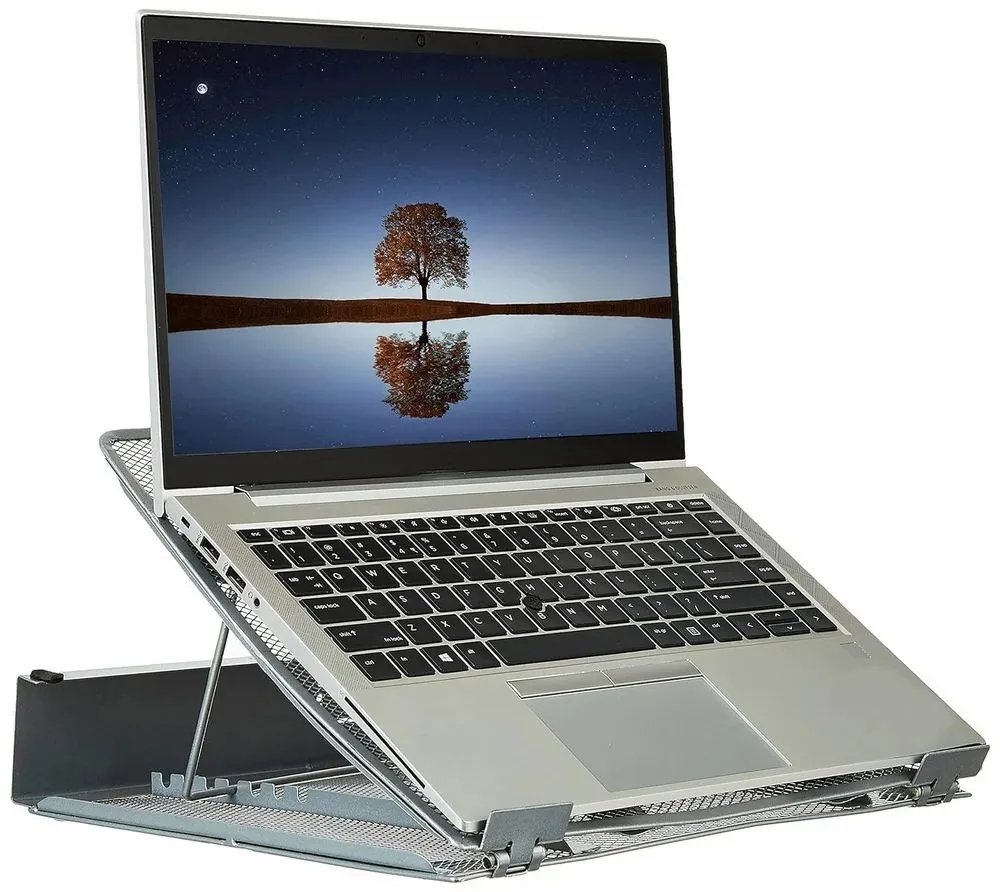
Tray-style stands are massive and offer great stability, but they often occupy too much desk space. If you work in a fixed studio, a tray stand is a great choice. If you frequently move between a home desk and a coffee shop, stick to a high-tension, double-hinged aluminum model.
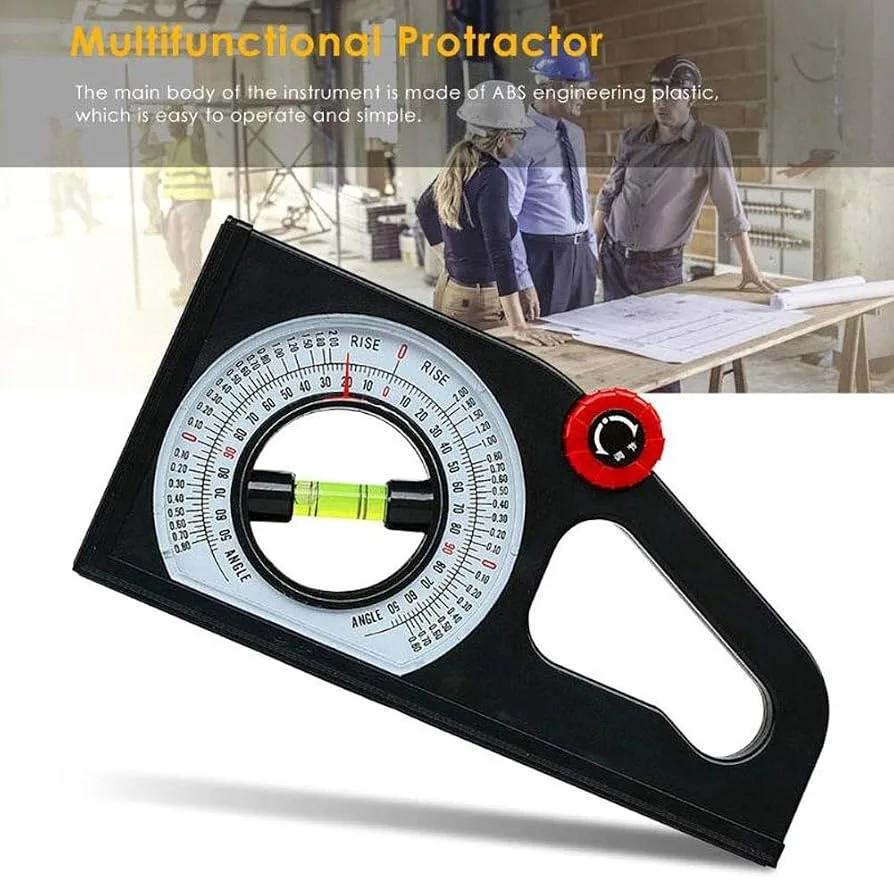
Visualizing Your Ideal Drawing Angle: The 15 to 30 Degree Sweet Spot
For most users, the most comfortable angle for drawing is relatively shallow. Ergonomics experts often reference standards set by organizations like the National Institute for Occupational Safety and Health regarding repetitive motion tasks. Keeping your wrist in a neutral position prevents long-term strain.
Most artists find that an angle between 15 and 30 degrees minimizes the distance their hand has to travel while keeping the screen surface accessible. If your stand forces you to sit at a 45-degree angle or higher, you will likely notice shoulder fatigue after only thirty minutes of work.
Infinite-angle stands allow you to dial in the exact tilt that matches your seat height. When you find that perfect angle, you stop fighting the hardware and start focusing on your line work. If your stand uses fixed notches, try to find one that includes a notch within this 15-to-30-degree range.
Step-by-Step: Evaluating Stand Rigidity Before You Buy
Evaluating the physical build of a stand is something you can do before making a purchase. If you are shopping at a physical store, place your device on the stand and apply pressure to the top corners. If the frame flexes or the hinges slip under moderate force, look elsewhere.
If you are purchasing online, look for photos that show the thickness of the metal. Thicker aluminum components are less prone to micro-vibrations than thin, stamped metal sheets. Also, check the weight of the stand itself in the product specifications.
A stand that weighs less than one pound is often too light to provide the counter-leverage you need for heavy-handed digital art.
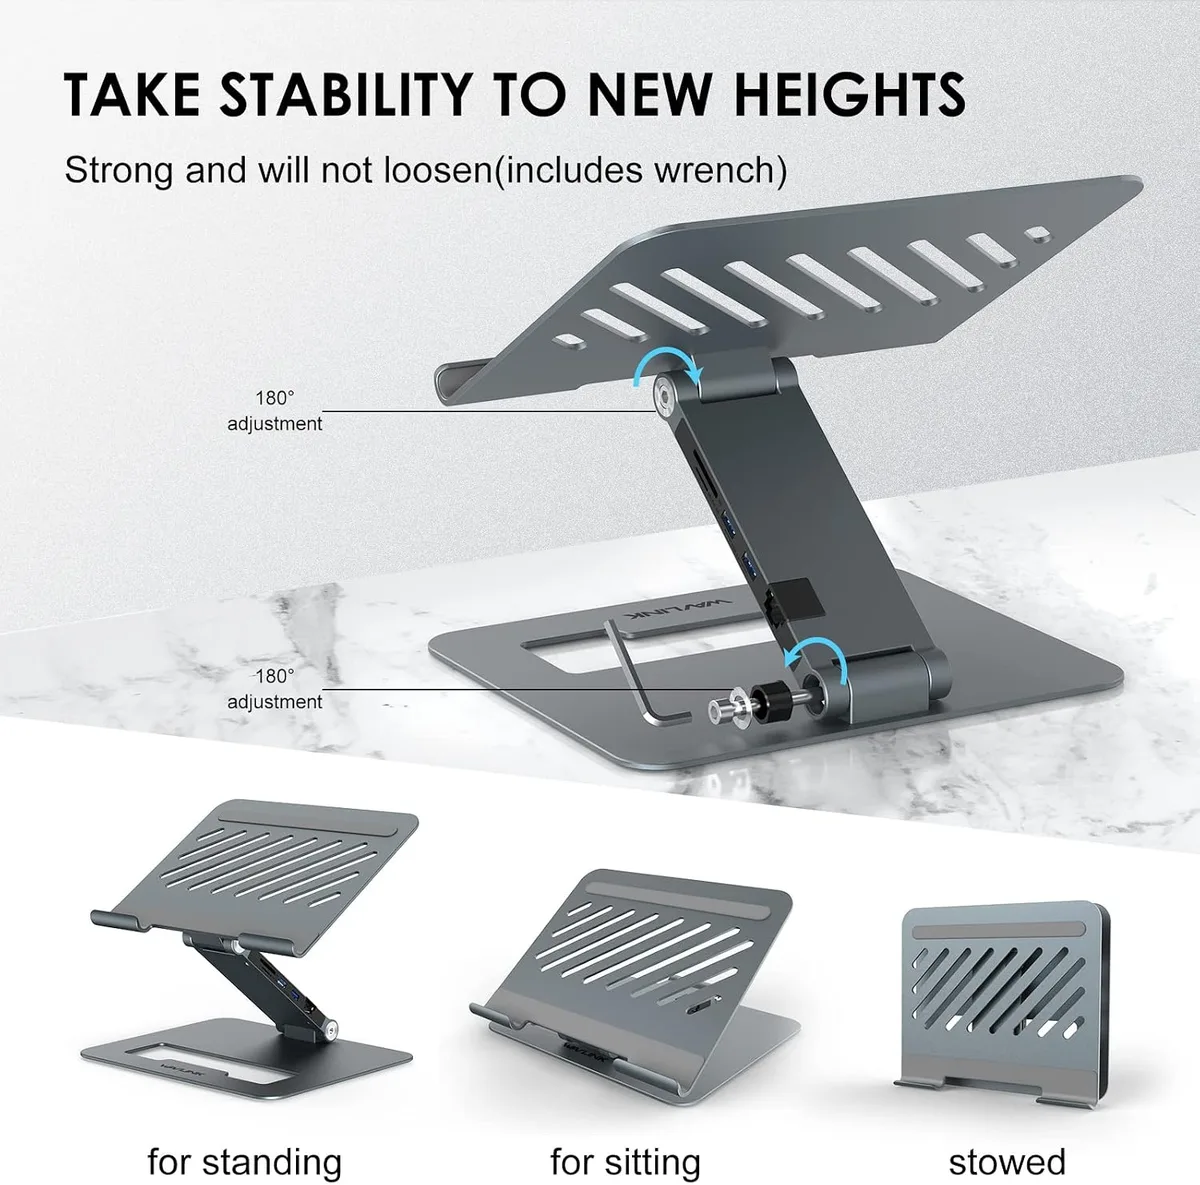
Pay attention to the hinge construction in available product imagery. You want to see evidence of hex-key adjustment points on the hinges. This feature is the hallmark of a high-quality stand because it allows you to tighten the tension if the unit starts to loosen over time.
Managing Thermals and Cable Flow in Tablet Mode
Drawing mode requires flipping your screen into a position that often blocks ports or exhaust vents. Always identify where your intake and exhaust vents are located before setting up your stand. A 2-in-1 laptop typically vents through the back edge or the sides near the hinge.
If your stand is a solid tray, it will trap hot air against your device's chassis. Choose a model with a cutout design or a mesh frame to allow for maximum airflow. Heat buildup doesn't just throttle your performance; it can also make the surface of the screen uncomfortable to touch for extended periods.
Cable management is another hidden challenge in drawing mode. Your charging port might end up pointing directly at the desk surface once the screen is flipped. Look for stands that provide enough clearance underneath to route your charging cable without bending it at an sharp angle.
A sharp bend can lead to frayed insulation and eventual charging failure.
Common Mistakes That Ruin Your Workflow
The most frequent error is selecting a stand based on appearance rather than structural integrity. Aesthetic, minimalist stands often lack the reinforcement required to handle stylus pressure. You should prioritize stability over a sleek, thin profile every single time.
Another common mistake involves ignoring the weight limit of the stand. While most stands claim to hold any laptop size, the reality is different when you apply vertical force to the top of the display. Check the technical specs, and then subtract at least twenty percent from the stated capacity to ensure a safety margin.
Finally, don't overlook the height adjustment range. Some artists prefer to stand while they draw, while others prefer to sit. If your stand is too short, you will find yourself hunching over the desk.
This leads to neck and upper back pain within a very short timeframe.
Pro Advice: Calibrating Hinge Tension and Grip
Hinge tension is not always permanent. Even the best-built stands may loosen slightly after hundreds of adjustments. High-quality stands include a small hex key to allow you to manually tighten the tension bolts as needed.
If your stand doesn't have an adjustment key, it relies on factory-set friction. These units are more likely to fail as they age. If you find your stand starting to sag, a quick fix is to add a small amount of textured grip tape to the hinge points.
This increases the surface friction and can stop minor slippage.
For the contact points, consider adding custom silicone pads if the factory ones wear down. You can purchase adhesive silicone sheets at most hardware stores. Cutting these into small strips to match your stand's original contact points can restore the anti-slip performance you need for steady strokes.
Long-Term Maintenance: Keeping Your Stand Steady
Keep your stand clean to maintain its grip. Dust and desk debris can sit between the silicone pads and your laptop casing, effectively turning the pads into sandpaper. A quick wipe-down with a damp cloth every week is sufficient to prevent this build-up.
Periodically inspect the hinge bolts for any signs of loosening. If a bolt starts to back out, it can affect the entire structural integrity of the stand. A simple turn with a matching hex key can prevent the unit from collapsing during an important project.
Check the structural alignment of the arms once a year. Over time, uneven pressure on one side can cause the frame to twist slightly. If you notice your laptop sits at a slight tilt, place the stand on a flat surface and apply even pressure to the top frame to reset the alignment.
Final Decision Guide: Matching a Stand to Your Drawing Style
Choosing the right hardware depends entirely on where you spend most of your creative time. If your workflow is strictly desk-bound, invest in a heavy-duty, double-hinged aluminum stand that prioritizes raw stability. The extra weight is a non-negotiable feature for long-form sketching.
If your workspace changes frequently, your needs shift toward portability. You should look for foldable stands that utilize high-grade tension hinges rather than simple notches. These units bridge the gap between weight and performance, giving you a reliable drawing surface without requiring a dedicated backpack compartment.
Finally, consider your device size. Smaller 11-to-13-inch tablets benefit from compact, bridge-style designs. Larger, heavier 15-to-17-inch convertibles require wider footprints and higher-rated weight capacities to prevent tipping during aggressive shading strokes.
Frequently Asked Questions
Do I need a special stand for a 2-in-1 device?
You should prioritize stands with high-tension hinges rather than standard laptop lifts. Standard stands often collapse under the downward pressure of a stylus. A dedicated drawing-optimized stand uses reinforced pivots to lock your device at a precise, stable angle during use.
Can I use a stand in tablet mode?
Yes, most double-hinged stands function perfectly when your device is in tablet mode. You simply need to ensure the stand’s base doesn't interfere with the screen's edge. Some artists prefer to flip the stand backward so the primary hinge supports the center of the tablet chassis.
Does the stand height affect my wrist health?
Height adjustment is crucial for keeping your hand in a neutral, strain-free position. You want your screen at an elevation where your elbow rests at roughly a 90-degree angle. If the screen is too low, you will hunch over, which increases pressure on your neck and shoulders.
Will a metal stand scratch my laptop?
Quality metal stands include silicone or rubber pads at every contact point. As long as you keep these pads free of dust and grit, they will not damage your finish. Avoid using a metal stand if it arrives without protective padding on the support ledge.
How do I know if the stand is heavy enough?
Check the product weight in the manufacturer specs to ensure it is at least 1.5 to 2 pounds. Extremely lightweight stands often lack the counter-balance needed to stop the device from tipping when you apply pressure to the top of the display. Heavier stands provide the solid base your hand requires.

Similar Posts